Settings
Manage team permissions
Invite staff, choose the right access level, review permissions, and remove access when someone no longer needs it.
Team settings control who can sign in to your facility dashboard and what each person is allowed to do.
Use this guide when you need to invite a new teammate, adjust a staff member's permissions, review notification preferences, assign locations, or remove someone who should no longer have access.
What you will accomplish
- Set the default dashboard layout new staff see on first sign-in.
- Invite teammates with the right areas turned on—not full admin by default.
- Review and update Permissions when someone's job changes.
- Choose which Notifications each person receives.
- Remove access the same day someone leaves your company.
Before you start
- Confirm the teammate's correct email address. The invite is sent to this address.
- Decide what work the teammate needs to do, such as cars, customers, events, billing, reports, or settings.
- Know whether the teammate should be an admin. Admins can access sensitive areas.
- If your facility has multiple locations, know which locations the teammate should see.
- Review Security settings before giving admin access.
Open Team settings
Go to Settings > Team.
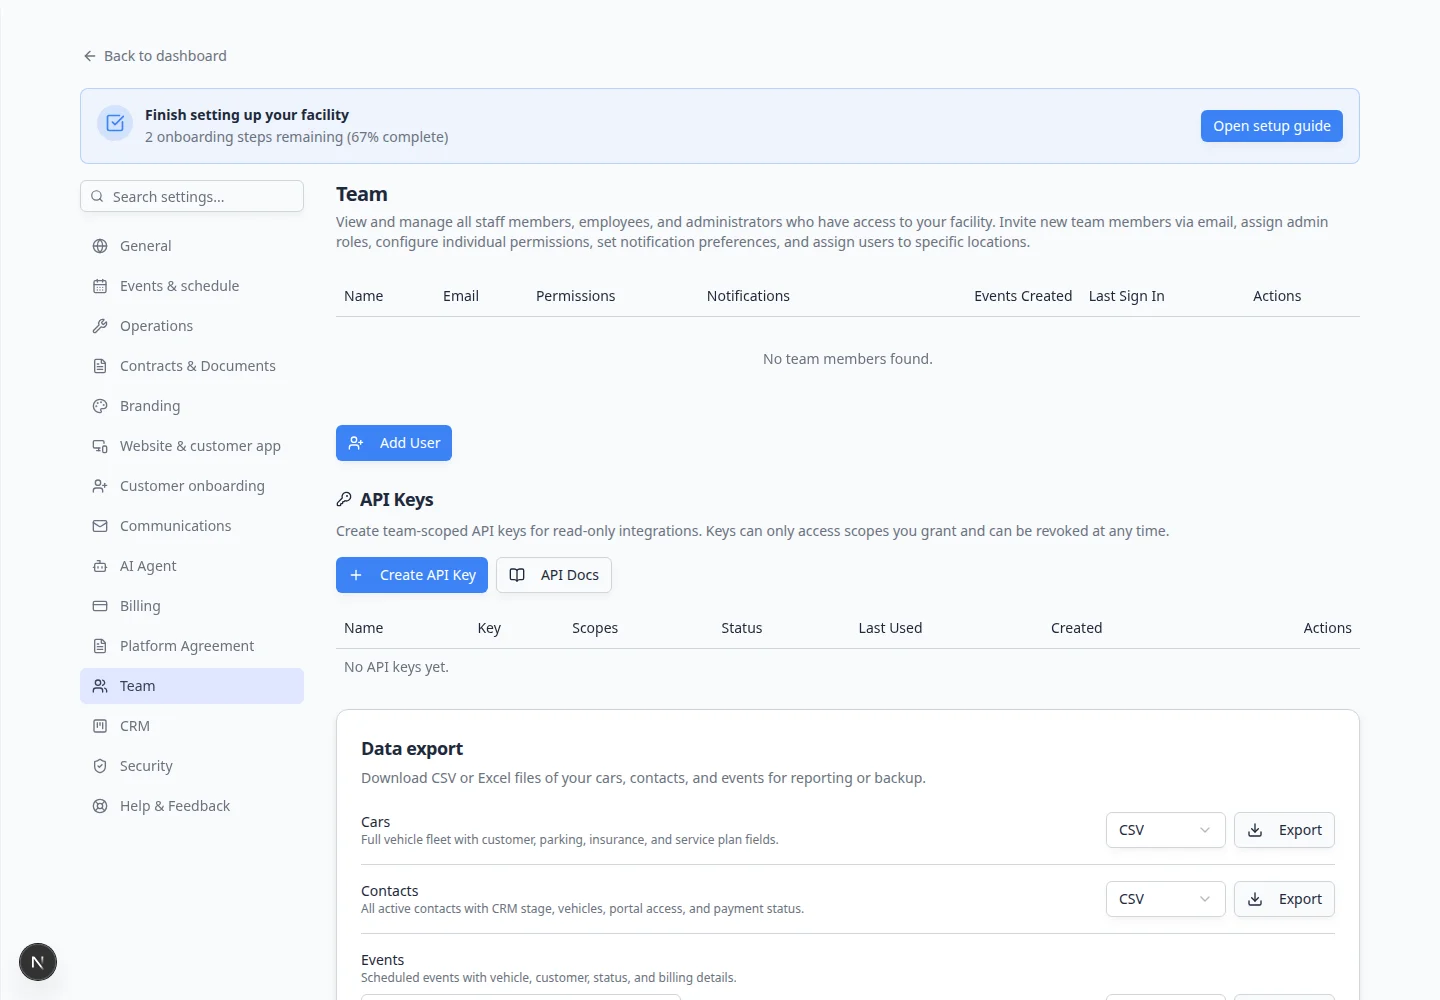
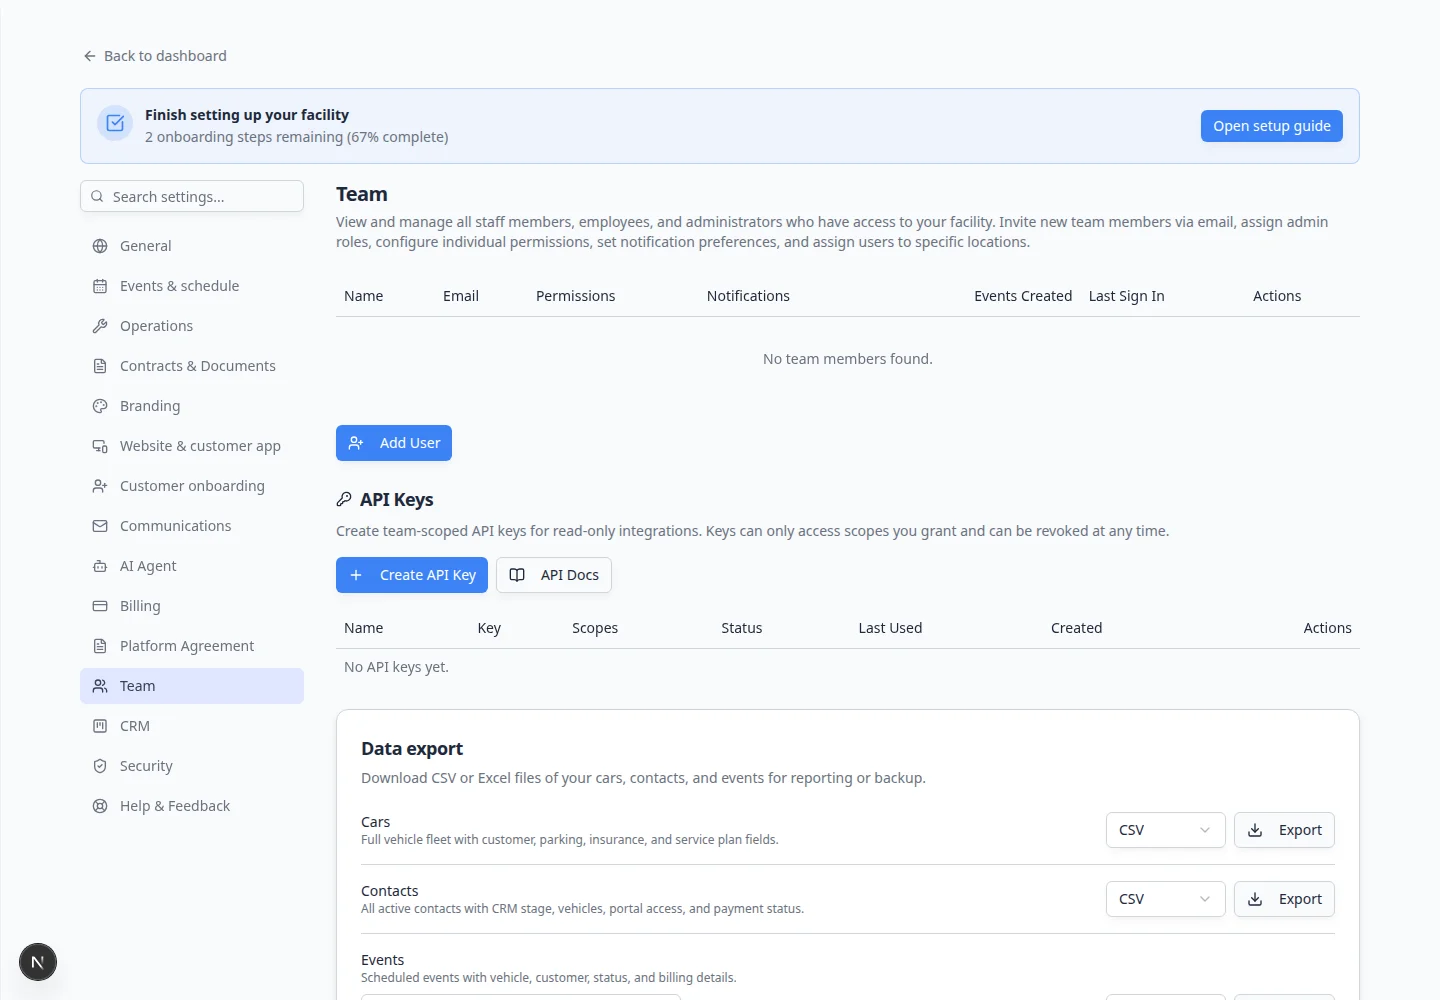
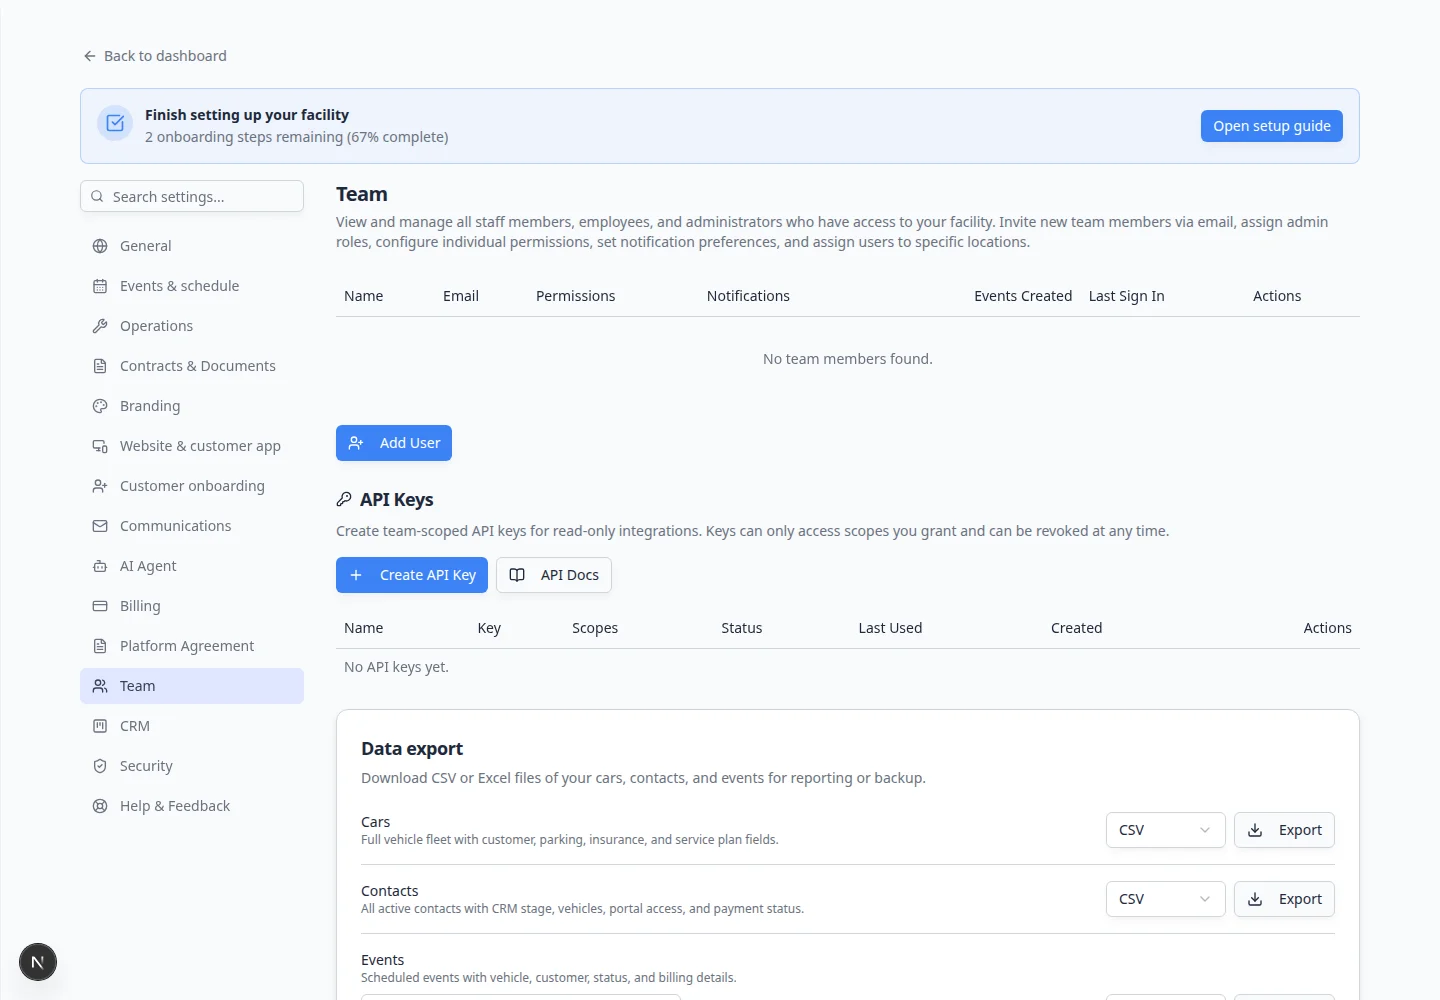
The page title is Team. The page has two main areas: Default dashboard layout at the top, then the Team table below it.
Set the default dashboard layout for new staff
Default dashboard layout controls what a teammate sees on the Dashboard home screen when they first sign in—before they personalize their own layout.
- Open Team settings
Go to Settings > Team.
Expected result: You see Default dashboard layout above the staff table.
- Turn dashboard cards on or off
Review the list of dashboard sections (for example upcoming events, cars needing attention, or inbox summaries).
Turn on the cards that help a typical staff member start their day. Turn off cards they do not need.
Why this matters: A simpler dashboard reduces overwhelm for new hires. You can always let experienced staff customize their own view later.
- Save if prompted
Some changes save automatically. If you see Save, click it before leaving the page.
Expected result: The next teammate who signs in sees this layout on their dashboard home screen.
Invite a teammate
- Click Add User
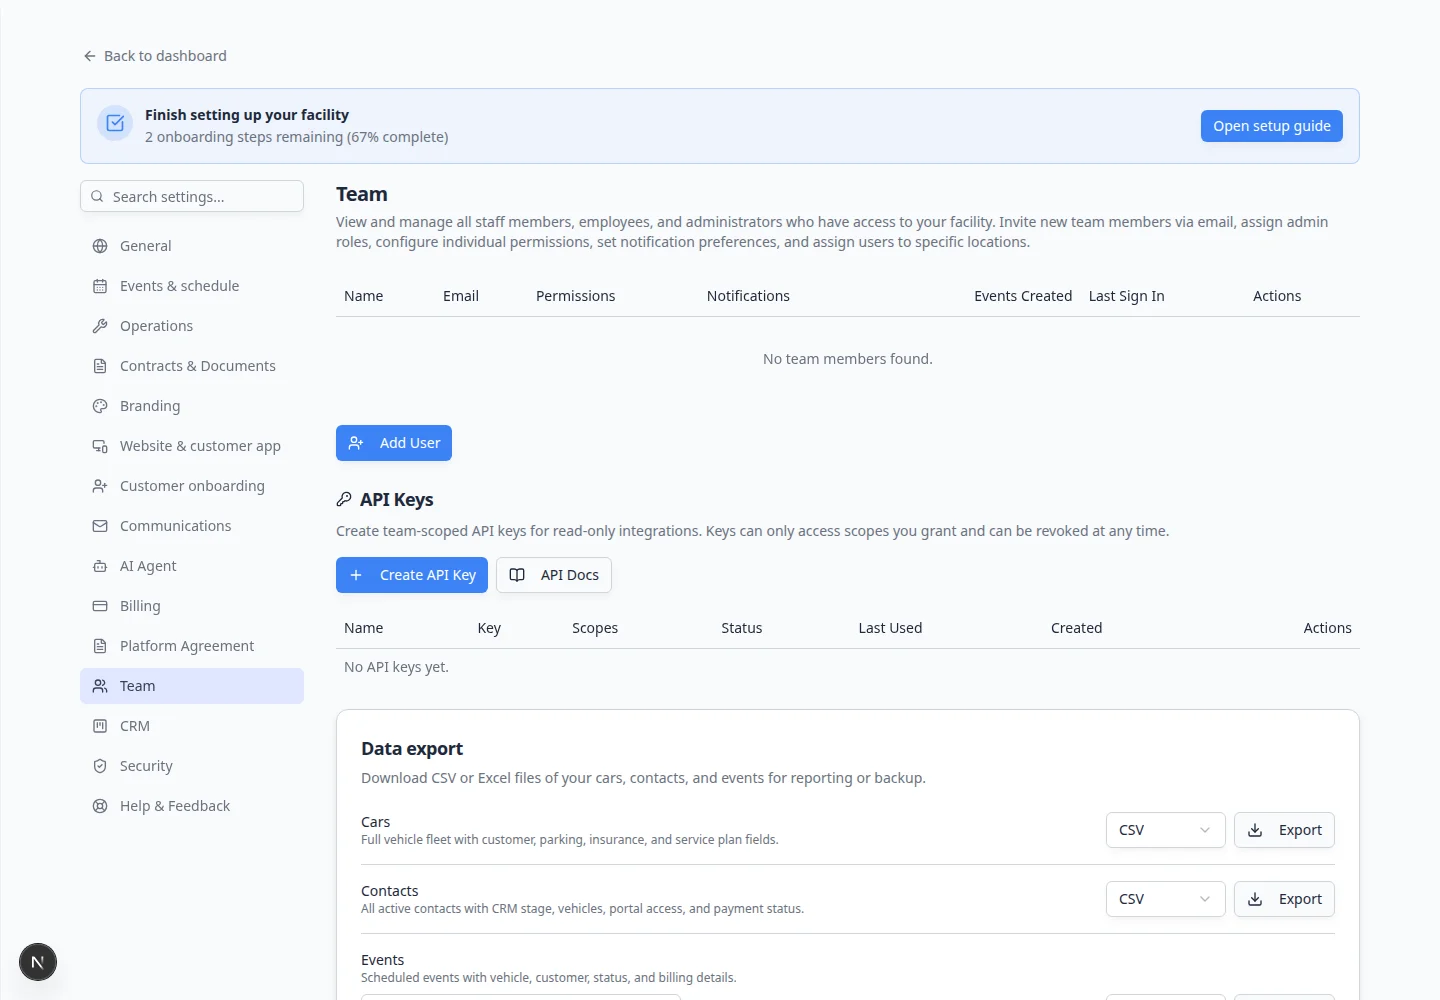
In Settings > Team, click Add User near the top of the page.
A window titled Invite Team Member opens.
- Enter the teammate's email address
In Email Address, type the teammate's work email carefully. This is where the sign-in link is sent.
A typo means the teammate will not receive the invite.
- Choose admin access only if needed
Use Invite as team admin only if they truly need to manage sensitive setup areas, billing, team access, or other facility-wide settings.
For most staff, leave this off and choose specific permissions instead.
- Choose permissions for this team
When admin is off, review Permissions for this team. Turn on only the areas they need, such as Customers, Cars, Schedule, or Payments.
Use Select all or Clear all if you want a quick starting point, then remove what they do not need.
- Send the invite
Click the button to send the invite. The teammate receives an email link they can use to sign in and finish setup.
Expected result
The teammate appears in the Team table. If they have not accepted yet, they may appear as a pending invite.
Resend or cancel a pending invite
- Find the pending row
On Settings > Team, look for the teammate in the table. Pending invites may show no Last Sign In date yet.
- Open Actions
In the Actions column on that row, choose Resend invite if they did not receive the email.
Expected result: A fresh sign-in link is sent to the same email address.
- Remove mistaken invites
If you typed the wrong email, remove the invite from Actions and send a new Add User invite with the correct address.
Choose safe permissions
Permissions decide which parts of the app a teammate can use. Start with the access they need for their job. You can always add more later.
- Find the teammate in the table
On Settings > Team, find the teammate's row.
- Open the access button in Permissions
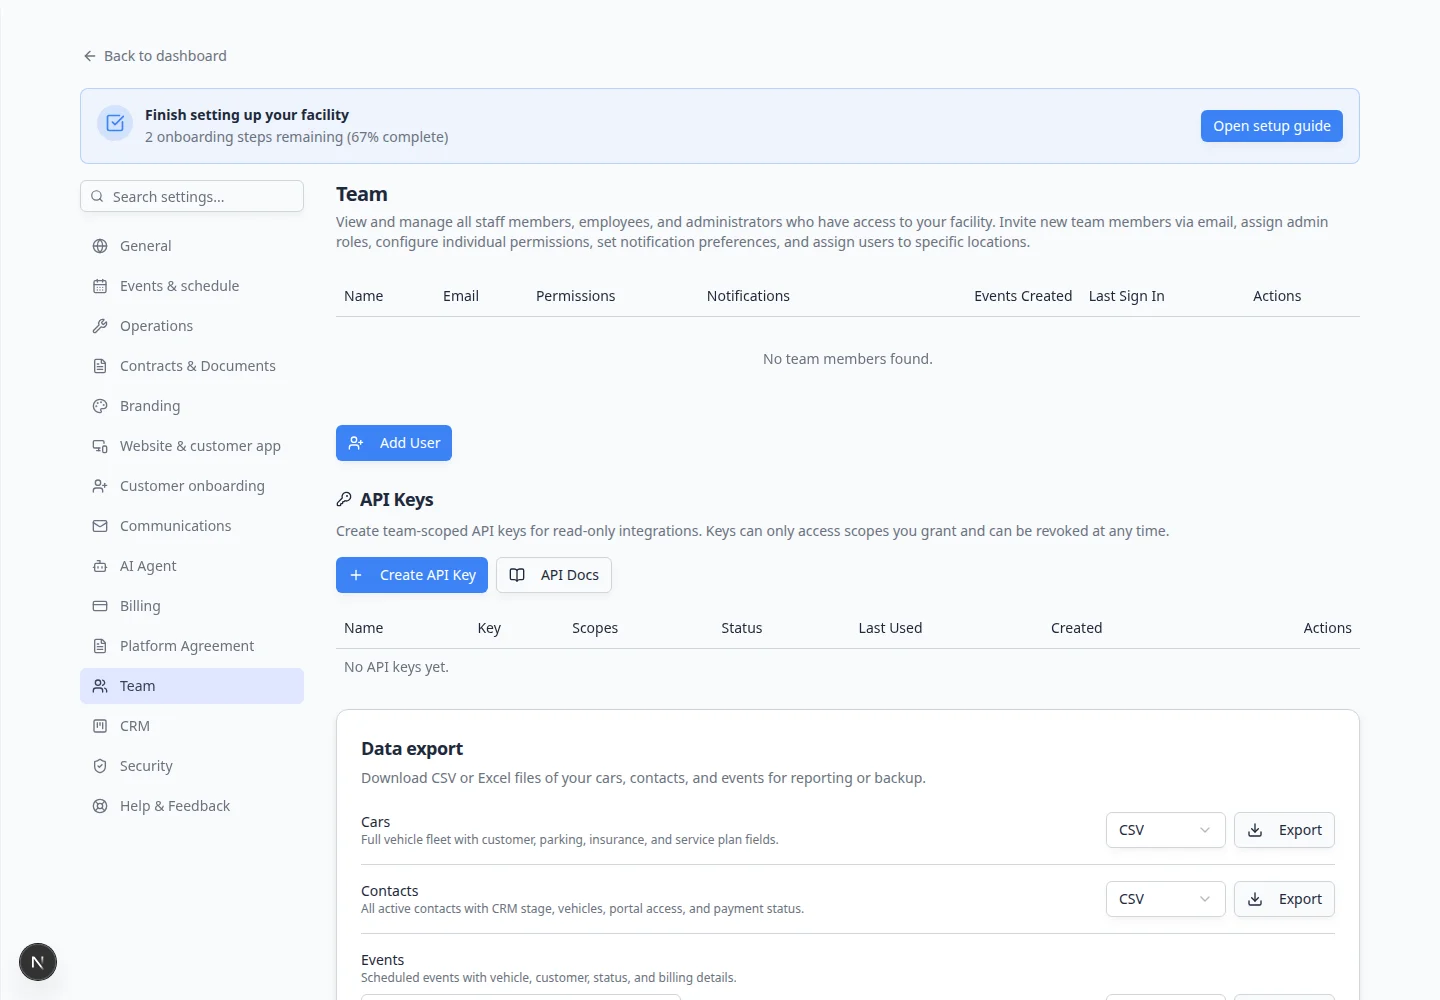
In the Permissions column, click the button for that teammate. It may show Full Access, a count such as 8/12, or Admin.
A window titled Manage Permissions opens.
- Turn on only the areas they need
Check or uncheck each area the teammate should use.
For example:
- Front desk staff may need Customers, Cars, Schedule, Inbox, and AI Assistant.
- Billing staff may need Payments and Reports.
- Detail staff may need Cars, Events, and parking tools.
- Owners or general managers may need Admin turned on instead of picking each box.
- Save and confirm
Click Save in the window. Ask the teammate to refresh their dashboard if they are already signed in.
Expected result: The button in the table updates to match the access you chose. For example, it may show 4/10 when four areas are turned on.
Expected result
The teammate can use the dashboard areas needed for their job and cannot access areas they should not use.
Review notification preferences
Notification preferences control which event types send email or push alerts to a teammate—for example when a Vehicle Drop Off is scheduled or when a Dealer Service is completed.
These are personal settings per staff member—not the same as facility-wide alerts on Settings > Communications.
- Find the Notifications column
In the Team table on Settings > Team, look at the Notifications column for that teammate.
Click the button in that column. It shows a bell icon and a count such as 8/12 (eight alert types on out of twelve available) or All when every type is enabled.
Expected result: A window titled Manage Notifications (or similar) opens with on/off controls for each alert type.
- Use Select All or Select None as a starting point
At the top of the window, Select All turns on every event type. Select None turns them all off.
Most teams start with Select None, then turn on only what that person needs.
Why this matters: A billing clerk does not need every shop-floor alert, and a technician does not need every payment notice.
- Check each event type
Each row is an event type your facility uses (for example Internal Service or Vehicle Pick Up).
Turn a row on when this teammate should get an alert for that kind of work. Leave it off when they do not need it.
Rows marked Inactive are event types turned off in Settings > Events & schedule—you can ignore them or reactivate the event type later.
- Save Changes
Click Save Changes at the bottom of the window.
Expected result: The count in the Notifications column updates (for example 4/12). The teammate receives alerts only for the types you left checked.
Assign locations, if your team uses multiple locations
If your facility has multiple locations, you may be able to choose which locations a teammate can access.
- Find Assigned Locations
In Settings > Team, look for the Assigned Locations column.
- Choose the correct locations
Select only the facilities, warehouses, or sites this teammate should work with.
- Save the assignment
Save the location assignment.
Remove access for someone who left
Remove dashboard access as soon as a teammate leaves your company or no longer needs the app.
- Find the teammate
Open Settings > Team and find the teammate's row.
- Use the Actions column
In the Actions column, choose the remove or access management option.
- Confirm the removal
Confirm only after you are sure the person should no longer sign in.
Expected result: They cannot open the staff dashboard. Their past work (notes, messages, schedule history) stays on customer and car records.
What success looks like
- Every current employee has their own login—no shared passwords.
- Front desk, billing, and shop staff can open the areas they need—and nothing sensitive they do not.
- Only trusted owners or managers have Admin access.
- Former employees are removed from the Team table the same day they leave.
- Notification counts in the Notifications column match each person's real job.
Permission examples
Owner or general manager: usually needs admin access, billing, reports, settings, team, customers, cars, and events.
Front desk or concierge: usually needs customers, cars, schedule, events, inbox, and customer portal support.
Billing team: usually needs payments, invoices, quotes, customers, products, and reports.
Technician, detailer, or lot staff: usually needs cars, events, sessions, photos, and parking information.
These are examples, not rules. Match access to the person's real job.
Troubleshooting
What to do next
After staff access is ready, ask admins and managers to review Security settings and add passkeys when possible.