Basics
Complete the onboarding wizard
Walk through the guided setup wizard to add your facility details, customers, cars, contracts, billing, and team invites in one calm path.
Use this guide when your facility is new to Car Storage Software and you see a welcome screen titled Let's set up your account, or when a manager sends you to the onboarding wizard after sign-in.
The onboarding wizard is a step-by-step path that helps you finish the most important setup work in order — without hunting through Settings on your first day.
What you will accomplish
When you finish (or skip optional steps and return later), your facility will have:
- Your facility name, address, logo, and colors saved for customer-facing pages.
- At least one customer record — imported from a spreadsheet or typed by hand.
- Vehicle records linked to your storage or service workflow.
- An optional storage contract PDF ready for signatures.
- Stripe billing connected if you plan to collect payments online.
- Team invite emails sent to colleagues who will help run the facility.
Before you start
- You can sign in as a staff user with permission to change facility settings.
- Have your facility name, address, and logo file ready (PNG or JPG works well).
- If you will import customers, prepare a spreadsheet with columns such as first name, last name, email, and phone.
- If you will connect billing, have your Stripe business details handy.
Open the onboarding wizard
- Sign in to the dashboard
Use the login link from your welcome email or ask your facility owner for a staff sign-in link.
Expected result: You land on Create event or another dashboard page with the sidebar on the left.
- Go to the wizard hub
Open Setup Guide.
You may also see Setup Guide in the left sidebar with a number badge when steps are still open.
Expected result: The page shows Let's set up your account with six large step cards below it.
- Read the progress bar
After you complete a step, the hub shows how many steps are finished (for example, 2 of 6 complete).
Why this matters: You can leave and come back anytime. Completed steps show a green check mark on the hub.
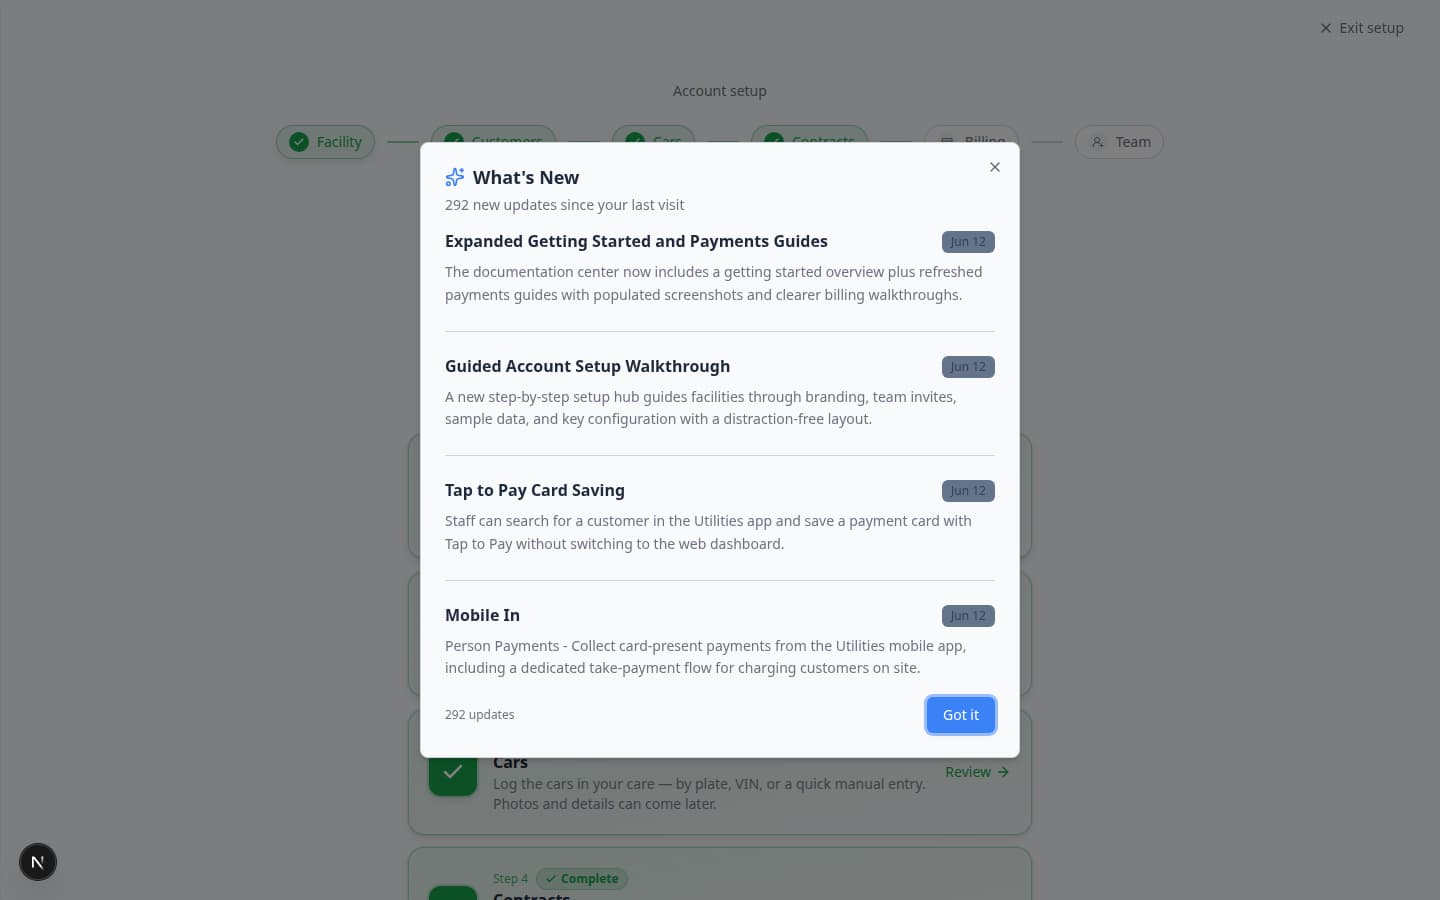
Step 1 — Facility (name, location, logo)
This step saves the details customers see on emails, invoices, and your public website.
- Open the Facility card
On the wizard hub, click Facility (Step 1).
Expected result: You see sections for facility name, address, and logo upload.
- Enter your facility name
Type the business name customers should recognize — for example, Mega Speed Storage.
Why this matters: This name appears on customer portal pages, message footers, and many PDF documents.
- Search for your address
Start typing your street address in the address field and pick the correct match from the list.
The app uses your address to set time zone and region automatically. You do not need to pick time zone by hand in most cases.
- Upload your logo
Drag your logo onto the upload area or click to choose a file from your computer.
After upload, the wizard may suggest brand colors from your logo. You can accept those colors or adjust them.
Expected result: A preview shows how your logo and colors will look on customer-facing screens.
- Click Save & continue
Click Save & continue at the bottom of the page.
Expected result: You return to the wizard hub with Facility marked complete, or you move to the next step automatically.
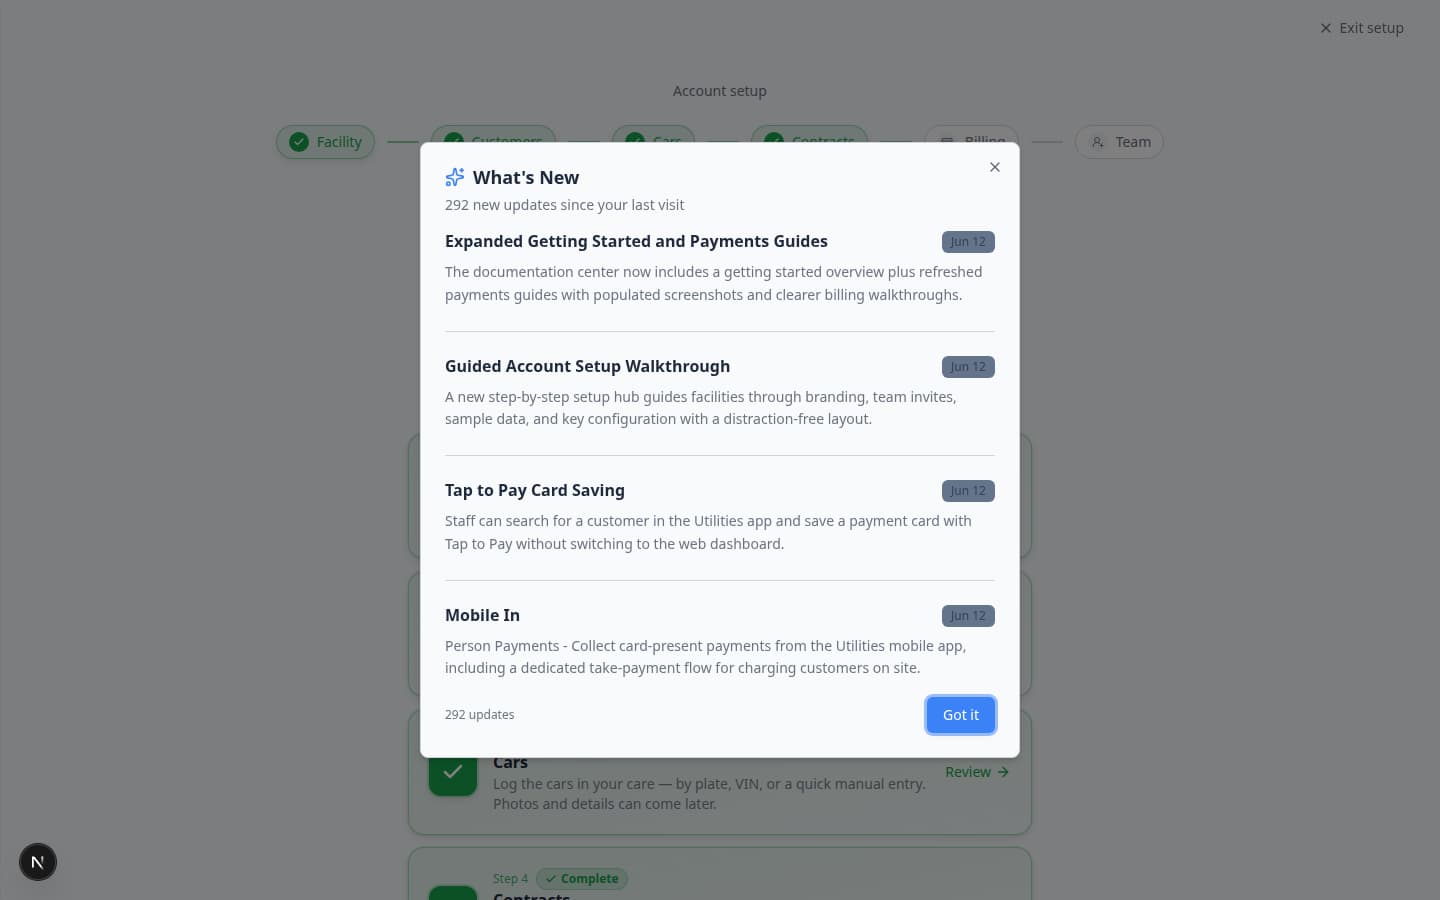
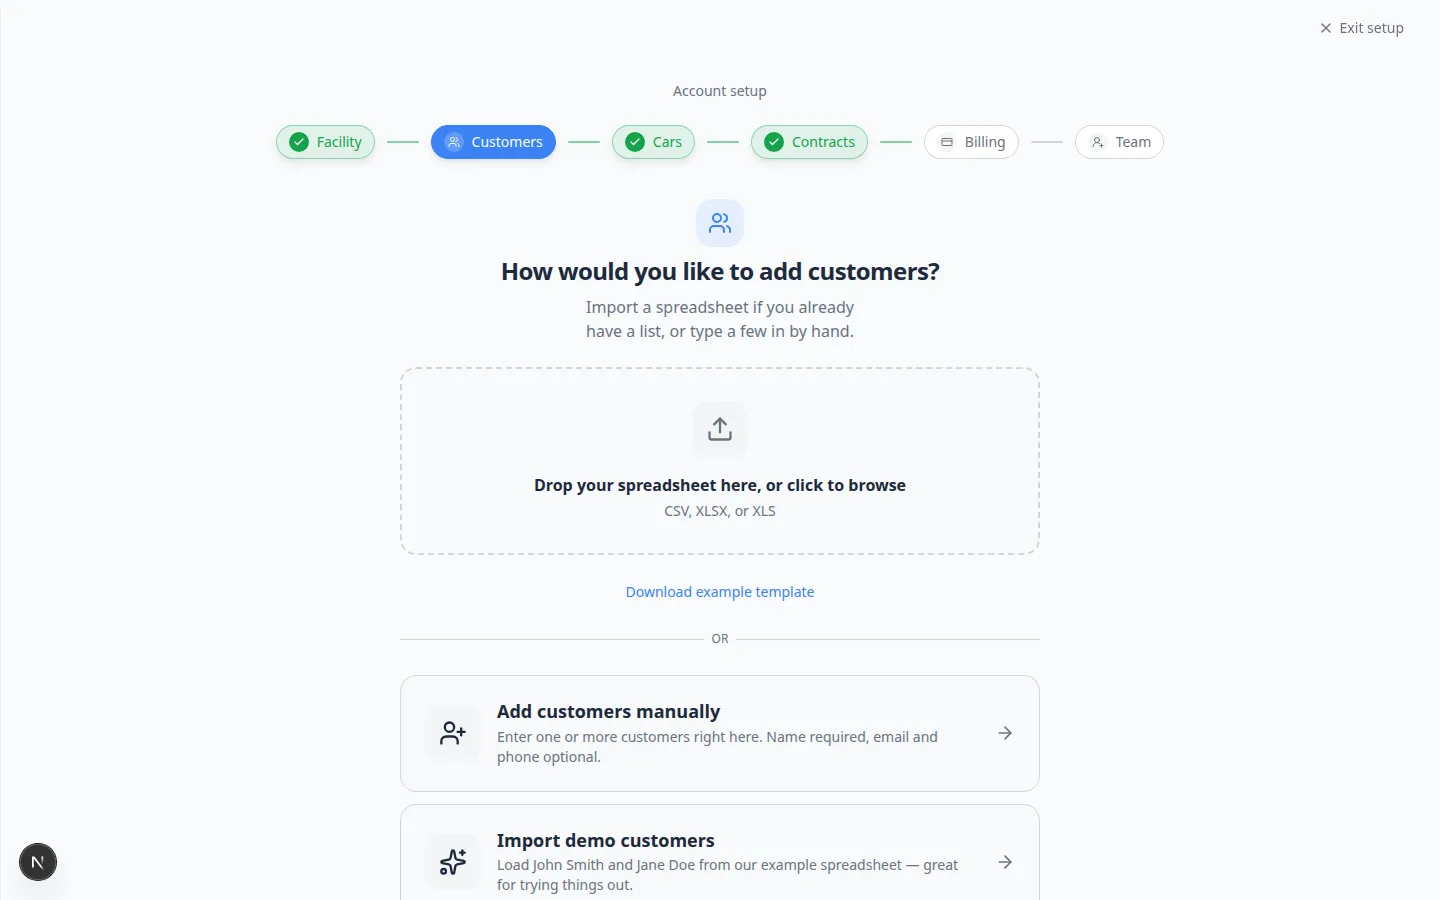
Step 2 — Customers (import or add by hand)
Bring your customer list into the app so cars and invoices can link to the correct owner.
- Open the Customers card
From the wizard hub, click Customers (Step 2).
- Choose import or manual entry
- Upload a spreadsheet — use CSV or Excel if you already have a customer list.
- Add customers manually — type one or a few names when you are just getting started.
Why this matters: Importing saves time when you have dozens of owners. Manual entry is fine for your first day with one or two customers.
- Map spreadsheet columns (import only)
If you uploaded a file, match each column in your spreadsheet to the correct field (first name, email, phone, and so on).
Review the preview table before you confirm. Fix any rows that look wrong.
Expected result: Imported customers appear in Contacts after you save.
- Save or skip
Click Save & continue when your customer list looks correct.
You can also use Skip for now if you plan to add customers later from Contacts.
For a deeper import walkthrough outside the wizard, read Import customers and cars from a spreadsheet.
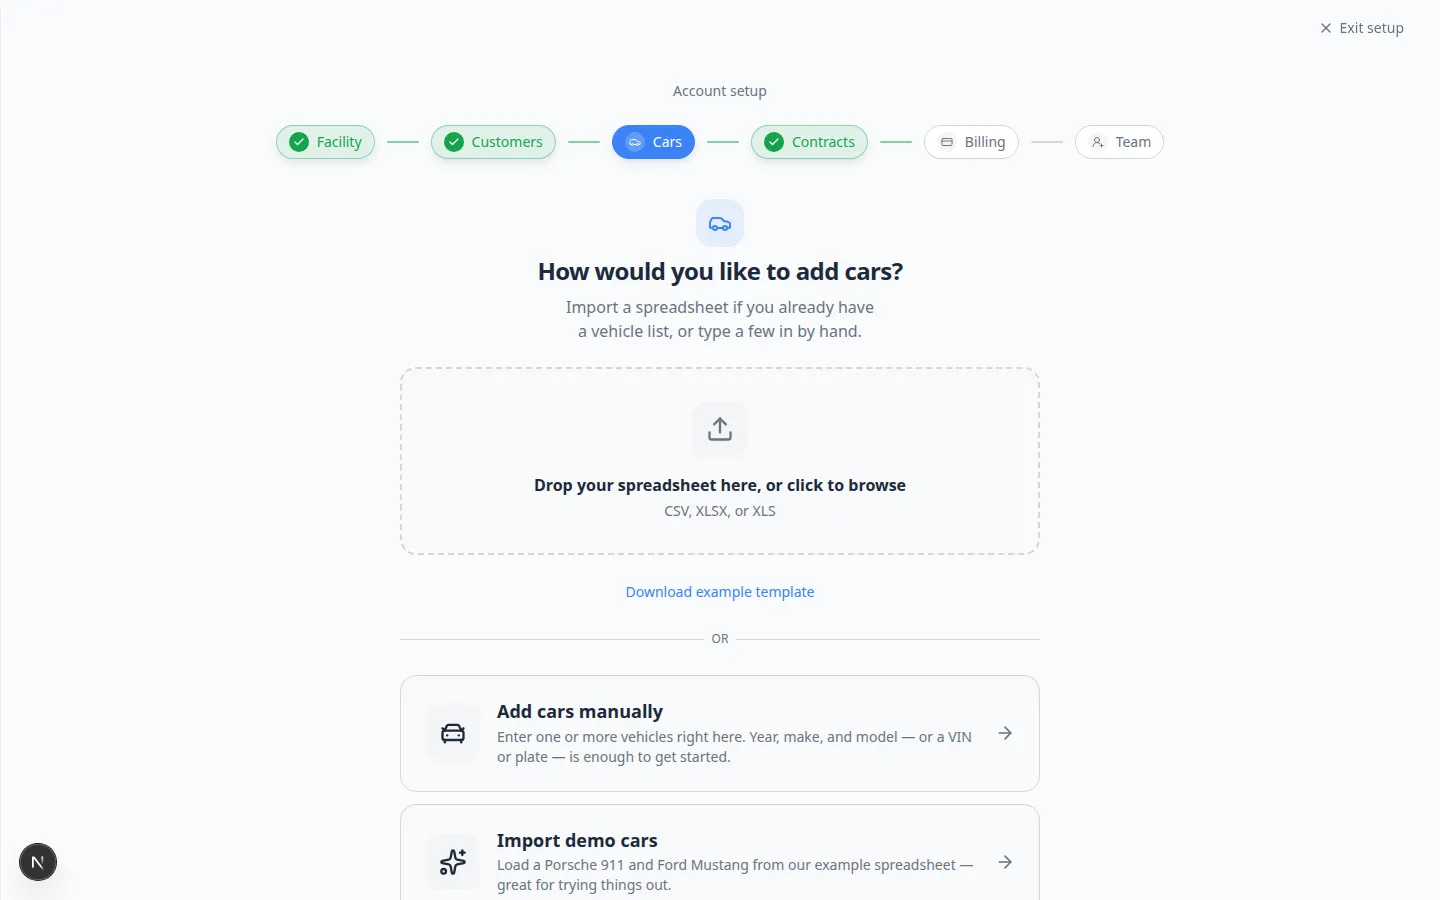
Step 3 — Cars (vehicles in your care)
Add the vehicles you store or service so your team can assign parking, run intake, and send invoices.
- Open the Cars card
From the wizard hub, click Cars (Step 3).
- Import or add vehicles
Like the customer step, you can upload a spreadsheet or add cars one at a time with year, make, model, and VIN or plate when you have them.
- Link owners when possible
Connect each car to the customer who owns or manages it.
Why this matters: Billing, messages, and portal access all depend on the correct customer link.
- Save & continue or skip
Click Save & continue when the vehicle list looks right, or skip and use Add a car later.
Step 4 — Contracts (optional storage agreement)
Upload a PDF storage agreement or waiver. The app can suggest signature fields so customers can sign online later.
- Open the Contracts card
Click Contracts (Step 4) on the wizard hub.
- Upload your PDF
Drag your storage agreement PDF onto the upload area or click to browse for the file.
Expected result: The app analyzes the PDF and prepares a contract template you can edit in Settings > Contracts & Documents.
- Review field placement
If the app opens a field editor, drag signature and date boxes to the correct lines on your form.
You can refine this later — uploading now means your team has a starting template.
- Continue or skip
Click Save & continue when the template looks acceptable, or skip if contracts will wait until later.
See Contracts overview when you are ready to send signatures to customers.
Step 5 — Billing (connect Stripe)
Connect payment processing so customers can pay invoices and storage fees online.
- Open the Billing card
Click Billing (Step 5) on the wizard hub.
- Follow the Stripe prompts
The wizard walks you through Stripe setup inside the app — you do not leave for a separate website in most cases.
Have your business details ready (legal name, address, bank account for payouts).
- Confirm connection
When Stripe finishes, return to the wizard and confirm the status looks connected.
Expected result: Your team can create invoices and collect card payments. See Connect payment processing for full billing settings.
- Skip if not ready
If you are not collecting payments online yet, skip this step and return from Settings > Billing when your manager is ready.
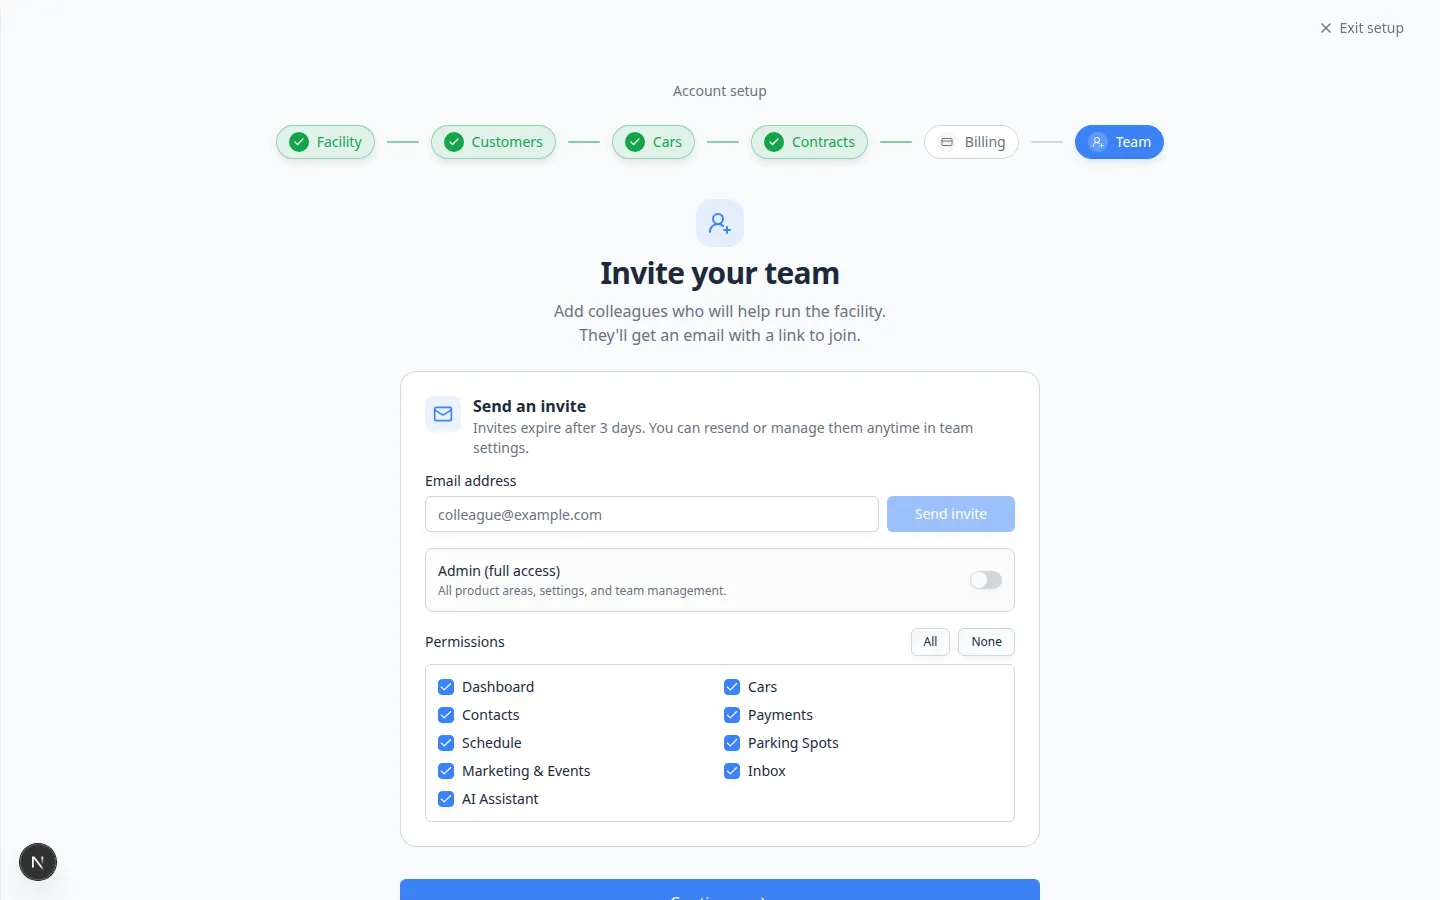
Step 6 — Team (invite colleagues)
Send email invites to people who will help run the facility day to day.
- Open the Team card
Click Team (Step 6) on the wizard hub.
- Enter an email address
Type each colleague's work email and choose whether they should be a team admin (full settings access) or a staff member with selected permissions.
- Send the invite
Click the send button. Your colleague receives an email with a link to join your facility workspace.
Expected result: Pending invites appear on this page until the person accepts.
- Finish the wizard
Click Save & continue on the Team step to reach the celebration page, then open the dashboard.
You can always invite more people later from Settings > Team.
After the wizard — what to do next
- Daily work: open Use the Create event home page when vehicles arrive.
- Find records fast: use Search your facility quickly (keyboard shortcut Ctrl+K on Windows or ⌘K on Mac).
- Learn the sidebar: read Learn the dashboard for a tour of Cars, Contacts, Schedule, and Payments.
- Deeper settings: open Settings overview for communications, portal, CRM, and security.
Troubleshooting
What success looks like
- The wizard hub shows green check marks on the steps your team finished.
- At least one customer and one car exist in the dashboard with the correct link between them.
- Your facility name and logo look correct on Settings > Branding.
- Teammates know how to sign in and start work from Create event.