Basics
Customize your Overview dashboard
Build a facility command center with widgets, charts, maps, and reusable app components on the Dashboard (beta) page.
If you are brand new to the app, start with Getting started before customizing widgets.
What you will accomplish
You will open the Dashboard page (labeled Beta in the sidebar), add panels that show schedule, parking, inbox, and other live data, save your personal layout, and know how team admins set a default layout for new staff.
When this is set up well, managers and front-desk staff see the same live picture of the facility without opening five different pages.
When to use this page
- You want one screen that shows today’s schedule, parking map, inbox, or charts together.
- You are a manager setting up how new teammates first see the app after sign-in.
- Your role works better with a billing or floor operations layout than the default mix of widgets.
Before you start
- You can sign in to the staff dashboard.
- Your facility already has some data (customers, cars, schedule events, or parking spots) so panels are not empty. If you are brand new, finish Prepare your first customer and car first.
- Use a desktop or laptop with a wide screen when dragging and resizing panels. Phones can reorder panels but cannot resize the grid the same way.
- To change the team default layout for everyone, you need team admin access.
What you can add to the dashboard
Panels from existing pages — slices of Schedule, Cars, Parking Spots, Inbox, Payments, and more. They use the same components as the full pages, sized for your dashboard.
Charts — revenue, occupancy, customer stages, and other metrics.
Shortcuts — quick actions such as creating an event or opening common pages.
Alerts — a compact list of items that need attention.
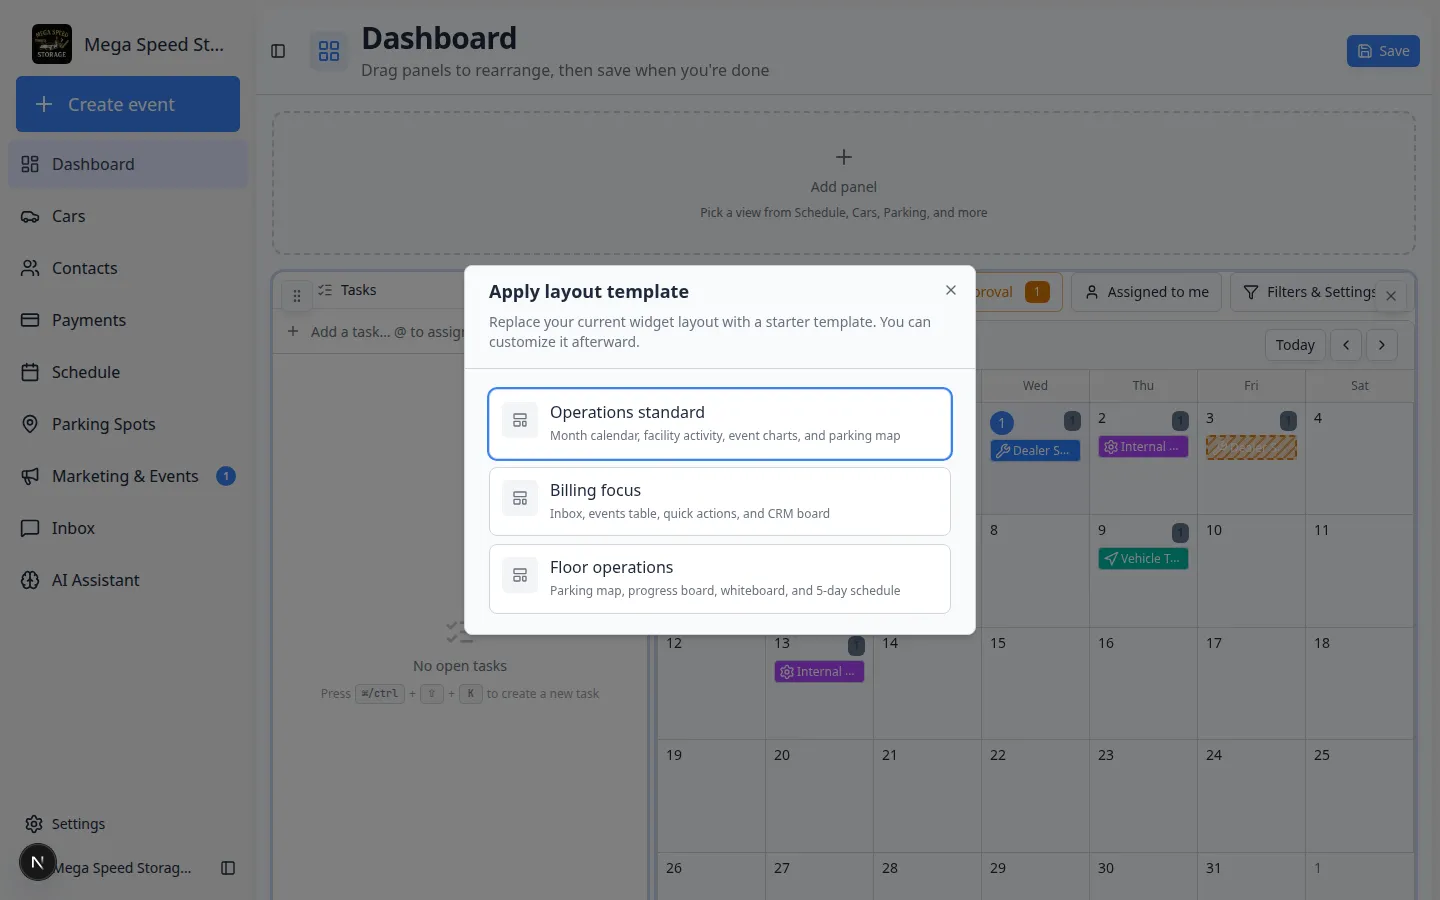
Layout templates — starter layouts named Operations standard, Billing focus, and Floor operations. You can apply a template, then adjust panels.
Customize your own layout
- Open Dashboard
In the left sidebar, click Dashboard (you may see a small Beta badge next to it).
Or go directly to Dashboard.
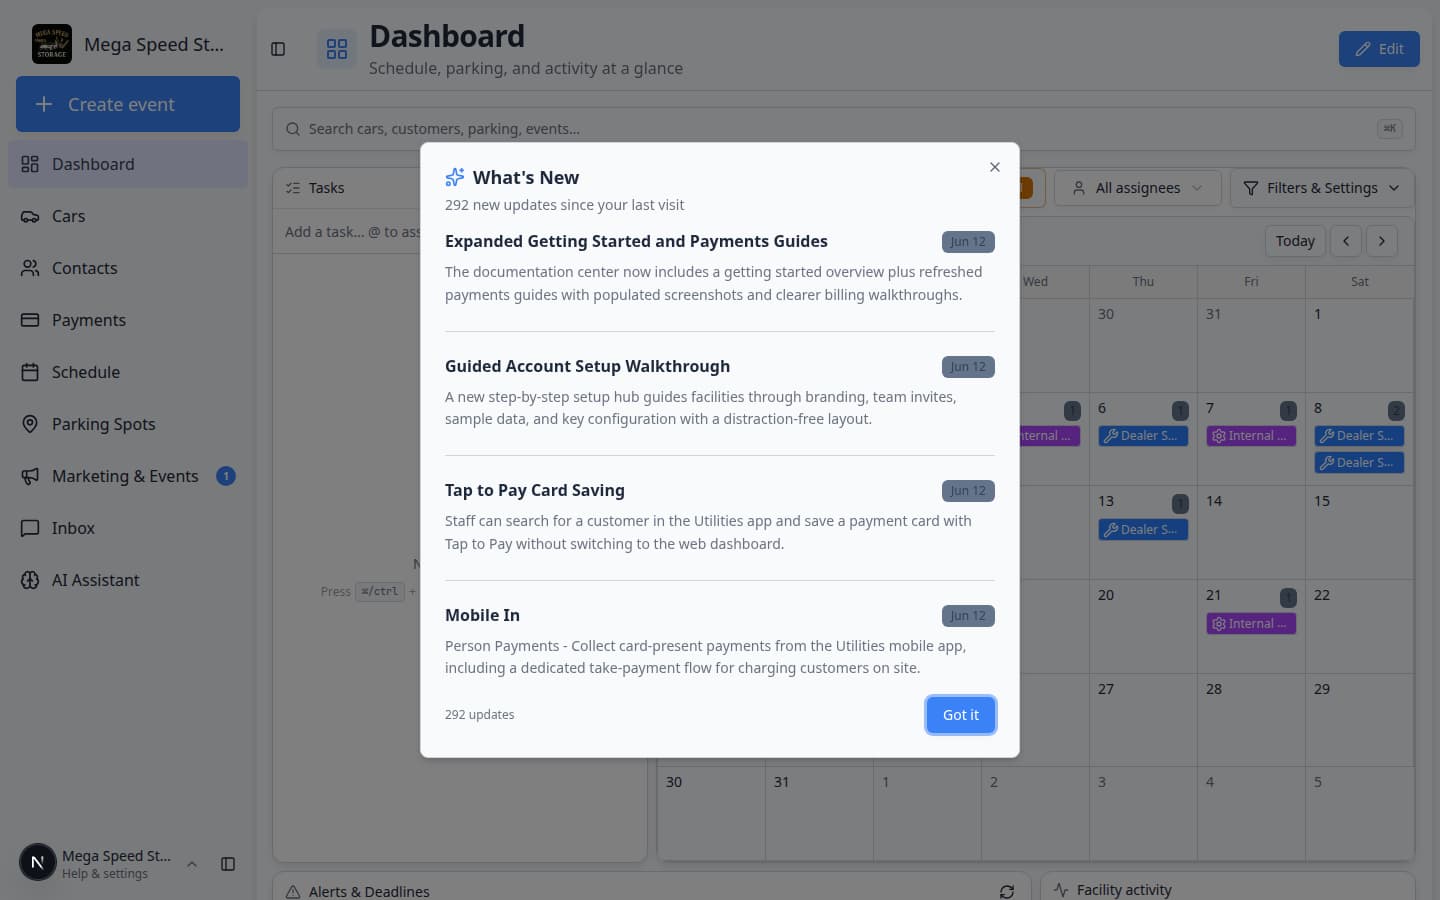
Expected result: The page title at the top says Dashboard. You see your current panels (schedule, tasks, parking map, or similar).
- Open layout editing
To change your personal layout, open Dashboard in edit mode.
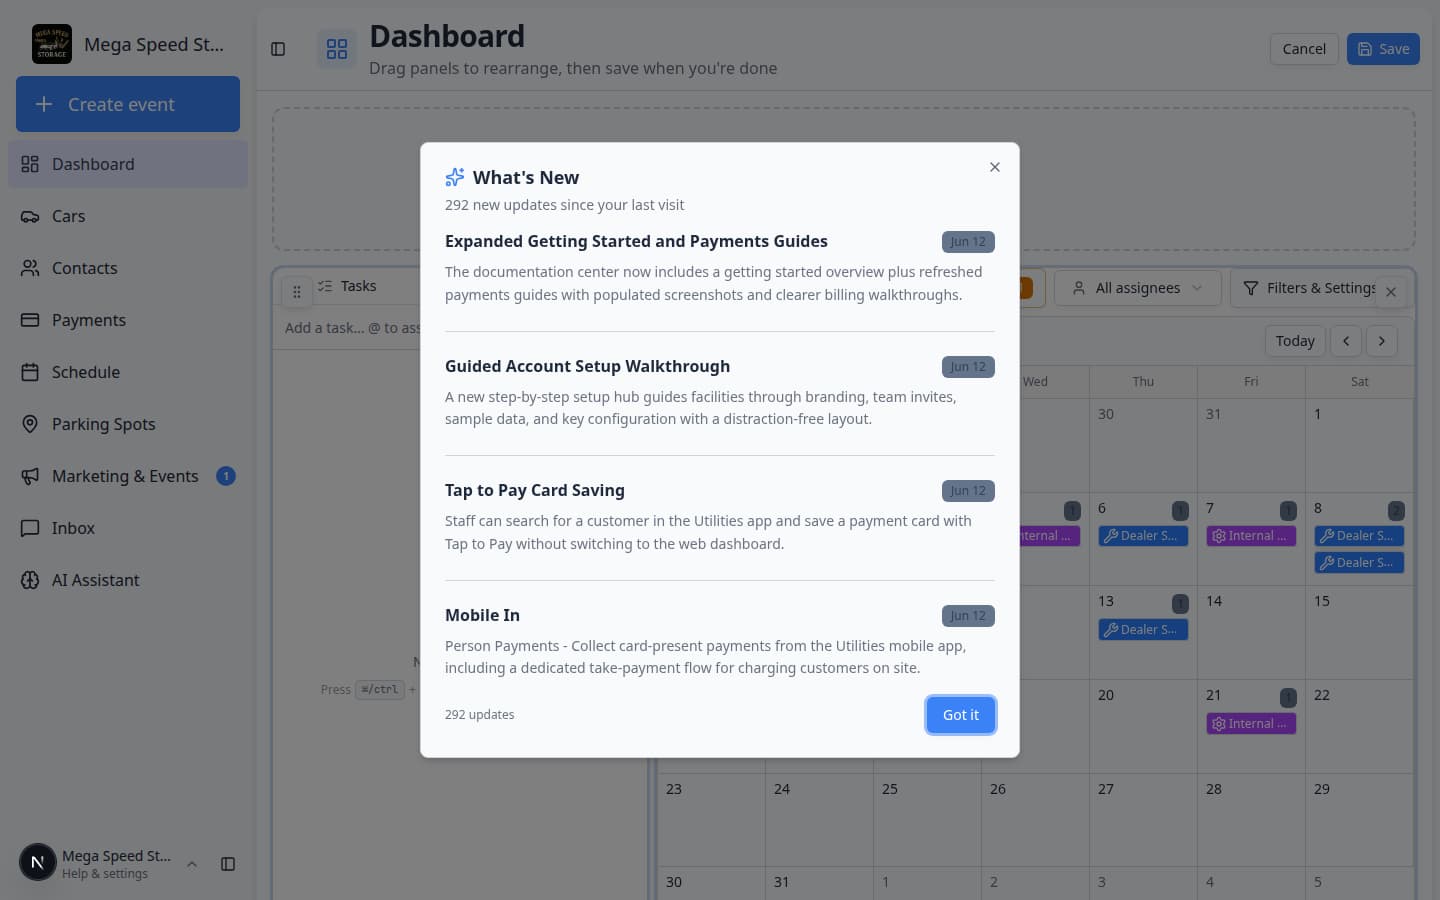
Why this matters: The page switches to layout editing. The subtitle changes to mention dragging panels, and Save appears in the top-right corner.
Expected result: You see a dashed Add panel box above the grid. The top button says Save (not Edit).
- Add panels
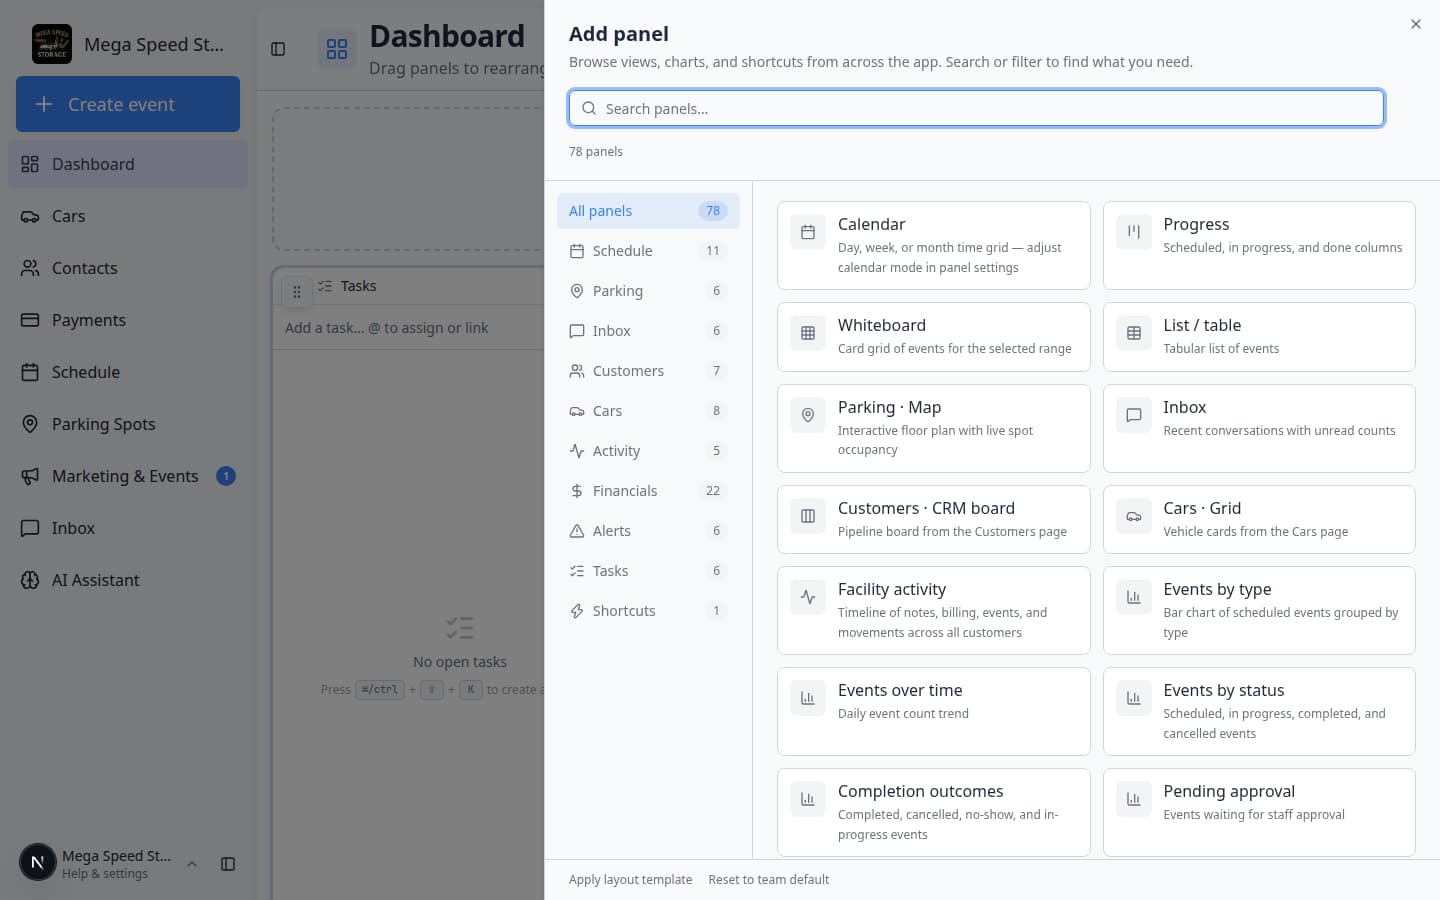
Click the dashed Add panel box.
Expected result: A window titled Add panel opens. It lists groups such as Schedule, Cars, Parking, Charts, Shortcuts, and Alerts.
- Pick a panel and close the window
Click the panel you want (for example Schedule · calendar or Parking map).
The window closes and the panel appears on your dashboard.
Tip: Start with two or three panels you will actually look at every day. You can add more later.
- Adjust panel settings (optional)
Some panels have a small gear icon in the corner while you are in edit mode. Click it to change date range, filters, or how much data the panel shows.
Why this matters: A schedule panel set to “today only” looks very different from “this month.” Match the setting to how you use the dashboard.
- Drag and resize on desktop
On a wide screen, drag a panel by its handle to move it. Drag corners or edges to change size when handles appear.
Expected result: The layout matches how your team works — for example, schedule on the left and parking on the right.
- Save
Click Save on the dashboard page.
Expected result: You see a short success message at the top of the page (for example Dashboard layout saved). Edit mode ends. Your layout is stored for your user account.
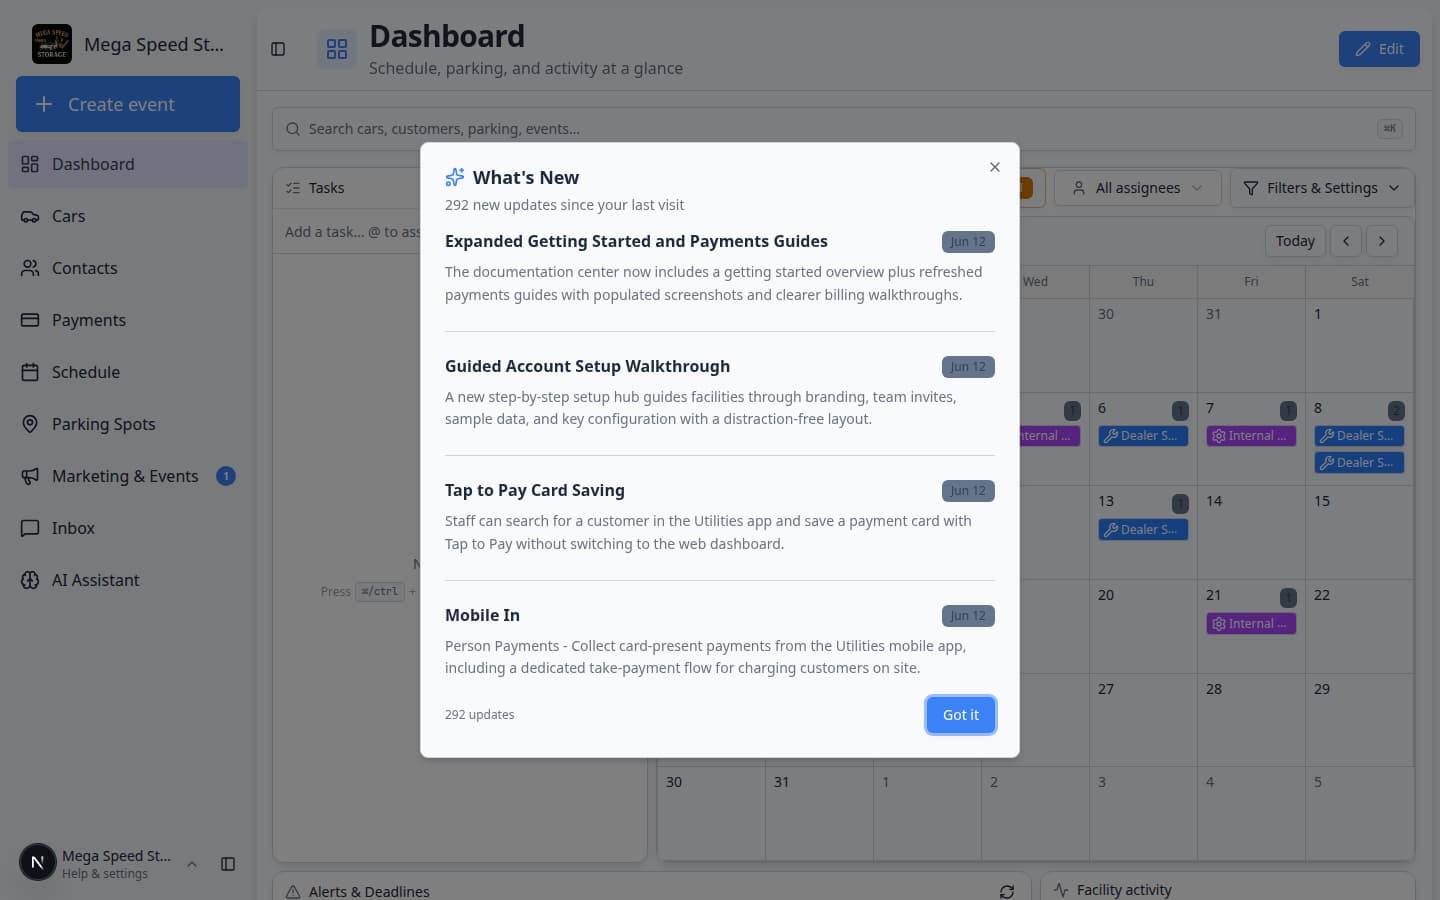
After **Save**, the page returns to view mode. Your panels stay in place the next time you open [Dashboard](/dashboard/v2).
Remove a panel you do not need
- Enter edit mode
Open Dashboard in edit mode.
Expected result: Panels show move handles and remove controls. Save appears in the top-right.
- Remove the panel
On each panel, look for Remove, an X, or a trash icon (wording varies by panel). Click it for any panel you no longer want.
Why this matters: Fewer panels load faster and keep your screen focused on what you check every morning.
- Click Save
Click Save to store the smaller layout.
Expected result: The panel disappears from your personal dashboard. You can add it back anytime with Add panel.
Apply a layout template
Templates replace your current panel arrangement with a tested starter layout. Use them when you prefer not to build from a blank grid.
- Enter edit mode
Open Dashboard in edit mode.
- Open Add panel
Click Add panel.
- Click Apply layout template
At the bottom of the Add panel window, click Apply layout template.
Expected result: A window titled Apply layout template lists Operations standard, Billing focus, and Floor operations with short descriptions.
- Choose a template
Click the template that fits your role.
- Operations standard — month calendar, facility activity, charts, and parking map.
- Billing focus — inbox, events table, quick actions, and CRM-style board.
- Floor operations — parking map, progress board, whiteboard, and five-day schedule.
Why this matters: You get a full layout in one click, then tweak only what you need.
- Save
Click Save on the dashboard page.
Expected result: Your personal dashboard uses the new template until you change it again.
Reset to the team default
If your personal layout feels wrong, you can go back to what your facility admin set for the team.
- Open Add panel while editing
Open Dashboard in edit mode, then click Add panel.
- Click Reset to team default
At the bottom of the Add panel window, click Reset to team default.
Expected result: Your dashboard matches the team default layout. Any personal changes you had saved are replaced.
- Save if prompted
If you are still in edit mode, click Save when you are finished reviewing the layout.
Team admin: set the default layout for new staff
Team admins control what new teammates see on Dashboard before they customize their own view.
- Open Team settings
Go to Settings → Team.
- Find Default dashboard layout
Scroll to the card titled Default dashboard layout.
Expected result: You see a preview grid and Save team default (on desktop you can drag panels here too).
- Adjust panels
Use Add panel the same way as on your personal dashboard. Drag and resize on desktop.
Why this matters: New hires see a layout that matches how your facility actually runs — not a generic empty screen.
- Save team default
Click Save team default.
Expected result: Future team members start from this layout until they open Dashboard in edit mode and save their own.
Create an event from the dashboard
Scheduling work still happens on the full Schedule page or from Create event.
- Use the Quick actions panel on your dashboard when you added that shortcut.
- Click Create event in the sidebar to open Create event.
- Open Schedule for the full calendar, filters, and booking tools. See Create an appointment.
Common mistakes to avoid
What success looks like
When your dashboard is set up well:
- You open Dashboard once each morning and see today’s schedule, parking, or inbox without clicking five sidebar links.
- New teammates start from a sensible team default layout instead of a blank screen.
- Panels show live data — not empty placeholders — because your facility has customers, cars, and events in the system.
- You know layout editing starts from Dashboard in edit mode and ends with Save.
Troubleshooting
What to do next
- Brand new to the app? Continue with Getting started overview for the full onboarding path.
- Need a tour of every sidebar item? Read Learn the dashboard.
- Start vehicle work from large buttons instead? Use Use the Create event home page or Install the mobile app for phone shortcuts.
- Still setting up the workspace? Use Complete the Setup Guide.
- Ready for daily operations? Open Schedule overview or Parking Spots overview.