Cars
Organize vehicles with tags
Label cars with short tags so your team can filter the Cars list and find groups of vehicles quickly.
What you will accomplish
You will add tags to vehicle records and use those tags to filter the Cars page.
Tags are short labels your whole team understands—such as VIP Storage, Consignment, or High Value. They help you answer questions like “Show me every consignment car” without searching one record at a time.
Expected outcome: Each tagged car shows its labels on the record, and the Cars list can be narrowed to only vehicles with a chosen tag.
When to use tags
- You group cars for marketing (for sale, consignment, show cars).
- You want a quick way to find VIP or high-value storage customers.
- Different staff members need the same shorthand when they talk about a set of vehicles.
- You already use tags on Contacts and want the same idea on cars.
Tags are for your team inside the dashboard. They are not the same as license plates, parking zones, or marketplace listings. Think of them as color-coded sticky notes everyone can search.
Before you start
- Sign in to the dashboard and open Cars.
- Know which vehicle you want to tag, or have the Cars list open to filter by tag later.
- Agree on a few standard tag names with your team so you do not end up with five versions of the same idea (for example, pick VIP Storage instead of both “VIP” and “vip storage”).
Add a tag to one car
- Open the car record
Go to Cars, find the vehicle, and click View.
Expected result: The car detail page opens with Vehicle Details on the left and Activity Feed on the right.
- Find the Tags field
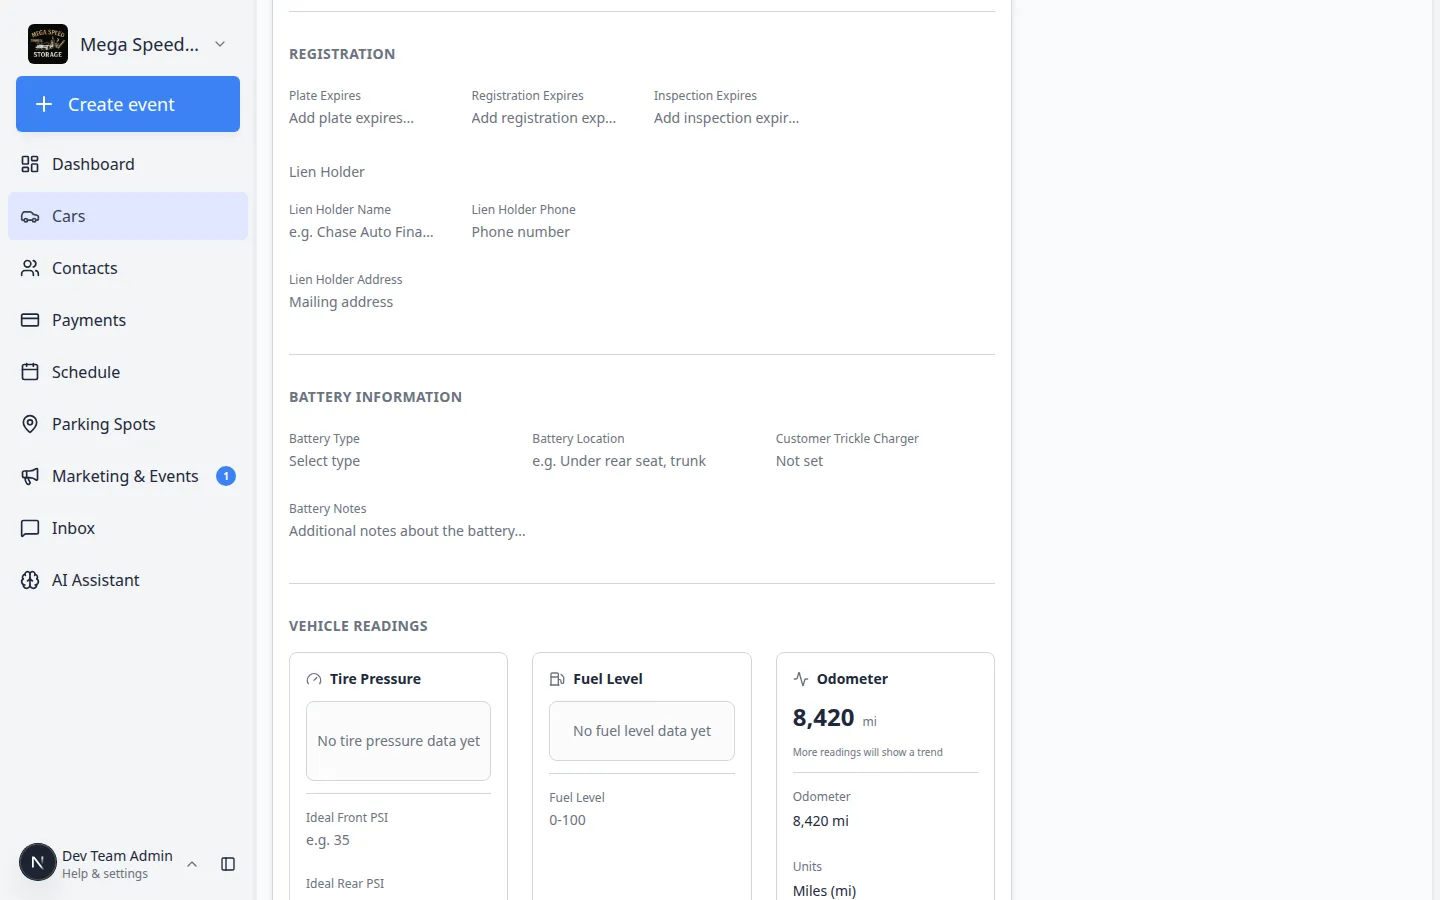
In Vehicle Details, scroll to the Vehicle Overview area. Look for the Tags row.
You may already see tag chips (small labeled buttons) if someone tagged this car earlier.
Why this matters: Tags live next to other quick facts about the car, so staff see them while reviewing the record.
- Click Add
Click Add next to Tags. A search box opens with tags your facility already uses.
Expected result: You can type to search or pick an existing tag from the list.
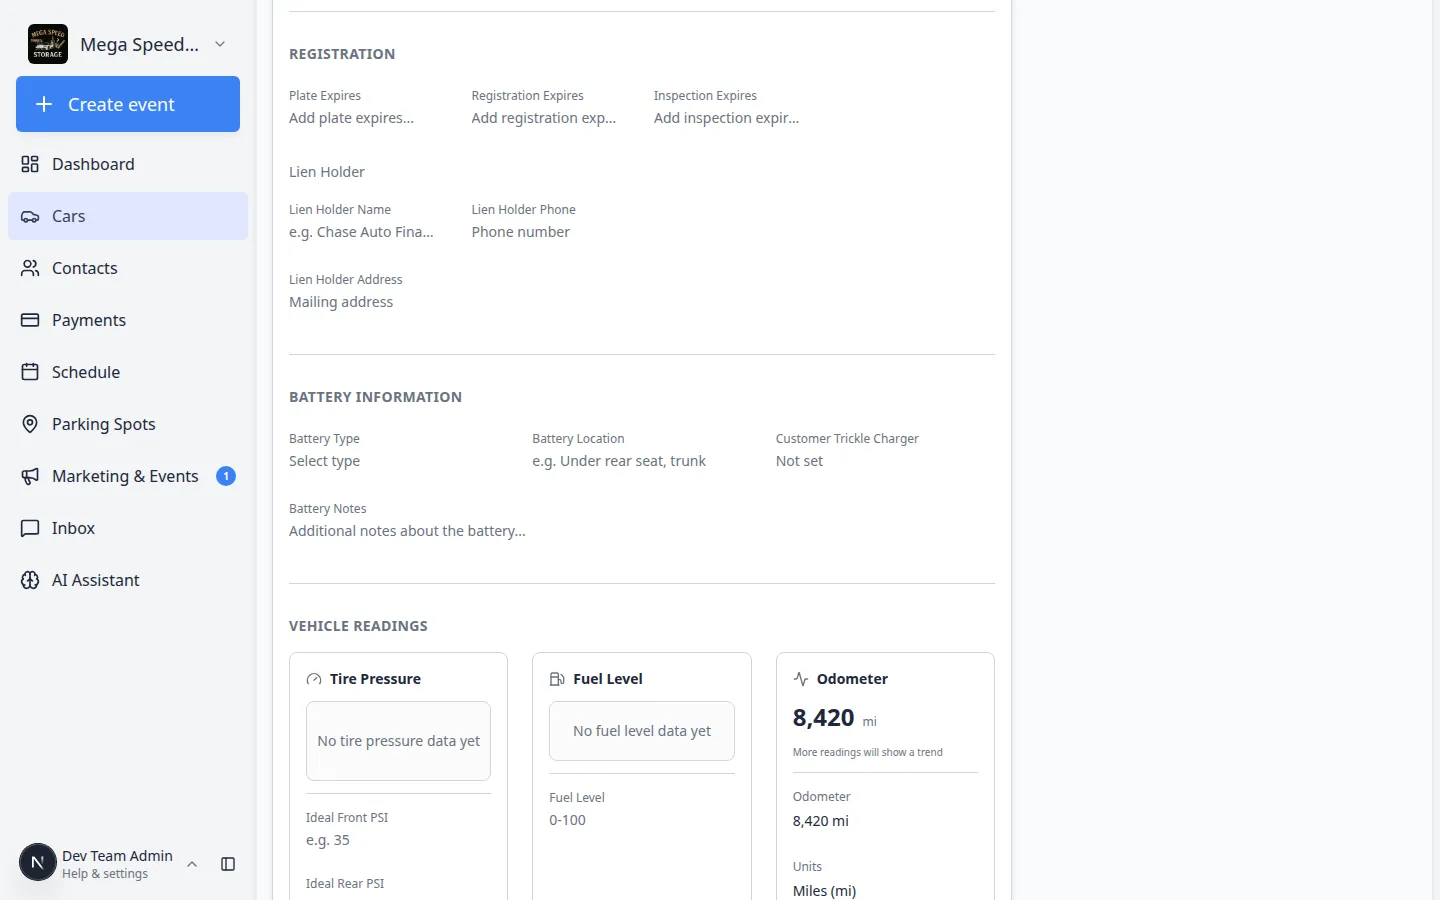
After you click **Add**, type to search or pick a tag your team already uses. Choose **Create** when you need a new label the first time. - Choose or create a tag
Click an existing tag to attach it. If the tag does not exist yet, type the new name and select Create (or press Enter when the create option appears).
Use short, clear names:
- VIP Storage
- Consignment
- High Value
- Show Car
Why this matters: The first person who creates VIP Storage saves everyone else from retyping the same idea five different ways.
Expected result: The new tag appears as a chip on the car record right away.
- Remove a tag if you made a mistake
Click the X on a tag chip to remove it from this car only. The tag still exists for other vehicles.
Expected result: The chip disappears from this record. Other cars that use the same tag are unchanged.
- Add a second tag when the car fits more than one group
Click Add again and pick another label—for example High Value on a car that is also VIP Storage.
Why this matters: Multiple tags let you filter for overlapping groups, such as all VIP cars that are also listed for consignment.
Filter the Cars list by tag
After cars are tagged, use the list filters to see only the group you need.
- Open Cars
Go to Cars.
- Open Filters & settings
Click Filters & settings near the top-right of the list.
Expected result: A panel opens with filter fields for make, model, year, location, tags, and more.
- Select one or more tags
Scroll to the Tags section. Check the tag or tags you want (for example Consignment).
The list updates as soon as you select a tag.
Expected result: Only cars with that tag remain in the table or card view.
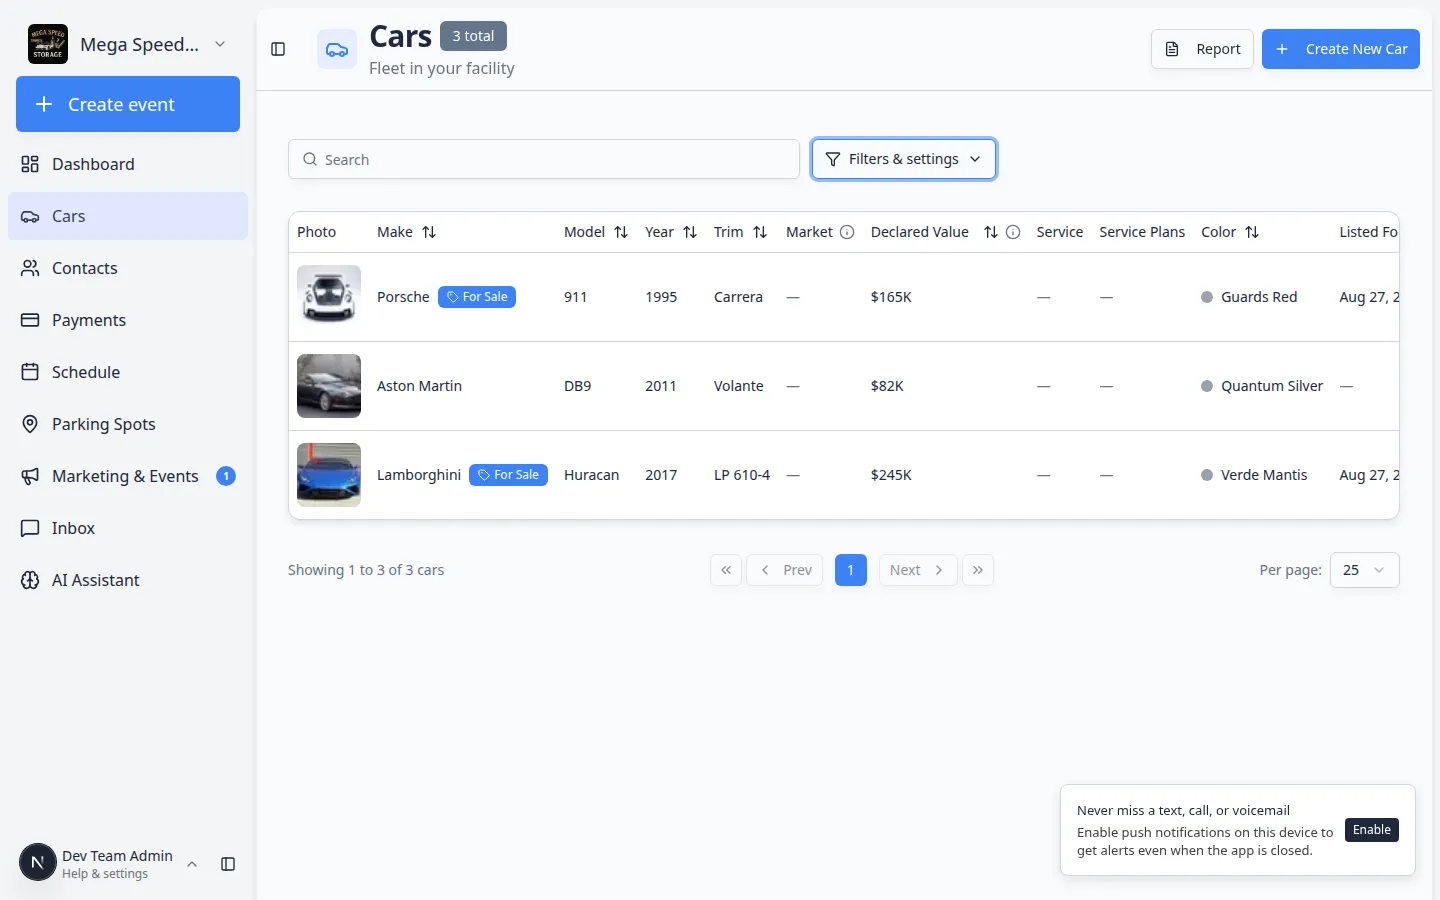
After you check a tag, the [Cars list](/dashboard/cars) narrows immediately. You do not need to click **Apply**—the table updates on its own. - Combine tags with other filters when needed
You can also filter by for sale status, insurance status, service plan, or location at the same time.
Example: Consignment + for sale = Yes shows consignment vehicles currently listed on your marketplace.
Why this matters: Tags become much more useful when you mix them with other filters your team already uses.
- Clear filters when you are done
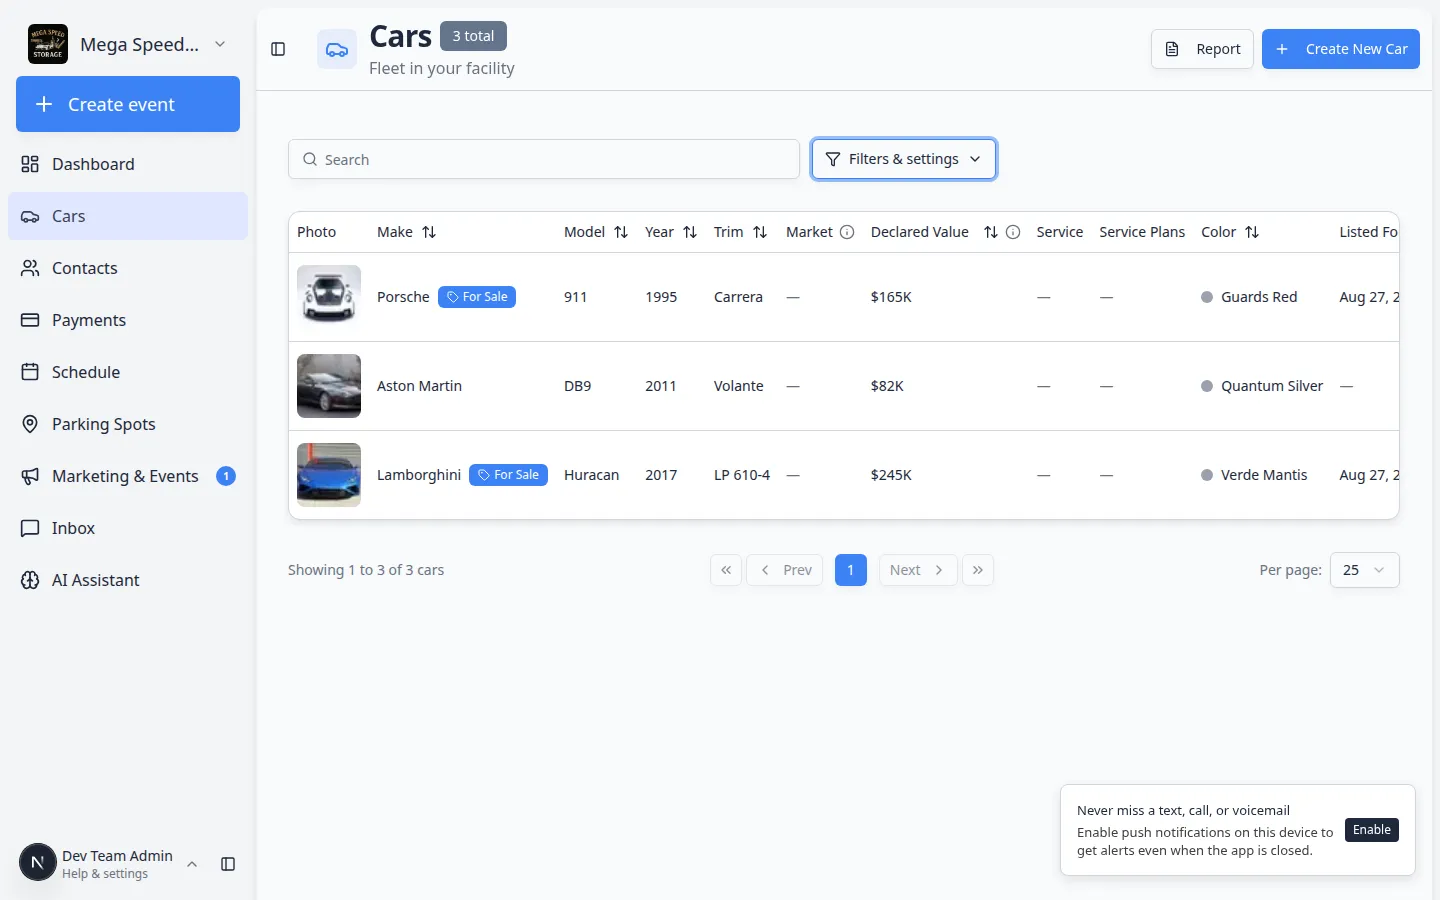
Open Filters & settings again and clear the tag checkboxes, or click any reset control your team uses, so the full vehicle list returns.
Expected result: Every car in your facility shows again.
Tips for tag names that work
Troubleshooting
What to do next
- Filter faster with Find and filter cars.
- List tagged consignment inventory with List a vehicle for sale on your marketplace.
- Return to the Cars overview for the full list of vehicle guides.