Settings
Connect payment processing
Prepare billing settings so your team can collect payments, send invoices, set taxes, and manage quotes with confidence.
Billing settings control how money moves through your facility. Set this up before your team sends invoices, quotes, recurring storage charges, customer checkout links, or payment requests.
This guide helps you understand the Billing page, what each section does, and the safest order to review it.
What you will accomplish
- Connect Stripe so customers can pay invoices and portal balances online.
- Choose whether your facility or the customer pays card processing fees.
- Set invoice numbering, payment terms, and tax rates that match how your bookkeeper works.
- Turn quotes on or off so staff know when customer approval is required before billing.
- Optionally connect QuickBooks or Xero so payments sync without double entry.
When to set up billing
Set up billing before your team sends the first real invoice, storage statement, checkout link, or recurring charge.
You can skip billing setup today if you only need scheduling and customer records—but come back here before any money changes hands in the app.
Before you start
- You must be a team admin to open Settings > Billing.
- Have access to the business Stripe account, or ask the person who manages payments to be available.
- Know whether your facility will absorb card processing fees or pass them to customers.
- Know your default invoice payment terms, such as Due on Receipt, Net 7, or Net 30.
- Know which taxes apply to your products or services.
Open Billing settings
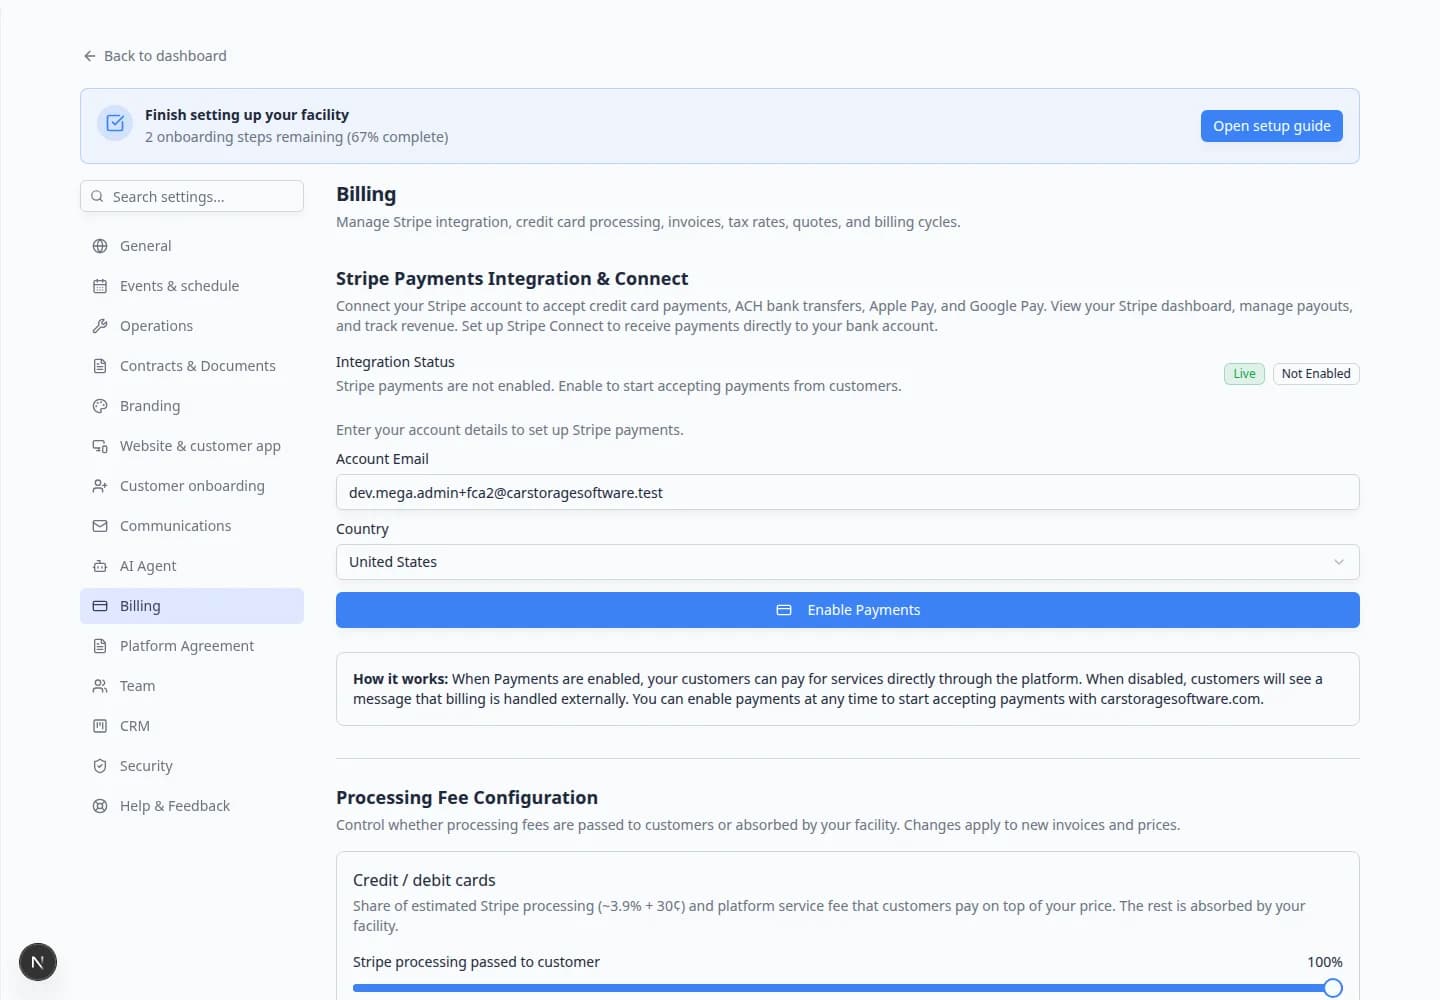
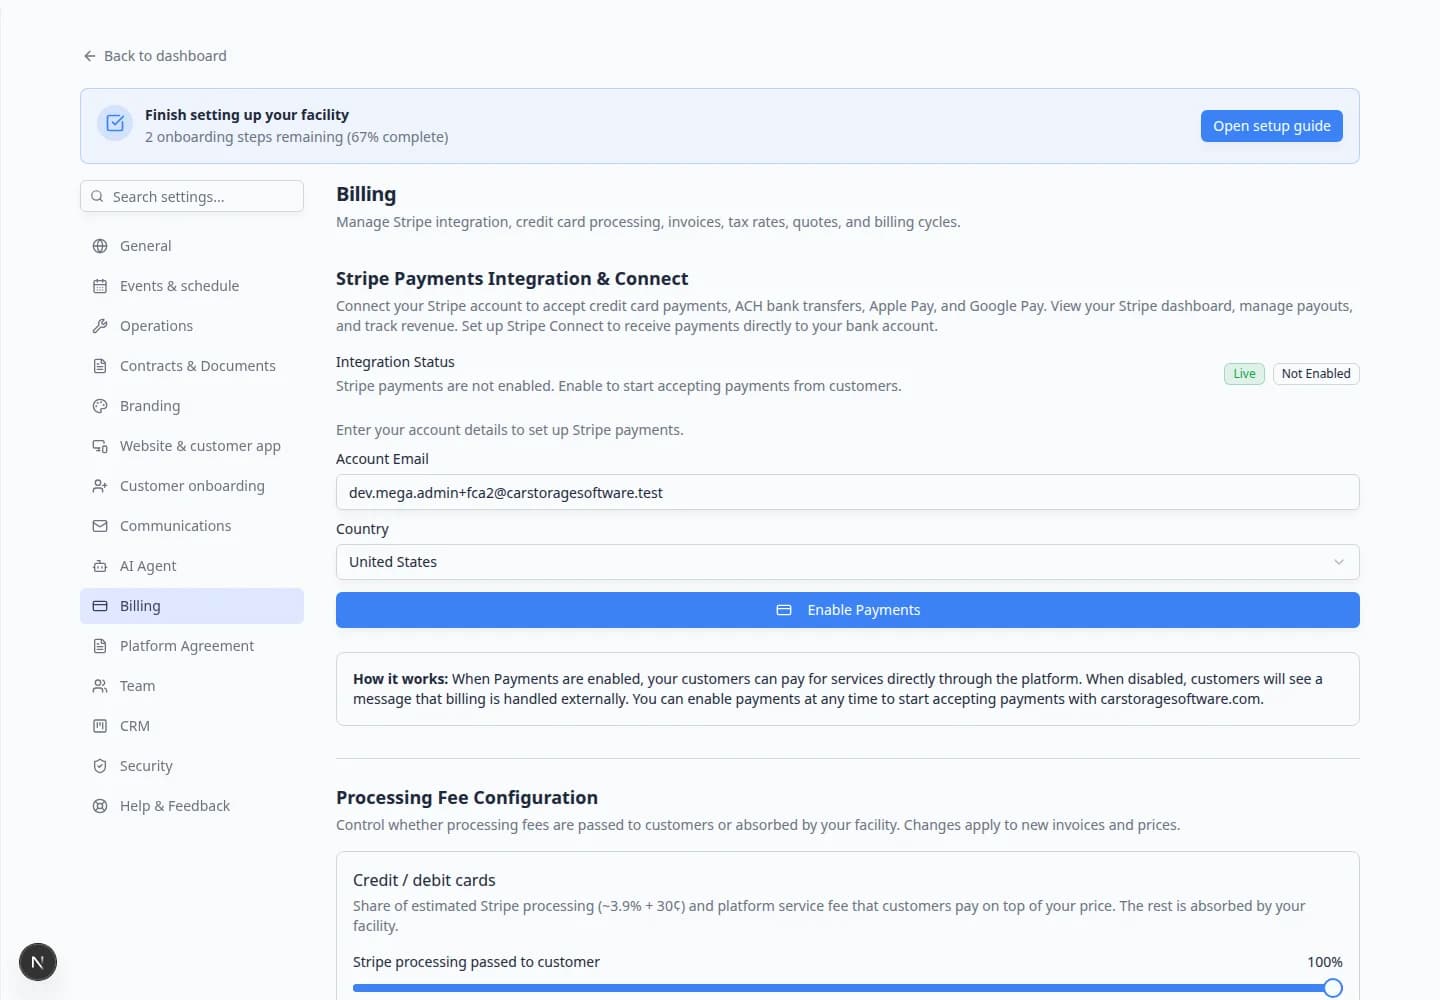
Go to Settings > Billing.
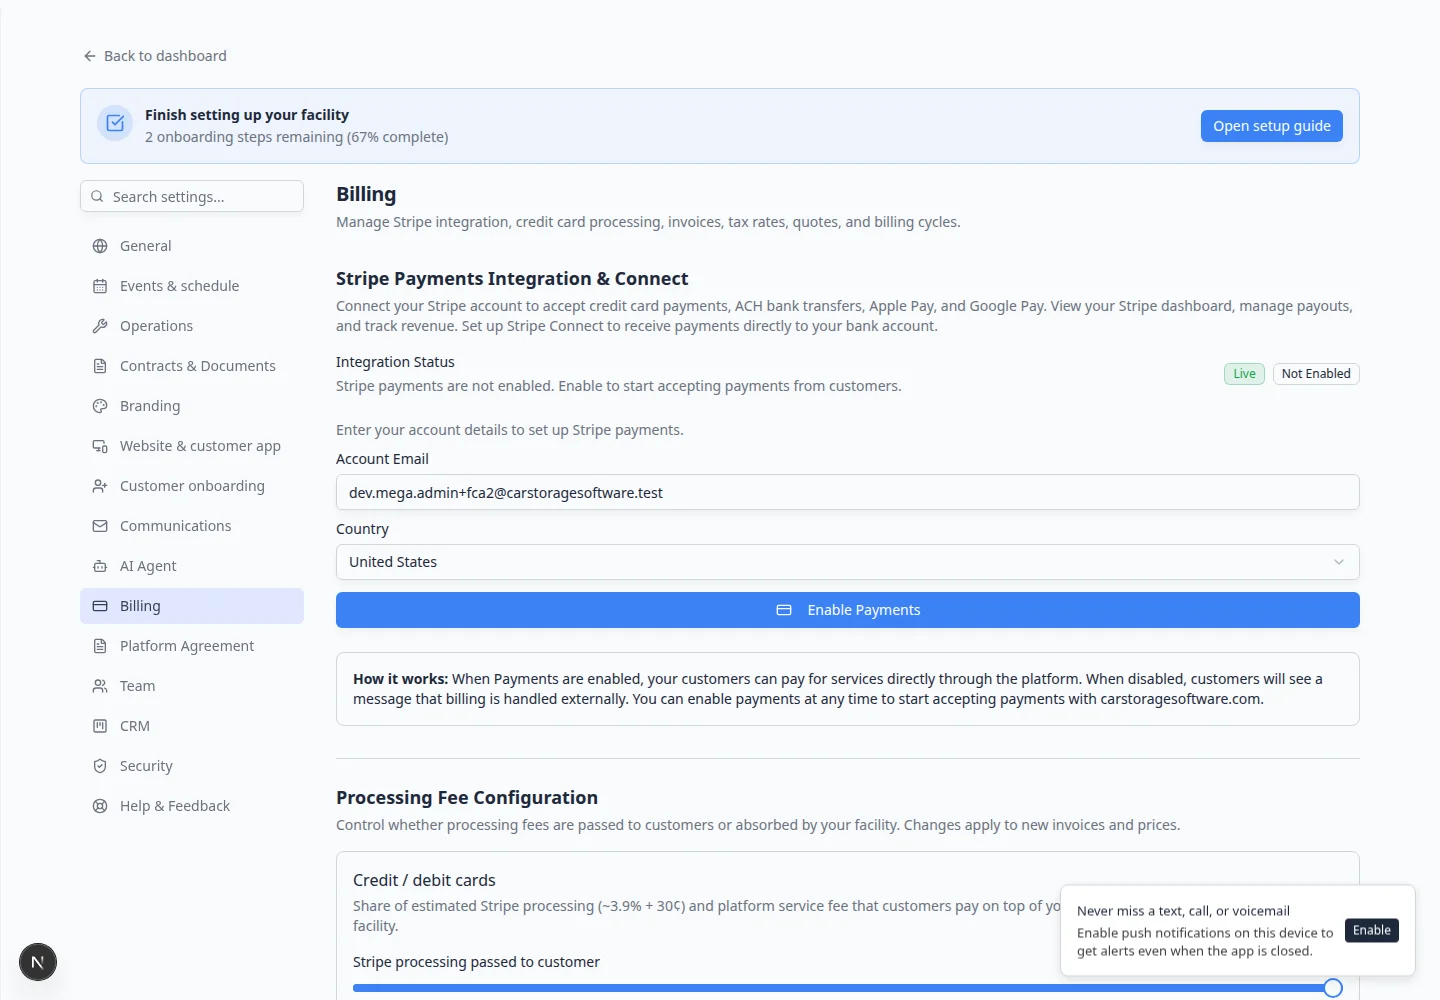
The page title is Billing. If you do not see Billing in the Settings menu, your account may not have admin access.
Connect Stripe payments
Stripe is the payment processor used to collect card and bank payments.
- Find Stripe Payments Integration & Connect
At the top of Settings > Billing, find Stripe Payments Integration & Connect.
- Start or continue Stripe setup
Click the setup or connect button shown in that section.
The app may send you to Stripe to confirm business information, bank payout details, and identity information.
- Finish the Stripe steps
Complete the required Stripe screens. Use accurate legal business details so payouts and verification are not delayed.
- Return to Billing settings
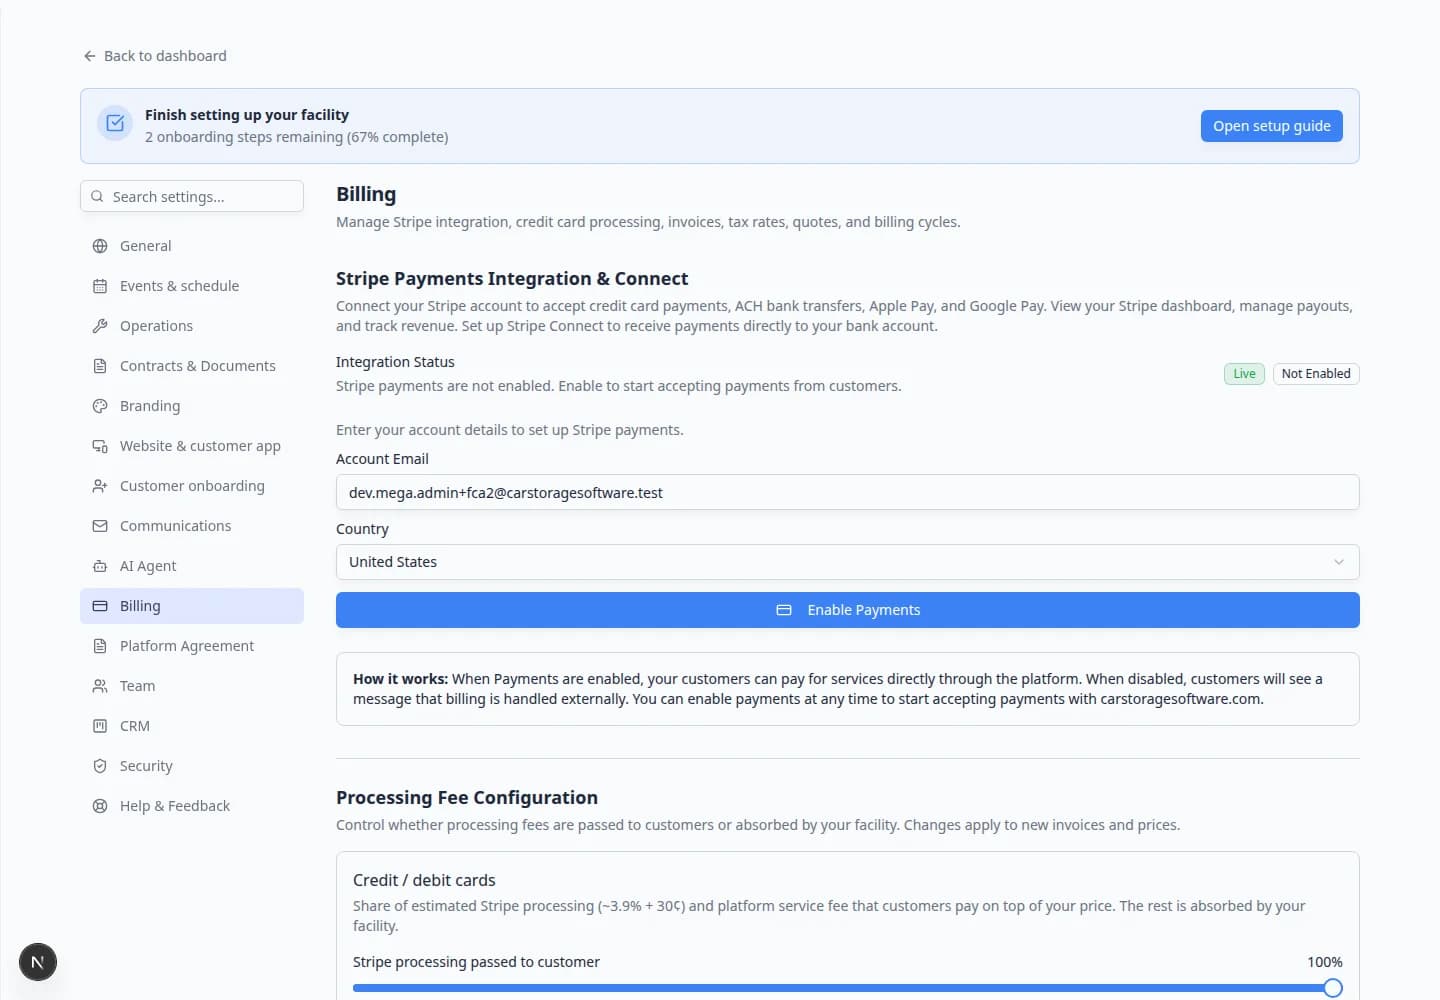
After Stripe sends you back to Car Storage Software, return to Settings > Billing and confirm the payment status looks connected or ready.
Expected result
Your facility can accept supported payment methods through invoices, customer portal payments, checkout, and other billing tools.
Choose how to handle processing fees
Processing fees are the charges payment processors collect when a customer pays online.
- Find Processing Fee Configuration
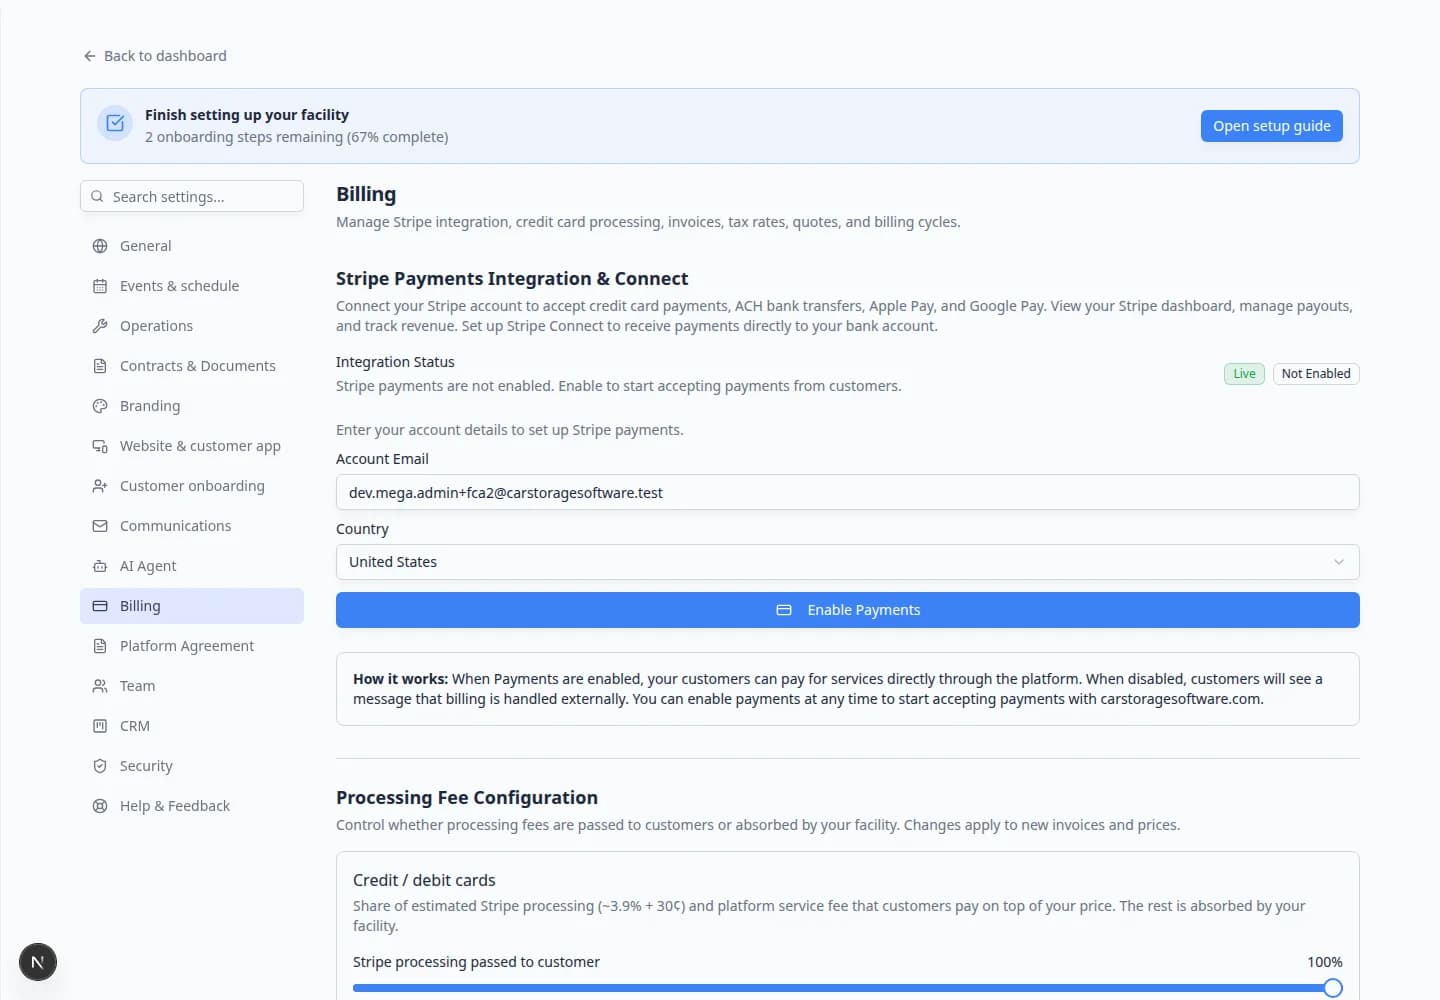
On Settings > Billing, scroll to Processing Fee Configuration.
- Choose who pays the fee
Decide whether the facility absorbs processing fees or passes eligible fees to customers.
If you are unsure, ask your owner, accountant, or manager before changing this setting.
- Save and review future invoices
Save the setting, then review the next invoice or checkout item before sending it to a customer.
Expected result
New invoices and prices follow the fee rule your team selected.
Review statement billing and invoice settings
Statement billing is useful when customers receive one combined statement for multiple charges, such as monthly storage plus services.
- Find Statement Billing & Invoice Settings
Scroll to Statement Billing & Invoice Settings.
- Confirm billing cycle rules
Review billing cycle timing, statement close dates, and automatic invoice generation settings.
- Find Invoice Configuration
Scroll to Invoice Configuration.
- Review invoice numbering and defaults
Confirm invoice number rules, line item behavior, and default tax behavior.
Look for Default payment terms (or similar wording) such as Due on Receipt, Net 7, or Net 30. These control how many days a customer has to pay after an invoice is sent.
Why this matters: Due on Receipt means the customer should pay immediately. Net 30 means payment is due within 30 days. Pick the terms your bookkeeper and customers already expect.
- Save and confirm on a draft invoice
After you review these fields, open a draft invoice in Payments and confirm the due date and invoice number look correct before you send anything to a real customer.
Expected result: New invoices use your chosen numbering, due dates, and default tax behavior.
Add tax rates
Tax settings help your team apply the right sales tax, VAT, GST, or custom tax rate to products and services.
- Find Tax Rates & Sales Tax
Scroll to Tax Rates & Sales Tax.
- Add the rates your facility needs
Add the tax rates that apply to your business.
Use names that make sense to your staff, such as State Sales Tax, County Tax, or VAT.
- Review product and invoice usage
Before sending a real invoice, confirm the correct tax appears on a test invoice or draft invoice.
Review quote settings
Quotes let customers approve pricing before you send an invoice. This is helpful for large service jobs, custom storage packages, or any work where the customer should agree to a price first.
- Find Quotes, Estimates & Proposals
On Settings > Billing, scroll to Quotes, Estimates & Proposals.
- Turn on Enable Quotes
Turn on Enable Quotes when your team wants to send estimates customers can accept online.
Leave it off if you only send final invoices and never need customer approval first.
- Review how quotes should behave
Read the options on the page and confirm they match your shop's process (how long quotes stay valid, what happens after approval, and how quotes become invoices).
- Create a test quote
After settings are ready, open Payments > Quotes and create a draft quote for a test customer.
Expected result: You can preview the quote, send it, and convert it to an invoice after approval without guessing settings on a live customer.
Before your first live invoice
Use this short checklist after Stripe shows as connected. It prevents embarrassing mistakes on a real customer bill.
- Create a draft invoice for a test customer
Open Payments > Invoices and start a new invoice for an internal test contact—not a paying customer.
Why this matters: Drafts let you confirm tax, fees, and numbering without sending anything.
- Confirm tax and processing fees
Check each line item shows the tax you expect. If you pass card fees to customers, confirm the fee line appears the way your manager wants.
- Send only when Stripe is ready
When the draft looks right, send it to yourself or complete a test payment in the customer portal.
Expected result: Payment status updates in Payments and the customer sees a paid or open balance correctly.
Connect accounting software (optional)
If your team uses QuickBooks Online or Xero, you may see an extra section on the Billing page after your account owner enables it.
- Find QuickBooks or Xero on the Billing page
Scroll below tax and quote settings on Settings > Billing.
If you do not see QuickBooks Online Integration or Xero Integration, your team may not have that feature turned on yet. Ask your account owner or support contact.
- Connect your accounting account
Click the connect button in the integration section and sign in to QuickBooks or Xero when prompted.
Why this matters: Connected accounting can sync invoices, payments, refunds, and payouts so your bookkeeper spends less time re-entering data.
- Confirm a test invoice syncs
After connecting, create or pay a small test invoice and confirm it appears in your accounting software the way your bookkeeper expects.
What success looks like
- Stripe shows as connected or ready for payment processing.
- Your team knows whether processing fees are absorbed or passed to customers.
- Invoice numbering and payment terms match your business process.
- Tax rates are entered and tested on a draft invoice.
- Quotes are enabled (or intentionally left off) to match how your team sells work.
- QuickBooks or Xero is connected if your bookkeeper needs automatic sync.
- Your team can continue with Payments guides to create products, invoices, quotes, and recurring billing.
Troubleshooting
What to do next
After billing is ready, continue with Manage products and services so your team has clear reusable prices for invoices, quotes, checkout, and recurring plans.