Marketing & Events
Marketing & Events overview
Understand the campaigns, community, reviews, and social event workflows available from the Marketing & Events section.
What you will accomplish
After reading this overview, you will know which part of Marketing & Events to open for customer messages, facility events, community updates, and review requests.
Your team can use this area to:
- Plan emails, texts, social posts, and events on one calendar.
- Invite customers to in-person events with RSVP and check-in.
- Run announcement or discussion channels in the customer portal.
- Ask happy customers for Google reviews and reply when feedback arrives.
Who this section is for
These guides are for facility owners, managers, and front-desk staff who send customer messages, plan open houses, run community updates, and ask for Google reviews. You do not need technical skills—only access to Marketing & Events in your dashboard.
When to use Marketing & Events
Use campaigns when many customers should receive the same message (open house invite, storage reminder, thank-you note).
Use social events when customers need a date, time, location, RSVP, tickets, or check-in at the door.
Use community channels when customers should see ongoing updates inside their portal.
Use reviews when you want to request a Google review or respond to feedback after a good visit.
Before you start
- Confirm email, text messaging, social links, and Google Reviews are ready in Settings > Communications before you send campaigns or review requests.
- If you plan to sell paid event tickets, confirm payment processing in Settings > Billing.
- Know which customers should receive outreach—use Contacts tags and filters when you are unsure.
- Decide who on your team reviews messages before customers receive them (campaigns and event invites).
Quick links by job
Use this table when you know the outcome you need and want to jump straight to the right page or guide.
| I need to… | Open this page | Step-by-step guide |
|---|---|---|
| See what is already scheduled this month | Marketing & Events (Calendar tab) | This overview |
| Send an email or text to many customers | Marketing & Events → Create New | Create a campaign |
| Finish wording, audience, and send a campaign | Your campaign detail page | Add campaign message, audience, and publish |
| Run an open house or Cars & Coffee with RSVP | Marketing & Events → Create New → Social Event | Create a social event |
| Collect event interest or waitlist signups on a custom page | Marketing & Events > Forms → New form | Create and share a custom form |
| Read survey answers or download a spreadsheet | Your form → Results | Review form responses and export |
| See who is coming before event day | Your event detail page | Review social event RSVPs and attendees |
| Check guests in at the door | Event page → Check in | Check in social event attendees |
| Post ongoing updates in the customer portal | Marketing & Events > Community | Manage community channels |
| Ask one happy customer for a Google review | Marketing & Events > Reviews | Request and manage reviews |
| See how many people visit your public website | Marketing & Events > Website | Review website traffic on your public pages |
| Send a text, push, or social post (not email) | Marketing & Events → Create New | Create a text, push, or social campaign |
| Put a survey on your public facility page | Settings > Website & customer app → Page editor | Embed a custom form on your website |
Open Marketing & Events
From the dashboard sidebar, click Marketing & Events. You land on the Calendar tab.
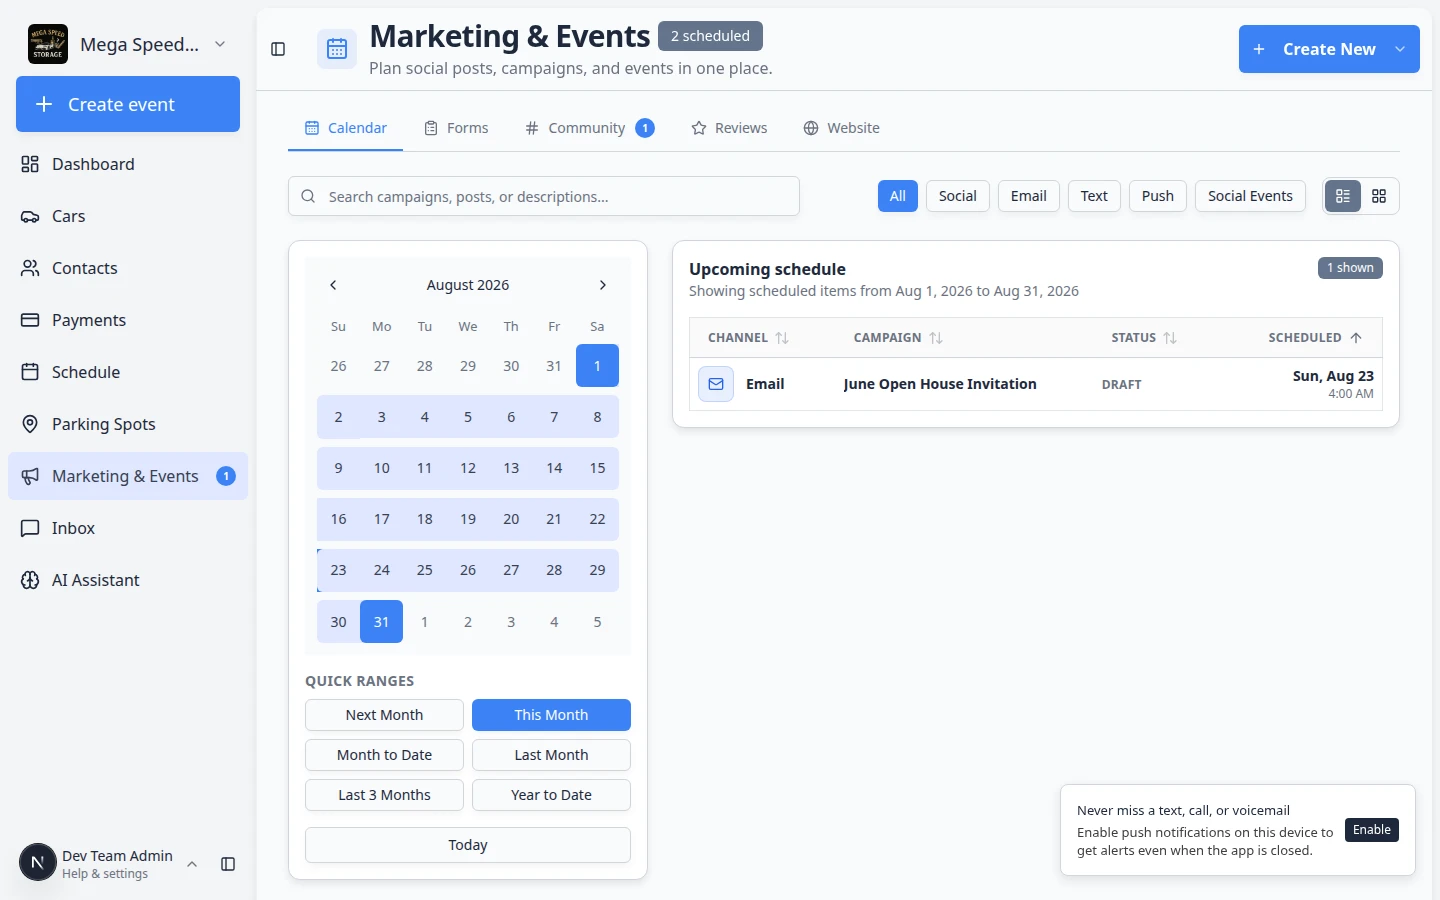
Expected result: You see a calendar (or list) of planned customer outreach and events. A small badge near the page title may show how many items are scheduled this month. Use Create New in the top-right corner when you are ready to add something.
Plan your week on the calendar
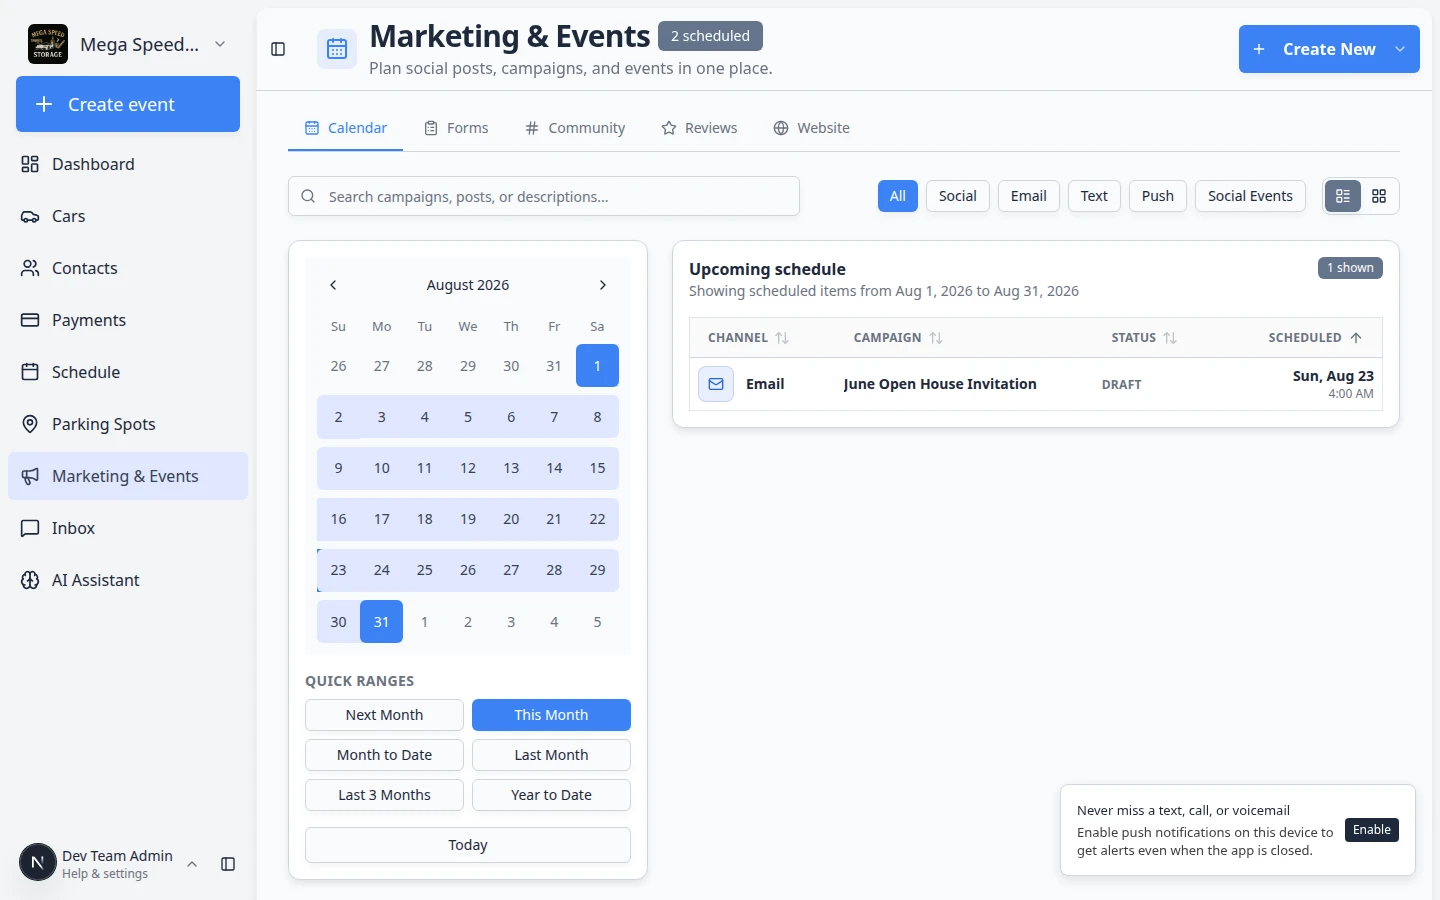
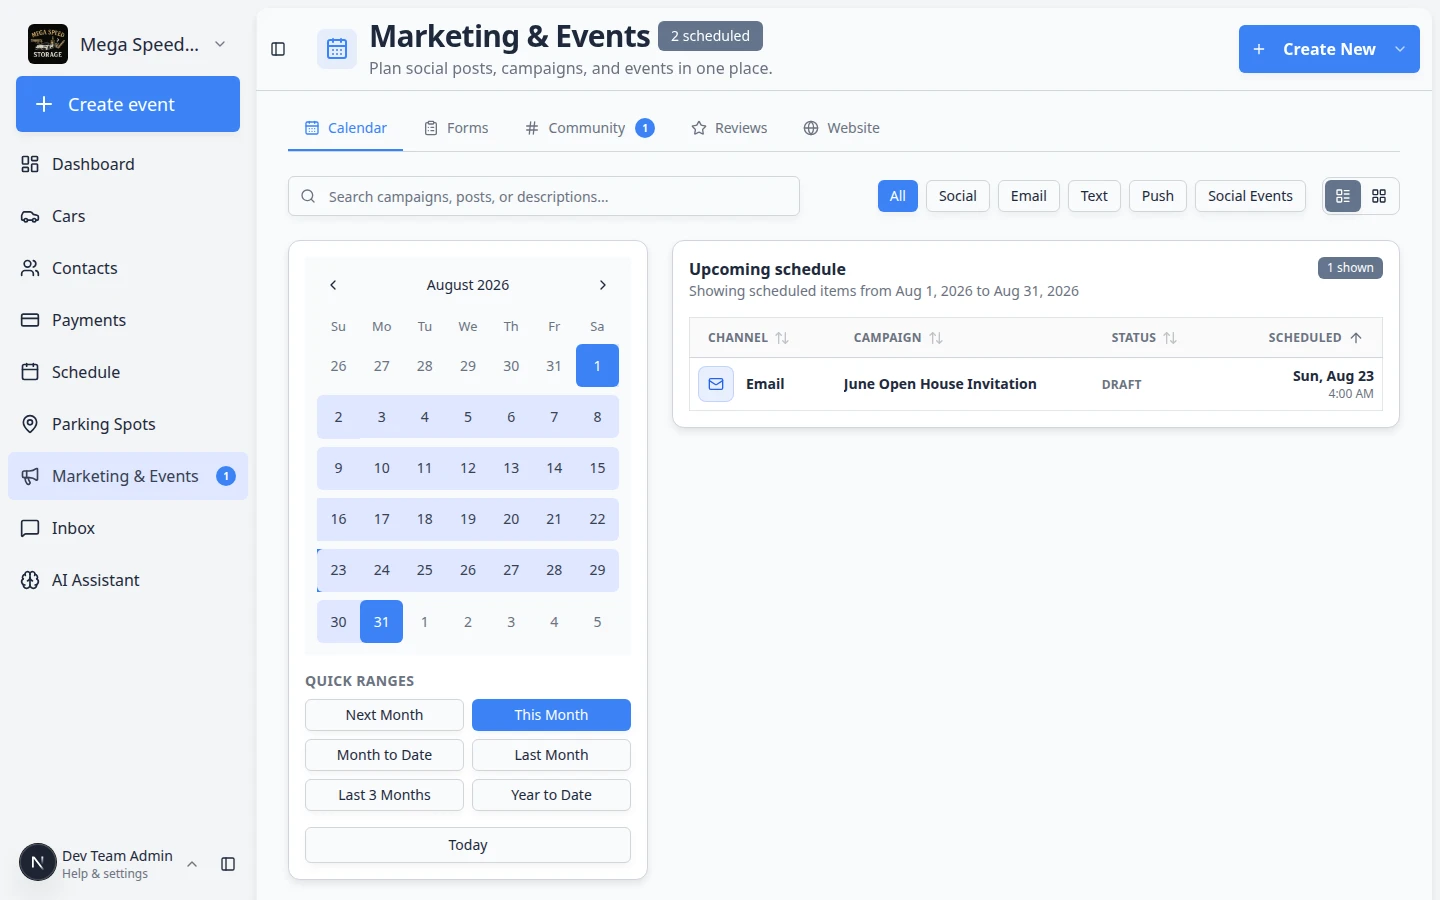
The Calendar tab is more than a pretty month view. Use it to avoid sending two big messages on the same day and to see what is already scheduled.
- Scan the month
Colored dots and labels show emails, texts, social posts, and in-person events. Click a day to focus the list below.
Why this matters: Customers notice when they get a storage reminder and an event invite on the same morning. Spacing messages helps each one get attention.
- Use Quick ranges
On the left side of the calendar, click This week, This month, or Next month to jump the date range without clicking day by day.
Why this matters: Busy teams use quick ranges to scan what is coming soon—not only the current month on screen.
Expected result: The calendar and Upcoming schedule list both focus on the range you picked.
- Use channel filters
Above Upcoming schedule, click filter pills such as All, Social, Email, Text, Push, or Events. The exact order may vary slightly, but every type is there. Only the type you pick stays in the list.
Expected result: You can answer questions like "Do we already have a text going out this Friday?" without scrolling past emails.
- Switch between table and card view
Next to the filters, use the view buttons (Table view and Card view) to change how Upcoming schedule looks.
Why this matters: Table view is best for scanning many rows. Card view is easier on smaller screens.
Expected result: The same scheduled items appear—only the layout changes.
- Search the upcoming list
Type in the search box to find a campaign or event by name.
Expected result: Long lists shrink to the one item you need.
- Open an item from the list
Click a row in Upcoming schedule to open the campaign or event detail page.
Expected result: You land on the page where you can edit the message, audience, RSVPs, or publish settings.
The five main tabs
Marketing & Events has five tabs across the top of the page. Each tab does a different job.
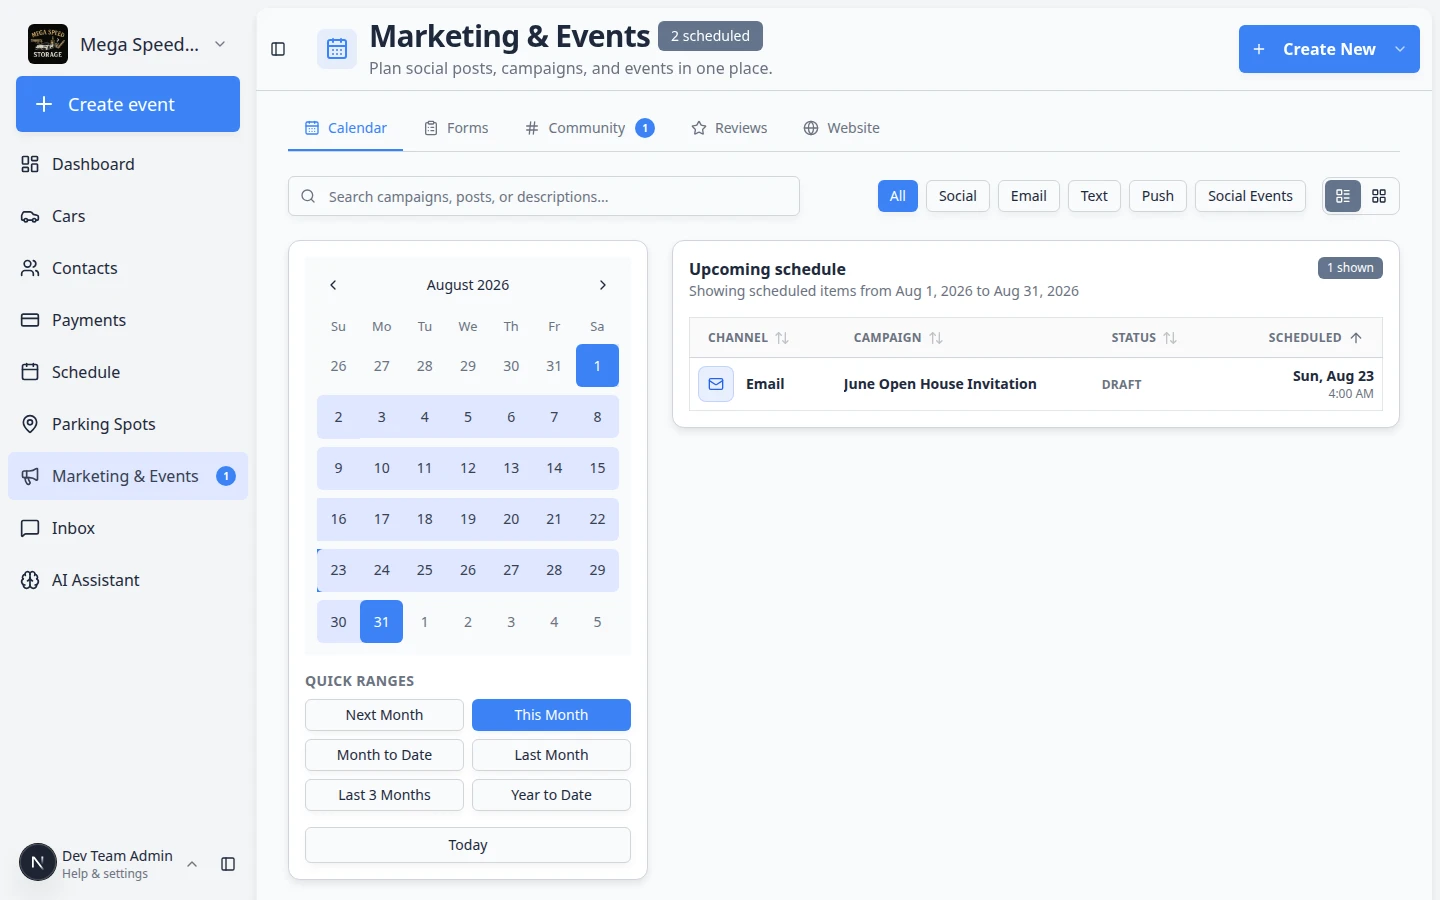
- Calendar
Stay on Marketing & Events to see what is scheduled. This is the best view when you want to avoid sending two big messages on the same day.
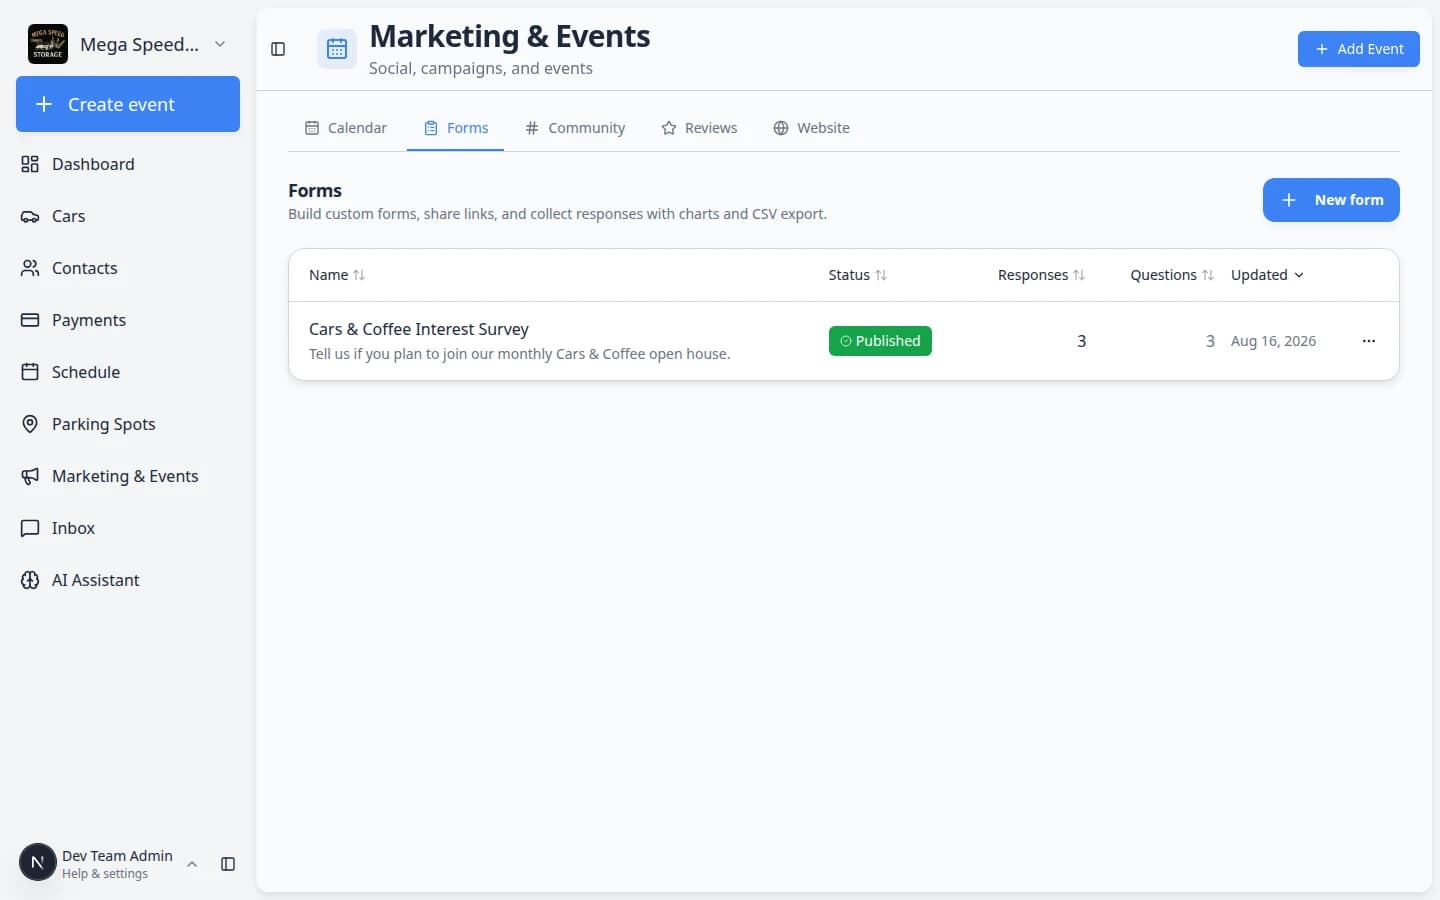
- Forms
Open Marketing & Events > Forms to build custom signup or survey pages you can share by link or QR code. Published forms appear here with a Published status. Use them when you need more than the standard storage registration form—for example, a lead capture page for a car show or a detail-service waitlist.
Expected result: You see a list of your forms with status (Draft, Published, or Closed), response counts, and buttons to copy the public link or edit the form.
Step-by-step: Create and share a custom form and Review form responses and export.
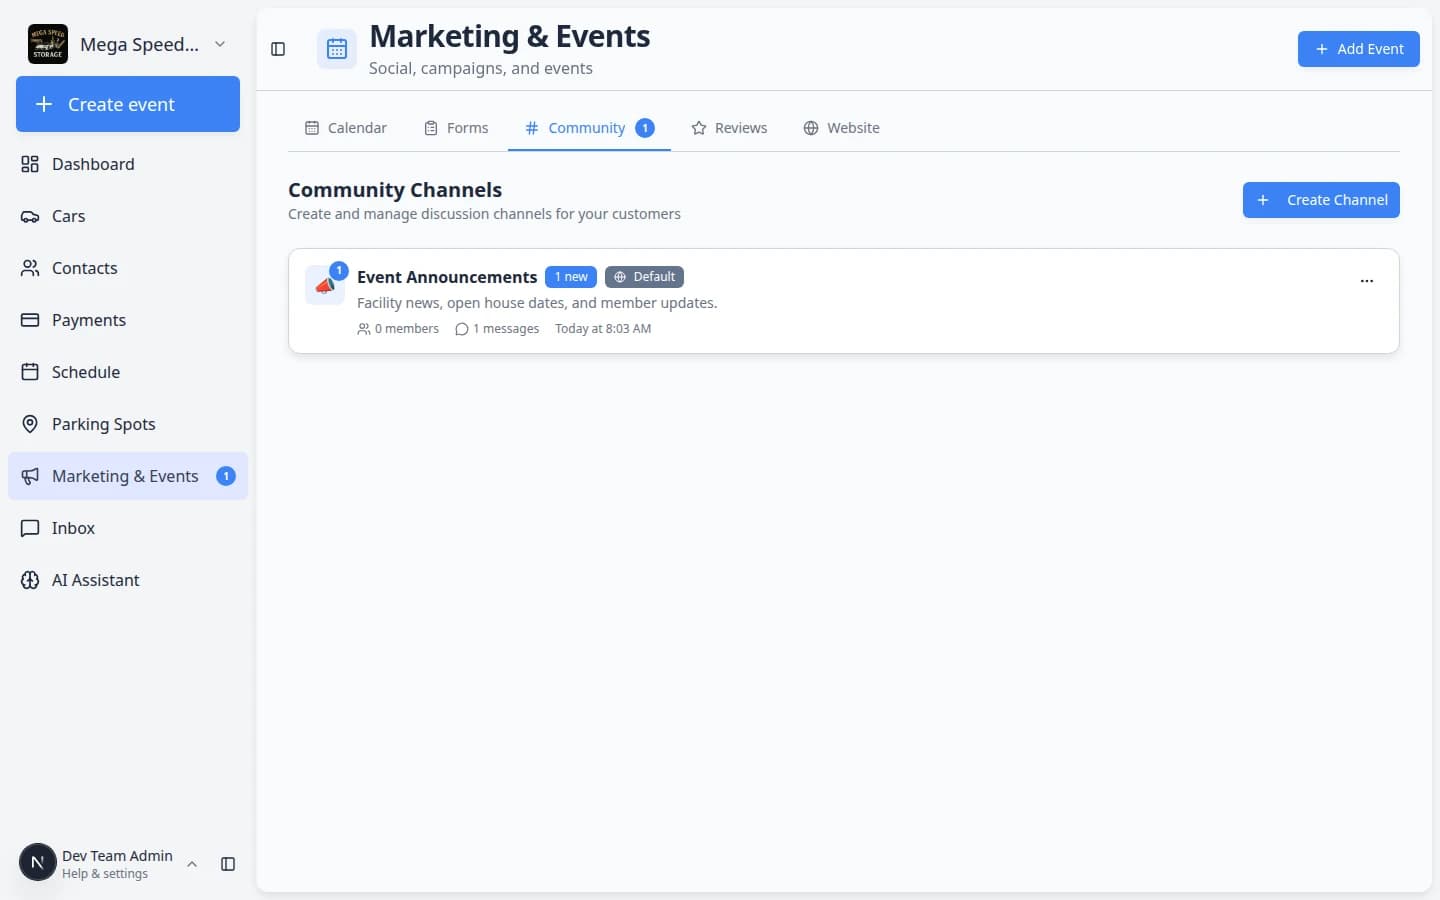
- Community
Open Marketing & Events > Community to create channels such as Announcements, Event Updates, or member discussion. A number badge on this tab means unread messages are waiting in one or more channels.
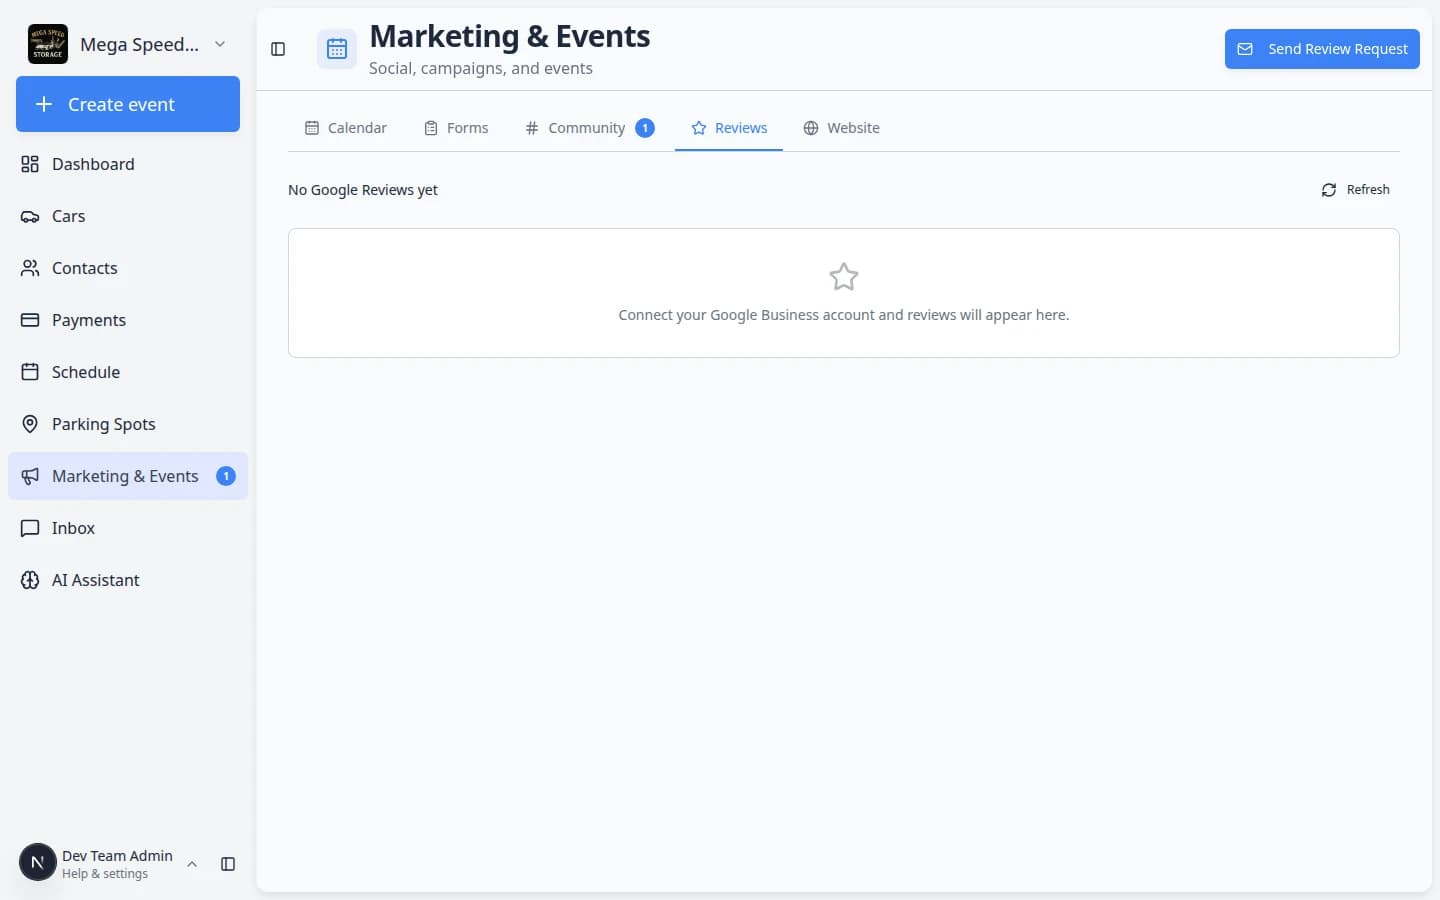
- Reviews
Open Marketing & Events > Reviews to send review requests and read Google feedback when your Google Business connection is ready.
- Website
Open Marketing & Events > Website to see how many people visited your public facility pages and which paths they opened most often.
Expected result: You see page views, visitors, and (when Google Analytics is connected) charts for the last 7, 30, or 90 days.
Step-by-step: Review website traffic on your public pages.
Event week: from RSVP to check-in to reviews
When you run an in-person customer event, three guides work together. You do not need to read them all at once—use this map so your team knows when to open each one.
- Several days before the event
Open your event on Marketing & Events and follow Review social event RSVPs and attendees.
Expected result: You know how many guests marked Going, who is still Maybe, and whether you are near Capacity.
- Day of the event at the door
On the same event page, click Check in and follow Check in social event attendees.
Expected result: Each arrival is marked Checked In so your head count matches who actually walked through the door.
- A day or two after a great visit
Open Marketing & Events > Reviews and follow Request and manage reviews for customers who had a positive experience.
Expected result: Happy guests receive a personal link to leave a Google review—not a mass blast to everyone.
Recommended learning path
If your facility is new to this area, follow this order:
- Review communication settings so email, text messaging, social links, and Google Reviews are ready.
- Create your first campaign for a customer update, event invitation, promotion, or announcement.
- Finish the message, audience, and publish steps before customers should receive an email or text.
- When you need a custom question list (event interest, waitlist, feedback), create and share a custom form and review responses.
- Create a social event when customers need an RSVP page, event details, or ticket check-in.
- Review RSVPs and attendees a few days before the event so your team can plan capacity and reminders.
- Create community channels for announcements or customer discussion.
- Use event check-in when attendees arrive.
- Send review requests after a helpful service, visit, delivery, or event.
- Review website traffic monthly so you know whether public pages are working.
Related workflows
Marketing work often depends on customer records, tags, portal settings, and payments.
Use Contacts to organize who should receive a campaign. Use Settings > Communications before sending texts or review requests. Use Payments before selling paid event tickets.
Common mistakes to avoid
- Do not send a campaign until another teammate has reviewed the audience and message.
- Do not publish a paid event until payment processing is ready in Settings > Billing.
- Do not make a community channel read-only unless only staff should post there.
- Do not ask every customer for a review at once. Start with people who had a recent positive visit.
Troubleshooting
How-to guides in this section
- Create a campaign — start an email, text, push, or social post.
- Add campaign message, audience, and publish — finish the message and send it to the right customers.
- Create and share a custom form — build a survey or signup page with a shareable link.
- Review form responses and export — read answers, view charts, and download a CSV.
- Create a social event — publish an RSVP page with event details.
- Review social event RSVPs and attendees — see who is coming before event day.
- Check in social event attendees — mark guests as arrived on event day (QR scan or manual ticket code).
- Manage community channels — create customer discussion or announcement channels.
- Request and manage reviews — ask for Google reviews and reply to feedback.
- Review website traffic on your public pages — see visits to your facility website.
- Create a text, push, or social campaign — reach customers outside email.
- Embed a custom form on your website — show a survey on your public facility page.
What success looks like
When Marketing & Events is working well for your facility:
- Your team can see upcoming emails, texts, and events on one calendar without surprises.
- Customers receive clear messages with the right audience—not everyone gets every blast.
- Social events show honest RSVP counts before event day so you can plan parking and staff.
- Community channels have at least one active post so portal customers know where to look for news.
- Happy customers receive timely review requests—and your team replies to Google feedback professionally.
- Custom forms collect useful answers your team can export and act on—not scattered notes in email.
What to do next
If you are new to this area, start with Create a campaign, then follow Add campaign message, audience, and publish.
If you are preparing for an event, continue with Create a social event and Review social event RSVPs and attendees.