Contacts
Manage contact tags and CRM fields
Use tags, pipeline stages, customer types, and sources to organize and segment your customer base.
Use this guide when you need to organize customers by pipeline stage, service type, source, or flexible labels.
What you will accomplish
- Understand when to use CRM stage, customer types, source, and tags—and when tags alone are enough.
- Add or remove tags on a customer record from All Contacts.
- Move a customer to a new pipeline stage from their record or by dragging on the Board view.
- Record how the customer found your facility with Customer Source.
- Know where admins set up stages, types, and sources in Settings > CRM.
Tags and CRM fields are how your team organizes, prioritizes, and segments customers. Whether you need to track where a lead came from, what stage they are in your sales pipeline, what type of service they use, or simply flag VIP customers for special treatment—these tools work together to keep your contact list actionable.
When to use each tool
Before you start
- Understand the four segmentation tools and when to use each one (see the comparison table below).
- If you need to add new CRM stages, customer types, or sources, you will need access to Settings → CRM.
- Tags can be created on the fly from any customer record — no admin setup required.
Understanding the four segmentation tools
Your facility has four ways to classify customers. Each serves a different purpose:
| Tool | What it does | Where it is configured | Example values |
|---|---|---|---|
| CRM Stage | Tracks where a customer sits in your pipeline. One stage per customer at a time. | Settings → CRM | New Inquiry, Tour Scheduled, Contract Sent, Active Storage, Paused |
| Relationship Stage | High-level bucket that groups pipeline stages into three categories. | Set when creating/editing a customer | Lead, Customer, Former Customer |
| Customer Types | Multi-select groups describing what kind of service the customer uses. | Settings → CRM | Storage, Events, Detailing, Consignment |
| CRM Source | Records how the customer found your facility. One source per customer. | Settings → CRM | Website, Referral, Social Media, Car Show, Walk-in |
| Tags | Flexible, freeform labels. A customer can have unlimited tags. | Created on the fly from any customer record | VIP, Collector, Fleet, Requires White Glove, Pending Documents |
Add or change tags on a customer
Tags are the most flexible segmentation tool. Create them on the spot and apply as many as you need.
- Open the customer record
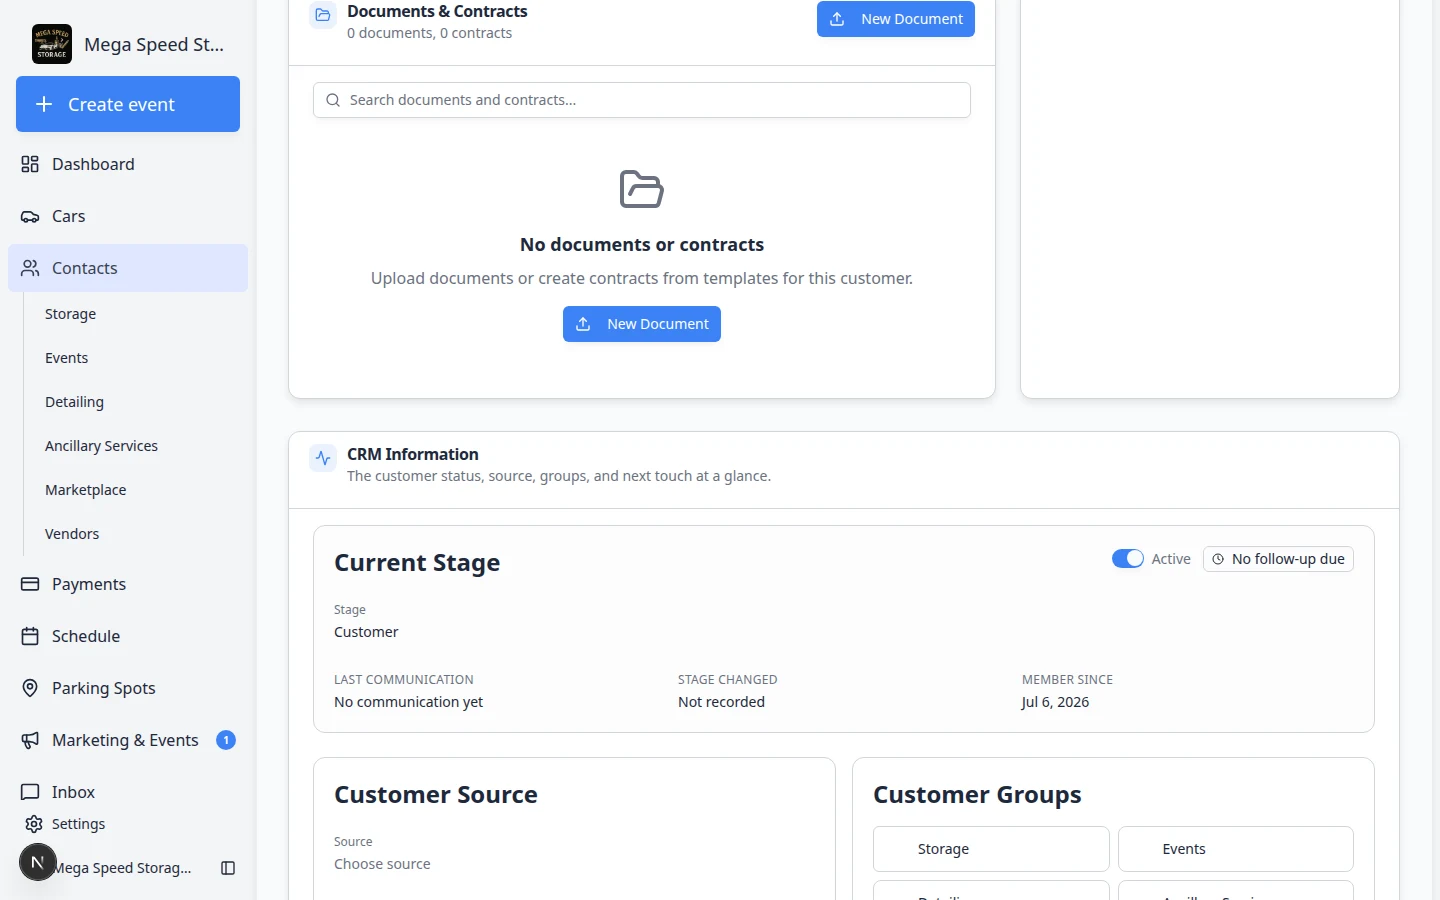
Go to the Contacts page and click the customer you want to tag. The detail page opens.
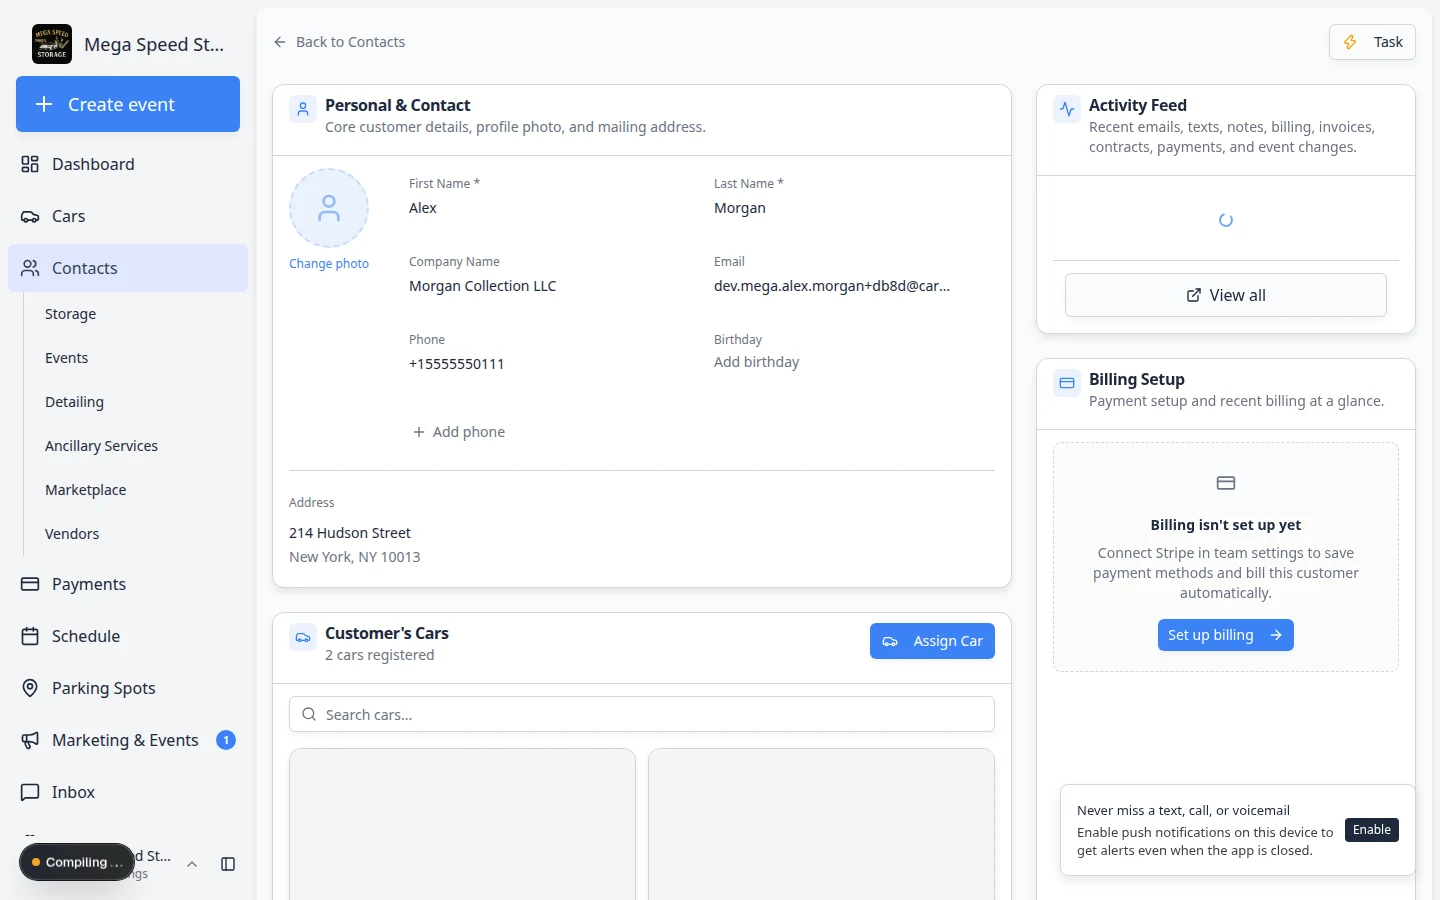
- Find the CRM Information section
Scroll down to the CRM Information section on the detail page. You will see fields for Current Stage, Customer Source, Customer Groups, and Tags.
The CRM Information section is where you manage all segmentation fields for a customer. - Click the Tags field
Click the Tags field to open the tag picker. You will see a search box and a list of existing tags your team has created.
- Search or create a tag
- To apply an existing tag — type part of the tag name to filter the list, then click it to apply.
- To create a new tag — type the full tag name. If it does not exist, you will see an option to create it. Click to create and apply in one step.
The tag picker lets you search existing tags or create new ones on the fly. - Remove a tag
To remove a tag, click the × next to the tag name in the Tags field. The tag is removed from this customer but still exists for use on other records.
Change the CRM pipeline stage
The pipeline stage shows where a customer is in your sales or service process. You can change it from the detail page or by dragging on the board view.
From the detail page
- Open the customer record
Go to All Contacts and click the customer whose stage you want to change.
- Find the Current Stage field
In the CRM Information section, locate the Current Stage dropdown.
- Select the new stage
Click the dropdown and select the appropriate stage. The stages shown depend on the customer's Relationship Stage — lead stages appear for leads, customer stages for customers, and so on.
The change is saved immediately. The system records the timestamp of the stage change for reporting and SLA tracking.
Follow-up due badges on the customer page
On the customer detail page, CRM Information may show a badge next to Current Stage:
- No follow-up due — your team is on track for this stage.
- Follow-up due — the stage has been unchanged longer than your team's target (a reminder to call or email).
- Overdue — the follow-up window has passed; prioritize this customer.
Admins set how many days each stage allows in Configure CRM settings. Staff use the badges as a daily to-do list—not as a customer-facing message.
From the board view (drag and drop)
Board view is helpful when your team works from a pipeline. Each column is a stage, and each card is a customer.
- Switch to board view
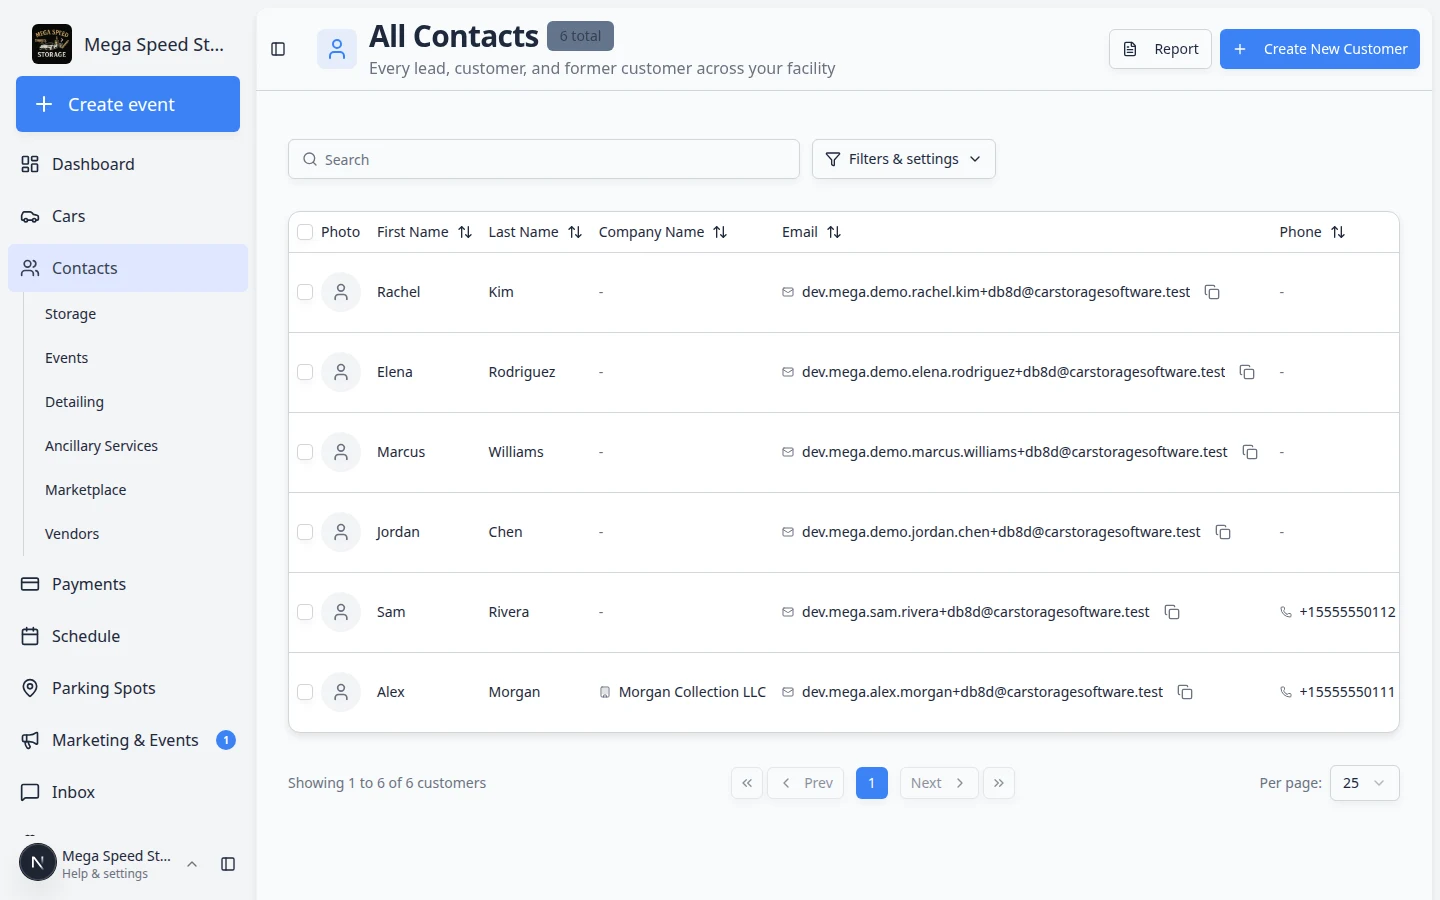
On All Contacts, switch to the Board view using Filters & Settings. The board shows customers as cards arranged in columns by CRM stage.
- Drag the customer card
Find the customer's card and drag it from the current column to the destination stage column. Release to save.
The stage change is saved immediately and the timestamp updates. This is the fastest way to move multiple customers through your pipeline.
Set the customer source
The source records how the customer found your facility — critical for understanding which marketing channels work.
- Open the customer record
Go to the Contacts page and click the customer.
- Find the Customer Source field
In the CRM Information section, locate the Customer Source dropdown.
- Select a source
Choose from the configured sources (e.g. Website, Referral, Social Media, Car Show). These are defined by your team admin in Settings → CRM.
- Add source detail (optional)
If available, fill in the Source Detail text field with specifics — for example, "Referred by John Smith" or "Saw our booth at Amelia Island 2025." This extra context helps your team attribute leads accurately.
Assign customer types (groups)
Customer types let you tag what kind of service a customer uses. Unlike pipeline stages (one at a time), a customer can belong to multiple types simultaneously.
- Open the customer record
Go to the Contacts page and click the customer.
- Find the Customer Groups field
In the CRM Information section, locate the Customer Groups toggle buttons.
- Toggle types on or off
Click a type to activate it (highlighted) or deactivate it (dimmed). Common types include Storage, Events, Detailing, and Consignment — but your admin may have configured others.
Changes are saved immediately. Customer types appear in filters, on type-specific contacts pages (such as Storage), and in reports so your team can find all customers who use a specific service.
Find customers by tag, stage, or type on the list
After you label customers, use Find and filter contacts to narrow All Contacts:
- Board view — drag cards between pipeline columns (see above).
- Filters & Settings — filter by CRM stage, customer type, source, or status.
- Search — type a tag name to find customers with that label.
- Customer Report — export stage and portal columns for managers. See Export and use the customer report.
Configure CRM stages, types, and sources (admin)
If you are a team admin and need to add, reorder, or archive segmentation options, work in Settings—not on each customer record.
- Open CRM settings
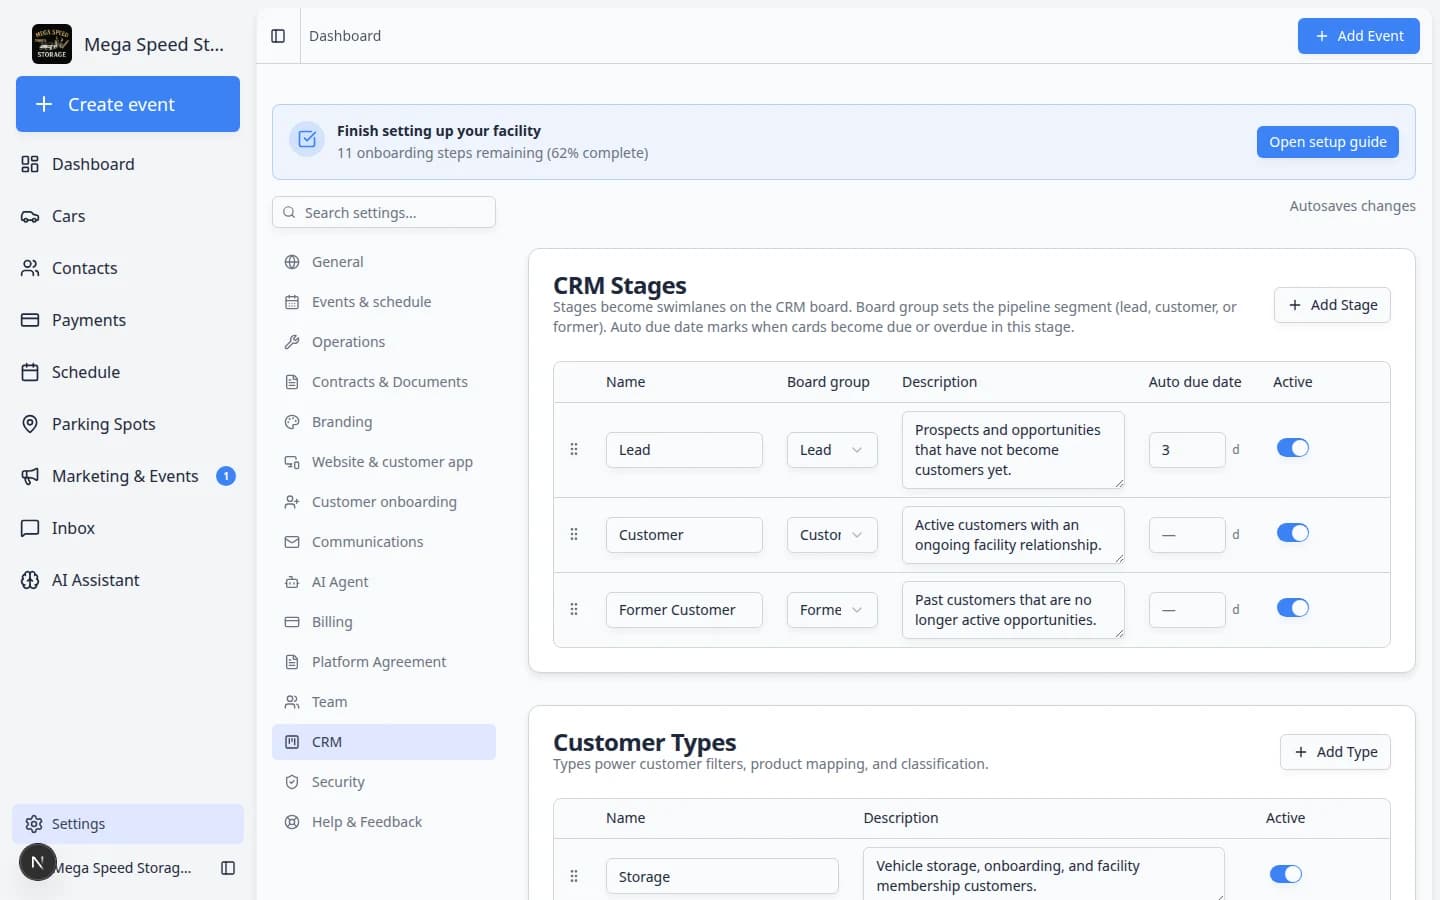
Navigate to Settings > CRM. You will see sections for Pipeline Stages, Customer Types, and Lead Sources.
Expected result: You can see the same stage and type names your team picks on customer records.
- Add a new option
In any section, click the Add button. Enter a name and (for stages) assign it to a category: Lead, Customer, or Former Customer. Click Save.
- Reorder options
Drag options up or down to change their display order. The order affects how stages appear on the board and in dropdowns.
- Archive or deactivate
To remove an option from active use without losing historical data, use the archive action. Archived options no longer appear in dropdowns but remain on existing records.
Tips for effective segmentation
Segmentation works best when your team agrees on conventions before creating dozens of tags and stages:
- Use pipeline stages for process — stages answer "where is this customer in our workflow right now?" Keep the number of stages manageable (5–8 per category is a good target).
- Use customer types for services — types answer "what does this customer buy from us?" They are durable and rarely change.
- Use sources for attribution — sources answer "how did this customer find us?" Set them once when the customer is created and rarely update.
- Use tags for everything else — tags are flexible labels for any attribute that does not fit stages, types, or sources. Common uses: VIP status, special handling instructions, event audiences, and temporary flags.
- Clean up unused tags — periodically review your tag list and remove duplicates or outdated tags to keep the picker manageable.
What to do next
- Use Find and filter contacts to filter by stage, type, or source on the list.
- When a customer is ready for the portal, follow Invite a customer to the portal.
- For full CRM setup during onboarding, read Configure CRM settings.