Basics
Set up your facility profile
Confirm your facility name, branding, time zone, and regional settings so customers and staff see the right information everywhere.
Use this guide when you are setting up a new facility workspace or checking that customers will see the right business name, logo, dates, and times.
Part of the Getting started path for new facilities.
Your facility profile is spread across two settings pages — Branding (name, logo, colors) and General (time zone, date format, country). Keeping both accurate helps customers trust emails, invoices, and portal pages.
What you will accomplish
You will review Branding and General settings, save any needed changes, and know what to check next before inviting customers.
Before you start
- You need permission to edit facility settings (usually a team admin).
- Have your correct facility name and logo file ready (PNG or JPG).
- Know your facility time zone and how your team writes dates (for example May 19, 2026 vs 19 May 2026).
- If you are unsure what customers should see, ask the facility owner or manager first.
Part 1 — Set name, logo, and colors (Branding)
Branding controls how your facility looks to customers — name, logo, and theme colors on emails, invoices, the customer app, and booking widgets.
- Open Settings
In the left sidebar, click Settings near the bottom.
Expected result: You see a list of settings pages such as Branding, General, Team, and Billing.
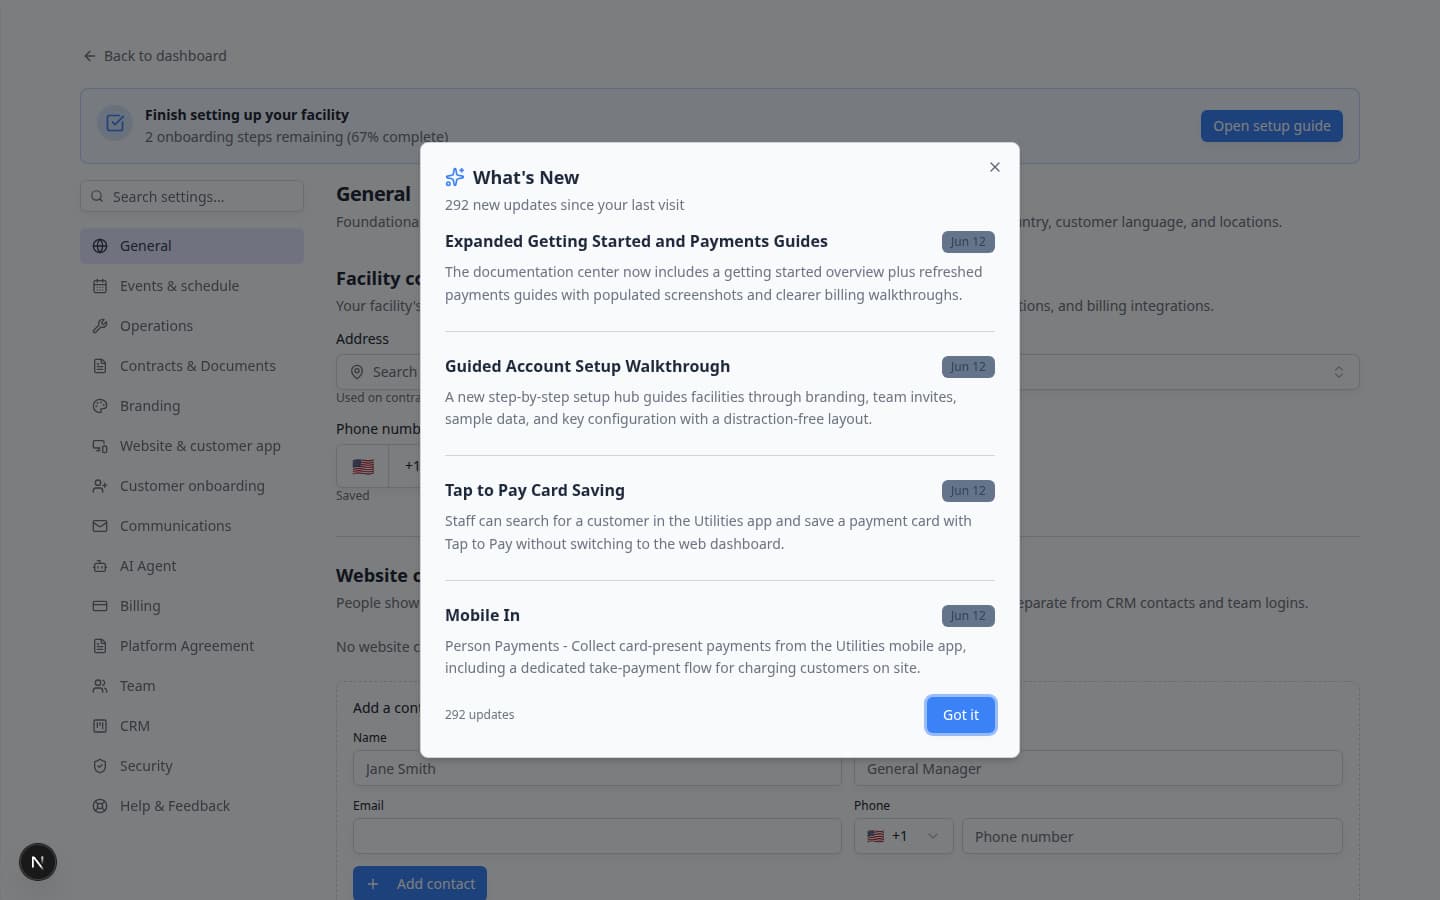
Settings is where owners configure the whole facility. **Branding** and **General** are the two pages this guide covers first. - Open Branding settings
Click Branding in the settings menu.
Or open Settings > Branding directly.
Expected result: The page title is Branding and you see a Basic Branding section.
- Check the facility name
Confirm the Facility name is written the way customers should see it on invoices and emails.
Tip: Use your public business name, not an internal nickname.
Expected result: Customer-facing pages show the correct business name.
- Check the app name (optional)
The App name is the short label customers may see on a phone home screen. Many facilities use a shorter version of the full name.
Why this matters: A clear short name helps customers recognize your app icon among other apps.
- Upload or replace your logo
Use Upload under Light Mode logo (and Dark Mode logo if you have one).
Choose a clear, square image your customers already recognize. PNG or JPG files usually work best.
Expected result: A logo preview appears in the rounded square. If upload fails, try a smaller file (under 2 MB) or a different browser.
Why this matters: Your logo appears on customer emails, invoices, and the portal. A recognizable image builds trust before customers ever visit your building.
- Review theme colors
Scroll to theme color options if your facility uses custom brand colors. Match your approved brand when possible.
Why this matters: Theme colors appear on customer-facing pages, booking widgets, and the customer app preview. Consistent colors help customers recognize your business.
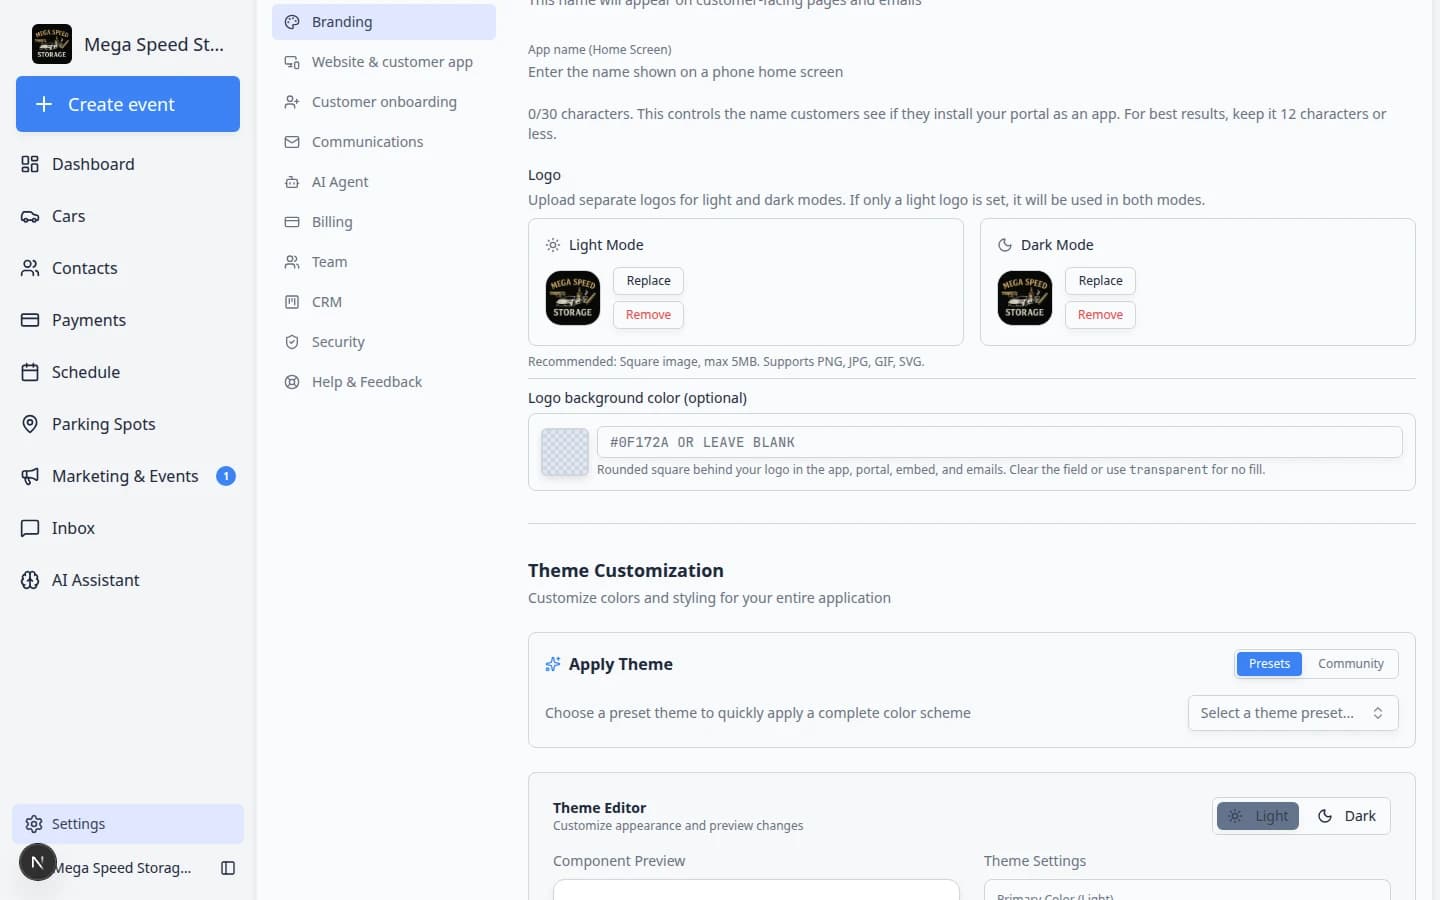
Theme colors live on the same [Settings > Branding](/dashboard/settings/branding) page as your logo. Save after you adjust colors. - Save your branding changes
Scroll to the bottom of the Branding page and click Save (or Save changes).
Expected result: A short success message appears. The logo preview and facility name stay visible when you refresh the page.
Why this matters: Unsaved changes disappear if you navigate away. Always save before you open another settings page.
Part 2 — Set time zone and regional formats (General)
General settings control how dates, times, addresses, and country appear across the dashboard — not your logo or public name.
- Open General settings
Go to Settings > General.
Expected result: The page title is General.
- Set your time zone
In Timezone & Regional Settings, choose the time zone your team uses for normal work (for example Eastern, Pacific, or your local zone).
Why this matters: A wrong time zone makes appointments look early or late on the Schedule and in customer reminders.
- Set date and time formats
Pick how dates and clock times should display — for example 12-hour with AM/PM or 24-hour clock.
Expected result: New events and messages use formats your team expects.
- Confirm country and address format
Set Country / Region and address format to match where your facility operates. This keeps addresses readable and helps vehicle lookup tools when your country uses them.
- Save your general settings
Click Save at the bottom of the General page.
Expected result: Your time zone and date format are stored for the whole facility. New appointments on Schedule use these formats.
For field-by-field help, read Set up general facility settings.
Part 3 — Confirm customers will see the right details
After you save Branding and General settings, take two quick checks so you know the public side looks correct.
- Open the Setup Guide and refresh
Go to Setup Guide. Click through any incomplete step card if Getting Started tasks still look incomplete.
Expected result: Tasks such as facility name, logo, and time zone show as complete when the app detects your saved settings.
- Preview the customer portal or website (optional)
If your manager has enabled the portal, open Settings > Website & customer app and use any preview or public link shown there.
Why this matters: Branding errors are easier to fix now than after customers receive their first invoice email. Check that your facility name and logo match what you saved on the Branding page.
- Send yourself a test message (optional)
When Communications is configured, send a test email or text to your own phone. Confirm the facility name and logo match what you saved.
Expected result: The message shows your business name — not a generic system name.
What to check after saving
- Open Setup Guide and refresh progress if a branding or general task is listed there.
- Review Settings > Website & customer app if customers will use the portal or public pages.
- Review Settings > Billing before sending invoices or collecting payments.
- Send yourself a test email or open a customer portal preview to confirm the name and logo look correct.
Common mistakes to avoid
Troubleshooting
Quick checklist before you invite customers
- Facility name on Branding matches what customers expect on invoices and emails.
- Logo preview looks clear on the Branding page (not stretched or blurry).
- Time zone on General matches where your team works day to day.
- Date format on General matches how your staff reads calendars and reports.
- You clicked Save on each page you changed.
What to do next
After your facility profile looks correct, continue with Use the Create event home page or Prepare your first customer and car.
New to the app? The short path is Getting started. For the full first-week plan, read Getting started overview.
For the full settings path, read Settings overview.