Schedule
Use the Whiteboard view on Schedule
See scheduled work as cards on a board when your team thinks in tasks more than clock times.
What you will accomplish
You will open Whiteboard view on Schedule and use it like a card board of today’s work—without reading a clock grid hour by hour.
Expected outcome: Service managers and front-desk staff can scan how many jobs are on the board, open any card for full details, and switch back to Calendar or Progress when they need exact times or status columns.
- Open Schedule in Whiteboard view.
- Read event cards at a glance and open details when needed.
- Set DATE RANGE to Today or This Week before a stand-up meeting.
- Switch back to Calendar or Progress when you need times or completion status.
Use the Whiteboard when your team wants to scan what is on the board today without reading a time grid. Each scheduled item appears as a card with the customer, vehicle, event type, and time.
When Whiteboard helps most
- Your shop runs many same-day jobs and staff ask “What else is on the list?”
- You run a stand-up meeting and want cards on a big screen (pair with Use full-screen schedule display).
- Table view feels too spreadsheet-like but Calendar feels too time-focused.
- Detail or service managers want to count jobs for a day without reading a clock grid.
Quick comparison: which Schedule view should I use?
Calendar — “What is happening at 2:00 PM?”
Table — “Sort and scan a long list with columns.”
Whiteboard — “What jobs are on the board today, shown as cards?”
Progress — “What is waiting, in progress, or done?”
Before you start
- Open Schedule.
- Know the date range you care about (today vs the whole week).
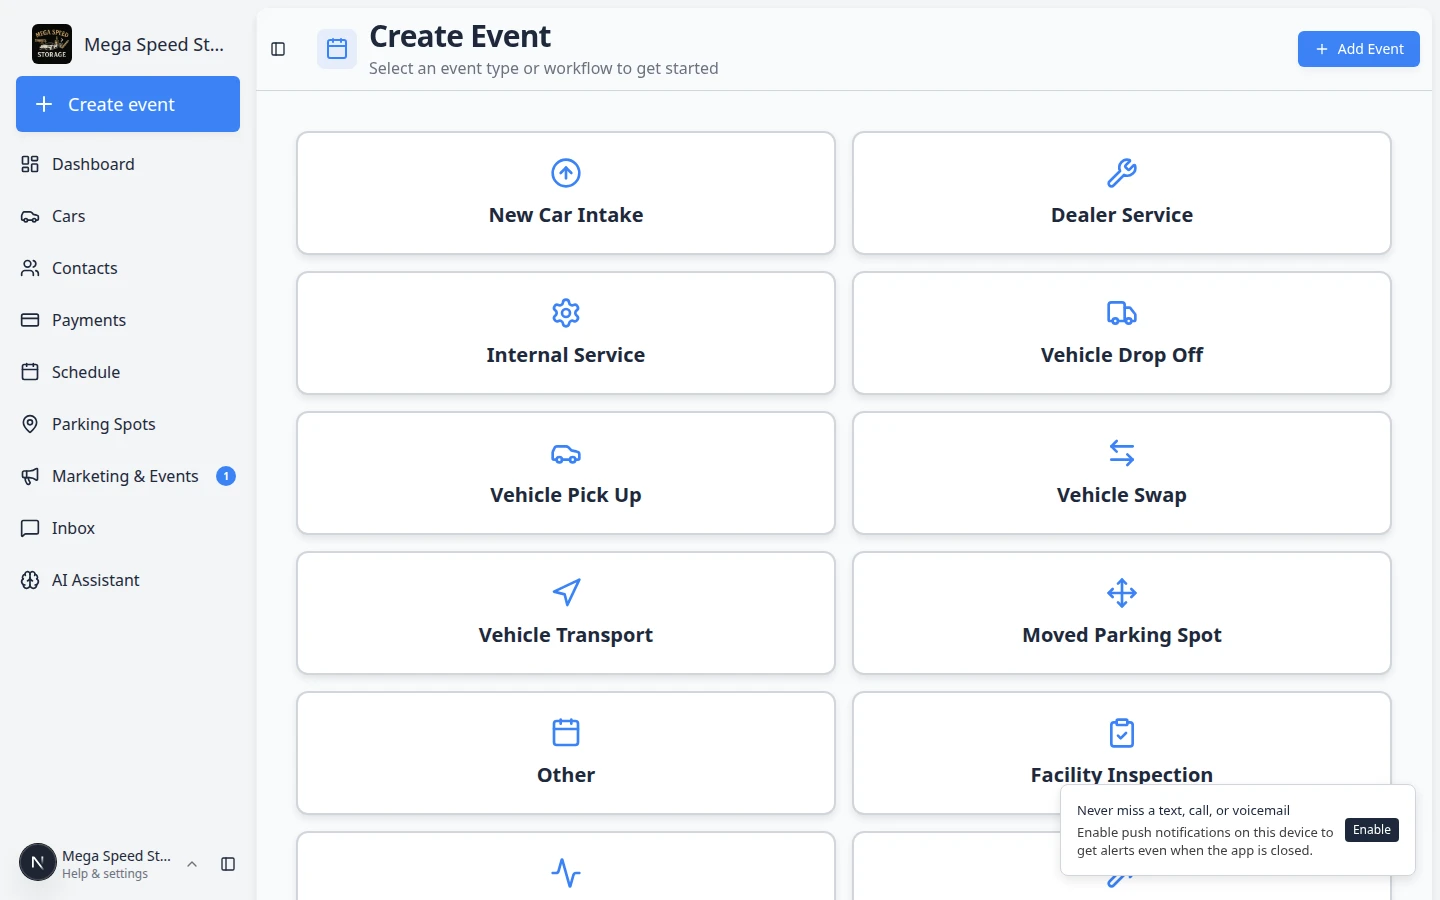
- Have events already on the calendar — create new work with Create an appointment if the board is empty.
Open Whiteboard view
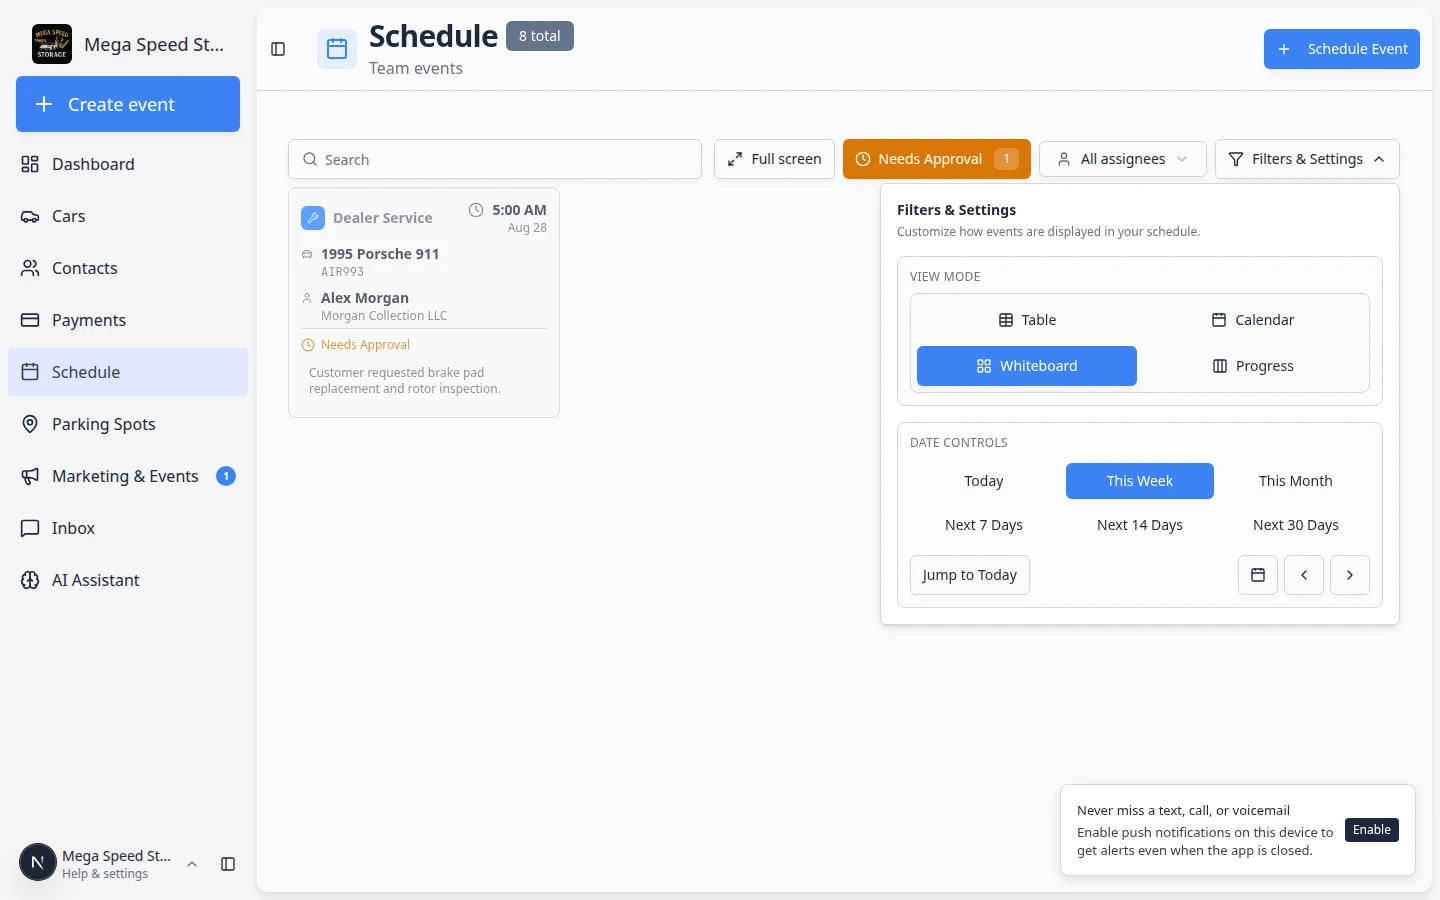
- Click Filters & Settings
On Schedule, click Filters & Settings near the top-right.
Expected result: A panel opens on the right with View Mode and calendar options.
- Choose Whiteboard under View Mode
Click Whiteboard.
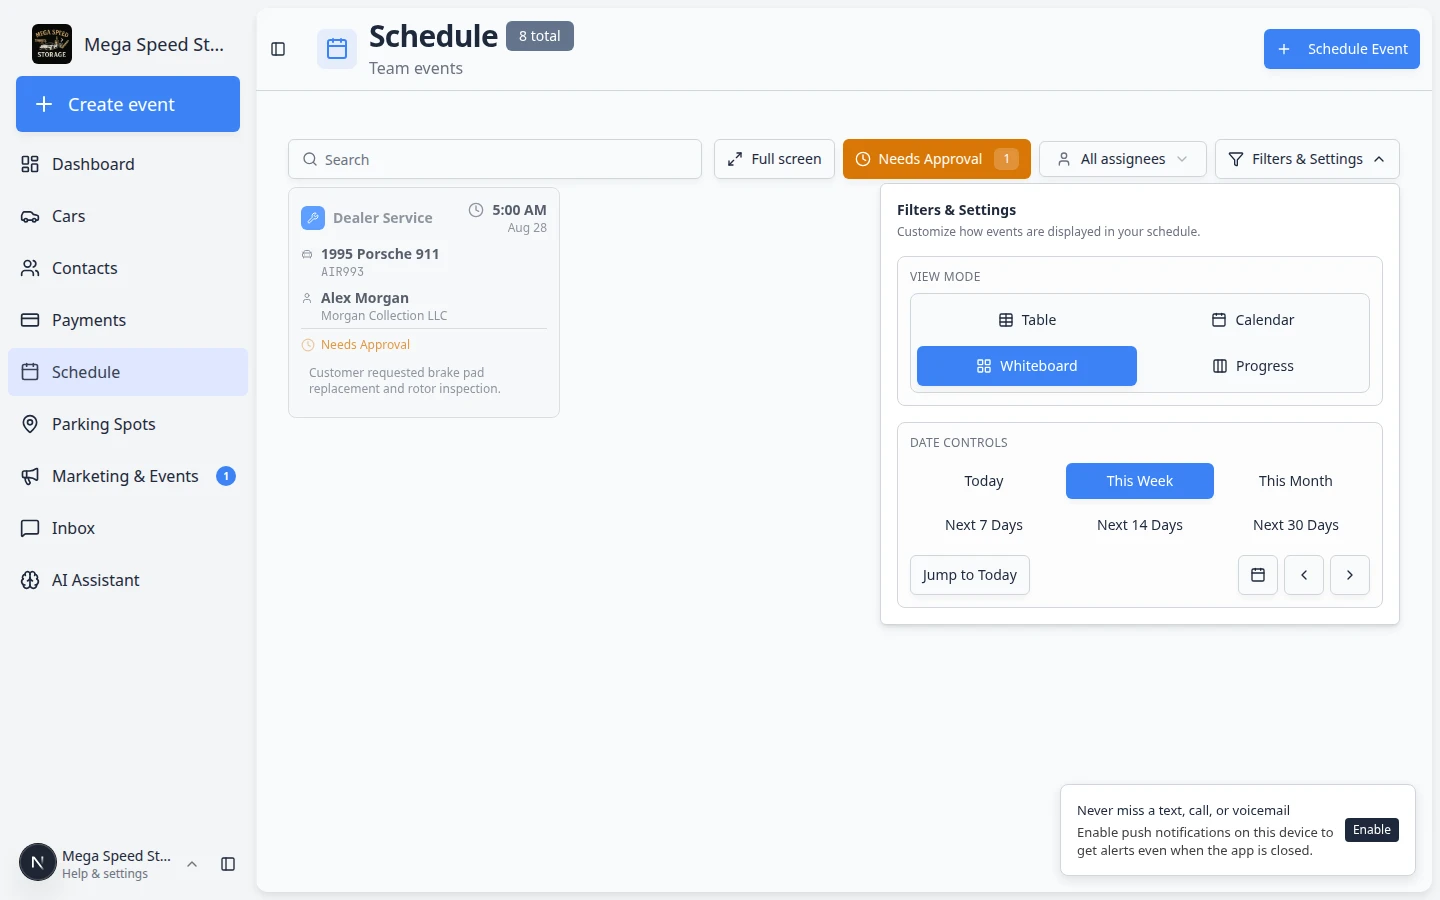
Expected result: The time grid disappears. Scheduled work appears as cards in a board-style layout.
- Pick a date range
Open Filters & Settings and look for DATE RANGE (this section appears in Whiteboard and Progress views). Choose Today, This Week, or This Month.
Expected result: Cards update to show events in that date range. This Week is a common choice for morning stand-up meetings.
Why this matters: Whiteboard without a date range can feel crowded. Today keeps stand-up meetings focused on what is actually happening now.
Read a card and open details
- Scan the card text
Each card usually shows:
- Event type (color helps you spot drop-offs vs service vs pickups)
- Vehicle or customer name
- Time (start time or time range)
Why this matters: Staff can answer “Is the Urus detail still on today?” without opening the calendar hour-by-hour.
- Click the card when you need more
Click the card to open the event details panel.
Expected result: You see notes, assignment, status, and buttons such as Edit Event or status actions.
- Make changes from the details panel
To move a time or change who owns the job, use Edit Event and follow Update, assign, or reschedule an event.
To mark work started or finished, switch to Track work in the Progress view.
Use Whiteboard during a morning stand-up
- Open Whiteboard for today
Follow the steps above and set DATE RANGE to Today (or This Week for a longer stand-up) in Filters & Settings.
Note: 1 Day and 3 Day buttons belong to Calendar view, not Whiteboard. Whiteboard uses Today, This Week, and This Month.
Expected result: Cards represent today’s (or this week’s) scheduled work.
- Scan cards out loud
Read event type, vehicle or customer, and time on each card. This helps the team spot missing assignments or double-booked bays early.
Why this matters: Whiteboard is a planning view. Catching gaps in the morning prevents afternoon surprises.
- Open cards that need clarification
Click any card with thin notes or an Unassigned owner. Add notes or assign someone before work starts.
Expected result: Handoffs are clear before vehicles arrive.
Narrow the board with search and filters
- Use Search when the board is crowded
Type a customer name, vehicle, plate, or note in the Search box at the top of Schedule.
Expected result: Only matching cards stay visible.
- Use Assigned to me for your own list
Click Assigned to me to hide everyone else’s cards.
Expected result: You see only events assigned to your user account.
- Use Needs Approval when customers book online
When online requests are waiting, click Needs Approval and follow Approve or decline a customer booking request.
Common mistakes to avoid
Troubleshooting
What to do next
- Put new work on the calendar with Create an appointment.
- Sort and scan events as rows with Use Table view on Schedule.
- Compare views in Find and filter scheduled work.
- Show the same work on a wall TV with Use full-screen schedule display.
- Return to Schedule overview.