Contacts
Work with vendor contacts
Add and manage outside companies you pay—detailers, transporters, mechanics, and contractors—from Contacts > Vendors.
Use this guide when your facility works with outside companies you pay for services—detail shops, enclosed transport, mechanics, photographers, and similar partners.
Vendor records live under Contacts > Vendors in the sidebar. They are separate from customer records—the people who store cars with you.
What you will accomplish
- Open the Vendors list from the Contacts area.
- Add a new vendor with company name, contact person, email, and phone.
- Search and filter the vendor list when you need to find a partner quickly.
- Know where vendor invoices are reviewed after a vendor sends your facility a bill.
Vendors vs customers
| Customers | Vendors | |
|---|---|---|
| Who they are | People or companies who store cars with you | Outside companies you pay for work |
| Where they live | All Contacts and customer-type pages | Contacts > Vendors |
| Money direction | Customers pay your facility | Your facility pays vendors |
| Example | Alex Morgan stores a Huracan | Elite Auto Detailing details a vehicle for you |
Before you start
- Know the vendor company name and a contact person's first name, last name, and email.
- Have a business phone number when your team will call or text the vendor.
- Decide the vendor type (for example detailing or transport) if your facility uses vendor types in Settings > CRM.
Open the Vendors page
- Expand Contacts in the sidebar
Click Contacts in the left sidebar to expand the list.
- Click Vendors
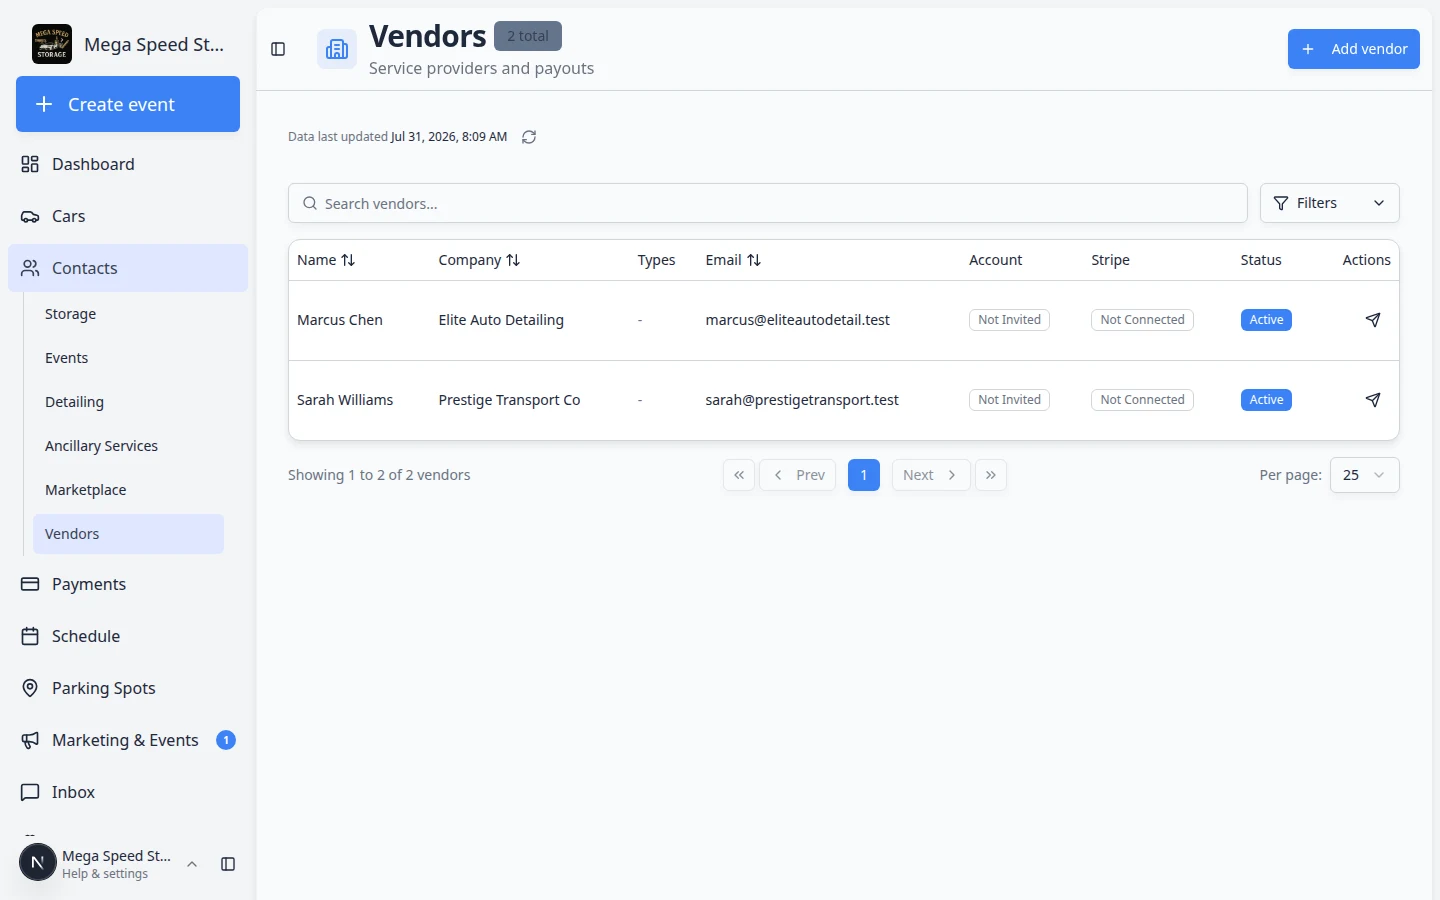
Click Vendors, or go directly to Contacts > Vendors.
Expected result: The page title says Vendors and you see a table of outside companies—or an empty list if you are just getting started.
Add a vendor
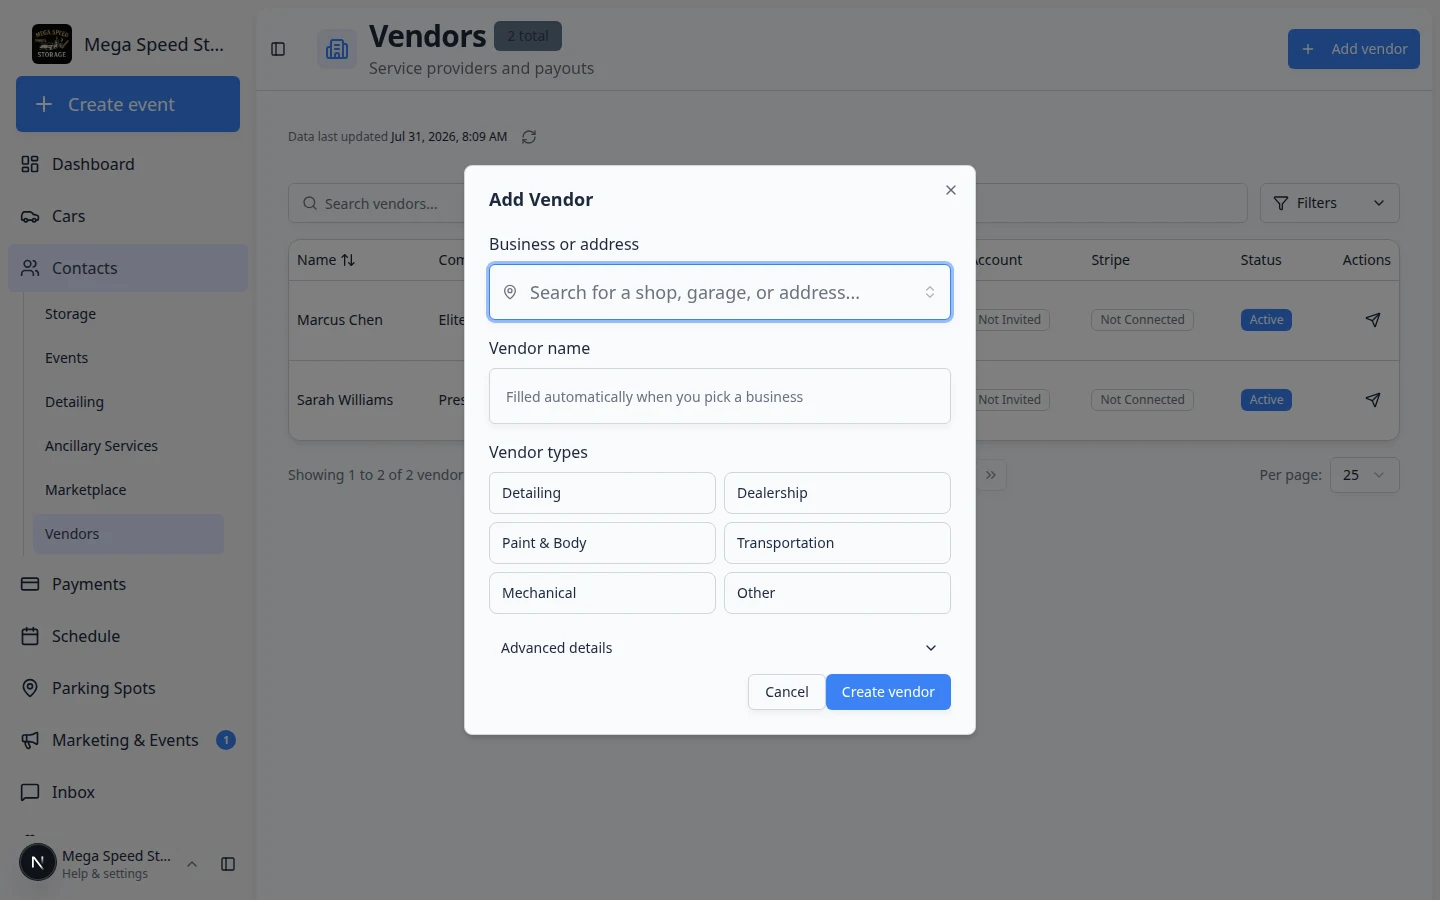
- Click Add vendor
In the top-right area of the Vendors page, click Add vendor.
- Enter Company Name
Type the business name customers and staff will recognize.
Example: Elite Auto Detailing or Prestige Transport Co.
Why this matters: A clear company name prevents duplicate vendor records when two people add the same shop.
- Enter contact person details
Fill in First name, Last name, Email, and Phone for the person you work with at that company.
Expected result: Your team can email or call the right person when work is due.
- Choose vendor type (if shown)
Select one or more types such as Detailing or Transport when your facility uses vendor categories.
Why this matters: Types help you filter the list later when you only need transport partners.
- Add notes (optional)
Use Notes for helpful context—"Primary detail partner for exotics" or "Enclosed transport only".
Keep notes short and useful for the whole team.
- Save the vendor
Click Create vendor (or Save) at the bottom of the window.
Expected result: The vendor appears in the table. You can open the row later to send a portal invite or update details.
Find a vendor in the list
- Use Search
Type part of the company name, contact name, email, or phone in the Search vendors… box at the top of the page.
Expected result: The table shows only matching rows. This is the fastest way to find Elite Auto Detailing or Prestige Transport when your list grows.
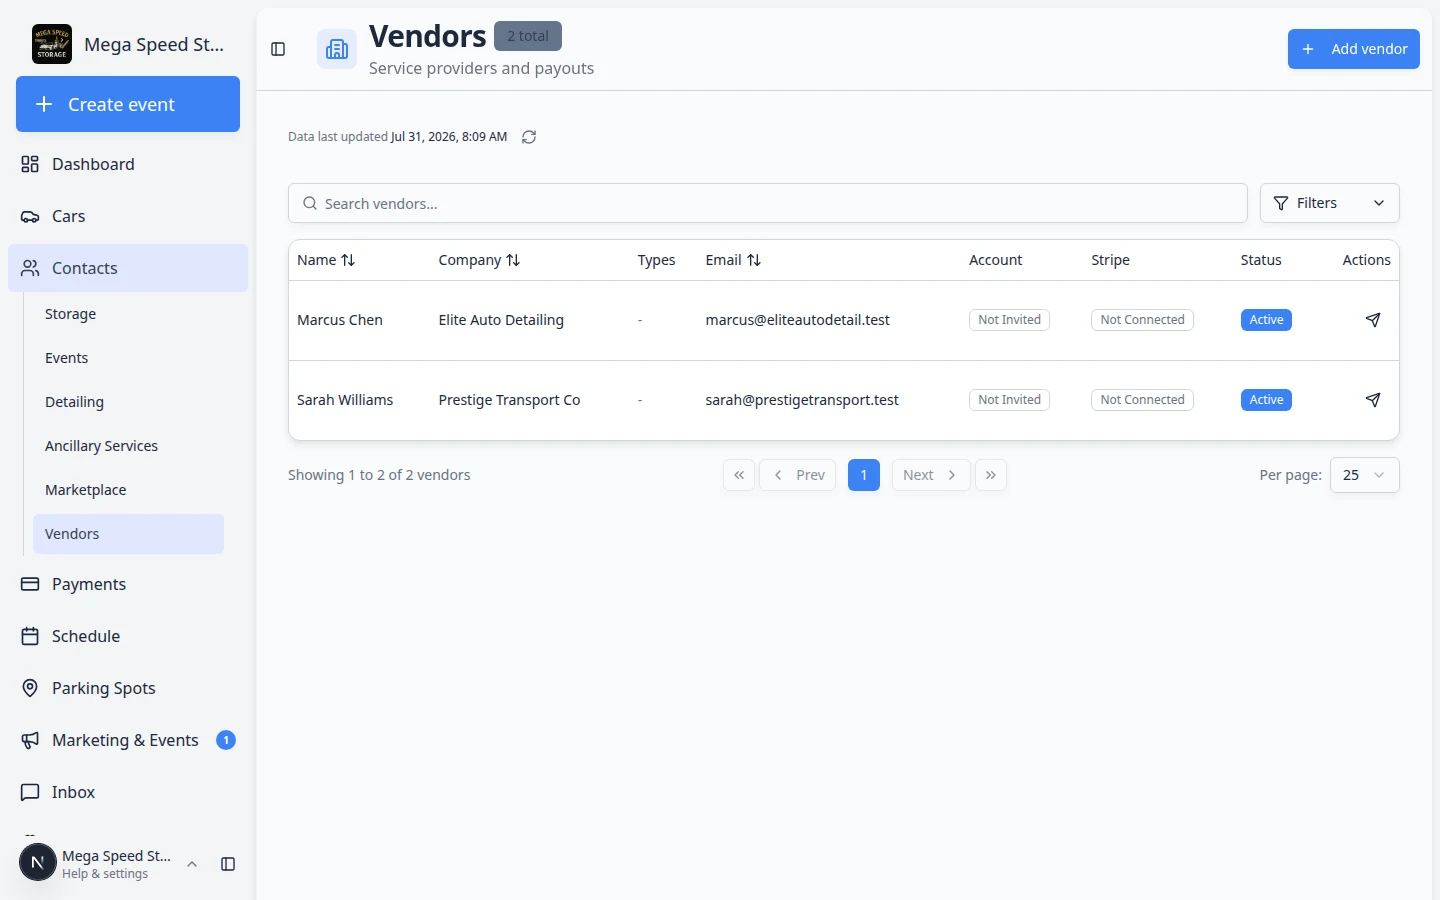
Search before you add a new vendor—duplicate records make invoice tracking harder later. - Filter by status or type
Open Filters & Settings when you need Active vendors only or a specific Type (for example Detailing or Transport).
Why this matters: Long vendor lists are easier to scan when you hide inactive partners or show only transport companies for a pickup day.
- Open a vendor row
Click a row to open the vendor detail page.
Expected result: You see full contact information, notes, and actions such as Send invite when your facility uses the vendor portal.
Send a vendor portal invite (optional)
Some facilities let vendors upload invoices through a vendor portal instead of emailing PDFs.
- Open the vendor record
Click the vendor in the table.
- Click Send invite
When available, click Send invite so the vendor receives an email with sign-in instructions.
Expected result: The vendor can submit invoices through your public vendor link. See Set up the vendor invoice portal.
What success looks like
- Every outside partner your team pays regularly has one vendor record—not several duplicates.
- Front-desk staff can find the right detailer or transporter from Vendors without asking a manager.
- Vendor bills are tied to the correct company when reviewed on Payments > Invoices.
Troubleshooting
What to do next
- Review and pay vendor invoices — process bills vendors send your facility.
- Set up the vendor invoice portal — give vendors a link to upload invoices.
- Manage vendors — payment setup, Stripe status, and vendor billing details.