Settings
Set up general facility settings
Set your facility time zone, date and time format, address format, country, and locations so daily work appears correctly.
General settings control basic details that affect the whole dashboard. Set these first so events, appointments, addresses, vehicle lookups, and reports make sense for your team.
Use this guide when you are setting up a new facility, opening a second location, or fixing dates, times, or addresses that look wrong.
What you will accomplish
- Set the time zone your team uses for scheduling and reminders.
- Choose date and time formats staff will recognize on calendars and invoices.
- Pick the correct country and address format for your region.
- Add locations if your business runs more than one site.
Before you start
- You should be signed in as a team owner, manager, or admin.
- Know your facility's main time zone.
- Know how your team wants dates and times to appear, such as May 19, 2026 or 19 May 2026.
- Know your country or region, especially if you use license plate or vehicle lookup tools.
- If your facility has more than one location, gather each location name, address, and time zone.
Open General settings
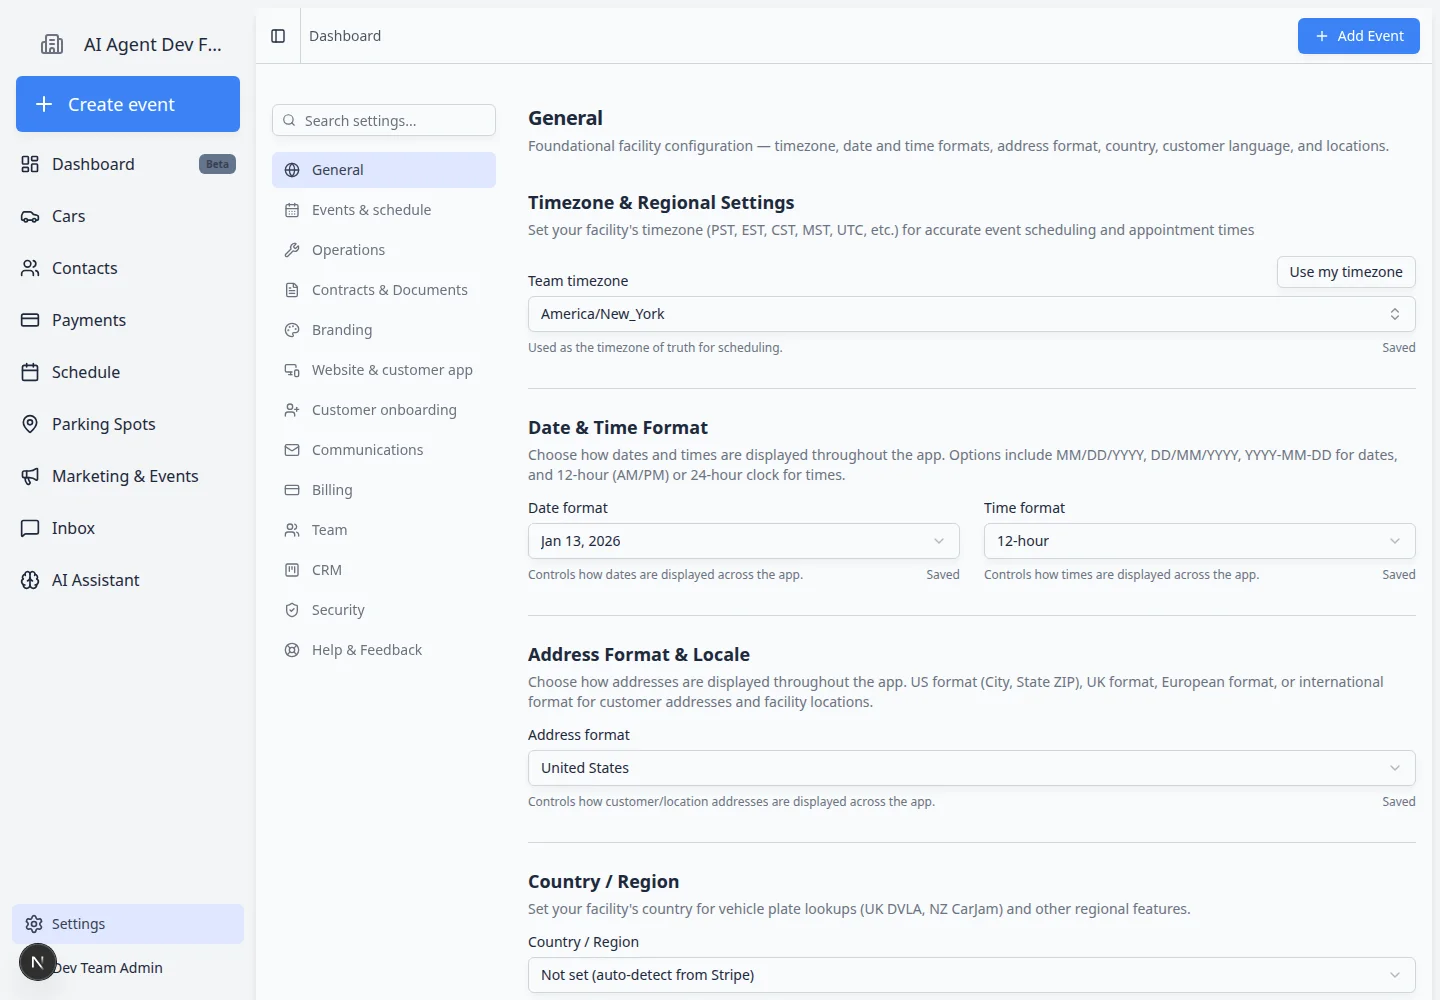
Go to Settings > General.
The page title is General. The Settings menu stays on the left side of the page so you can move between setup areas.

Set the time zone
- Find Timezone & Regional Settings
On Settings > General, look for the section named Timezone & Regional Settings.
- Choose your facility time zone
Select the time zone your team uses for normal facility work.
Examples include America/New_York, America/Los_Angeles, or another time zone that matches your location.
- Save the change
Save the setting if the page asks you to save. Some settings may save automatically and show a confirmation message.
Expected result
New events, appointments, reminders, and schedule times use the selected time zone.
Set date and time formats
- Find Date & Time Format
Stay on Settings > General and scroll to Date & Time Format.
- Choose the date style
Select the date format your team recognizes fastest.
For example, a United States team may choose a month-day-year style, while an international team may choose a day-month-year style.
Why this matters: The wrong date order confuses staff during busy days. A customer might read “06/04” differently than your team expects.
- Choose the time style
Select 12-hour if your team uses AM and PM.
Select 24-hour if your team uses military-style time, such as 14:30 instead of 2:30 PM.
Expected result: New appointments, invoices, and reports show times in the format your team already uses in conversation.
Expected result
Dates and times become easier for staff to read in lists, calendars, appointment details, invoices, and reports. Open Schedule after saving and confirm one appointment shows the date and time you expect.
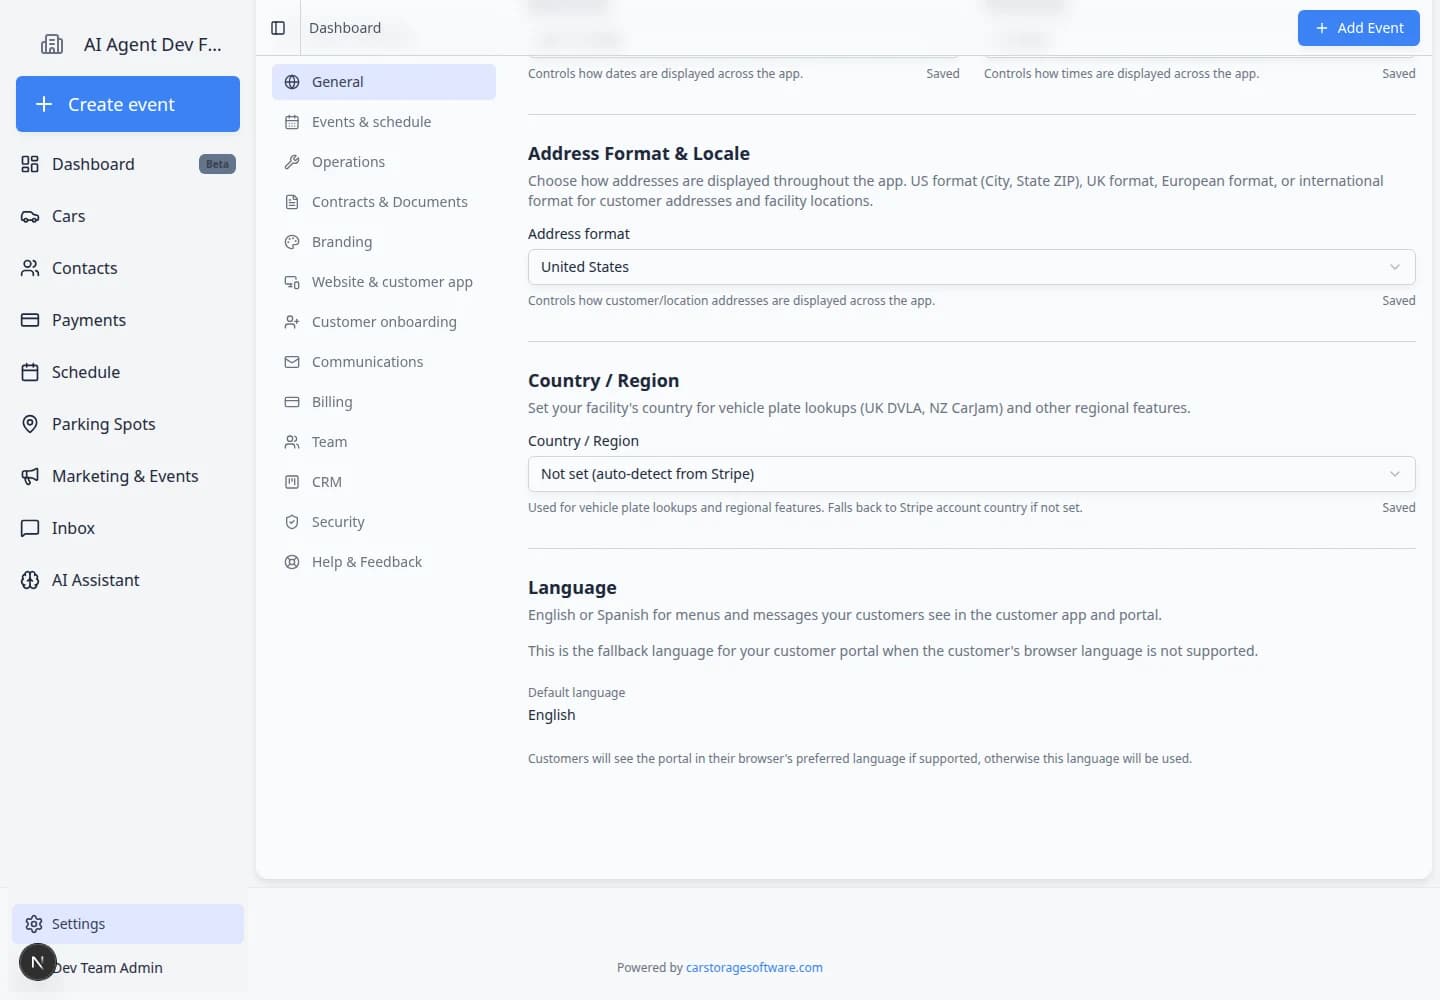
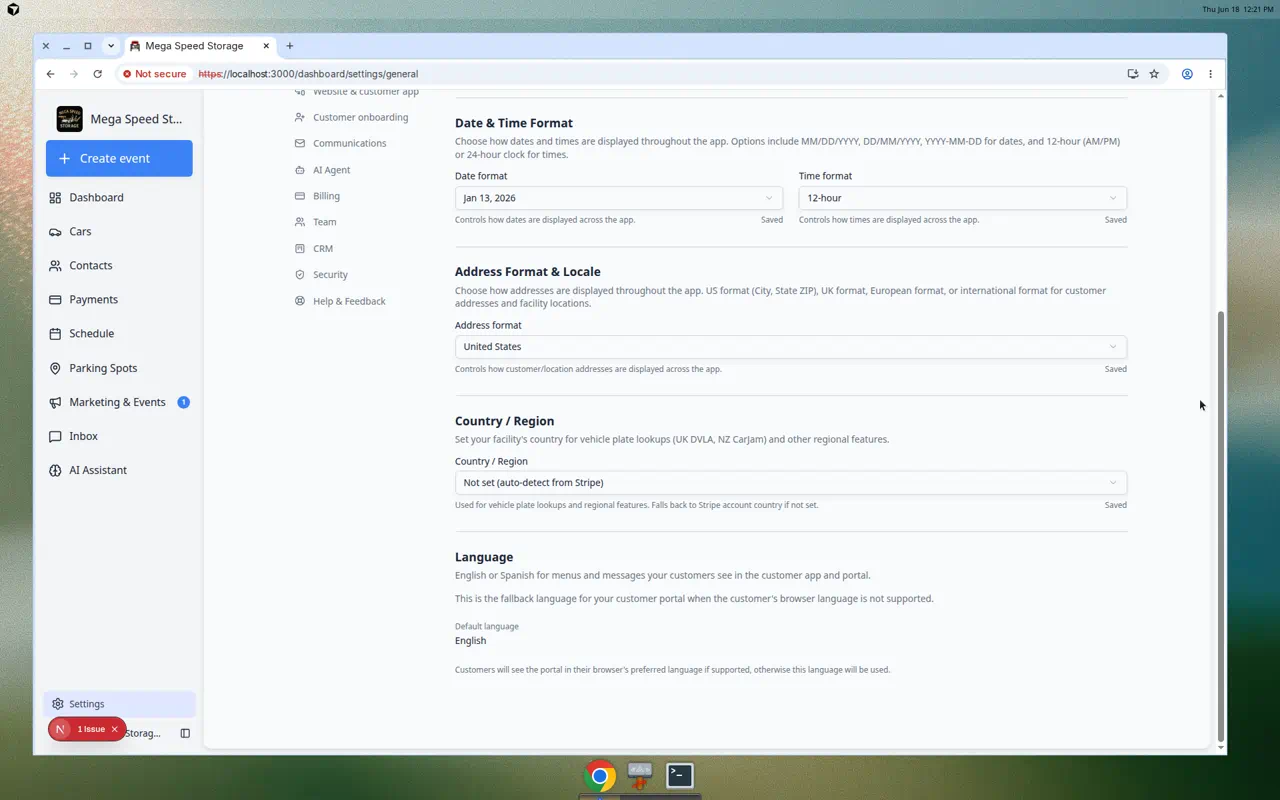
Set address format and country
- Find Address Format & Locale
Scroll to Address Format & Locale.
- Choose the address format
Pick the format that matches how addresses are normally written in your country.
This keeps customer and facility addresses readable and consistent.
- Find Country / Region
Scroll to Country / Region.
- Choose the correct country
Select the country where your facility operates.
This can affect regional features, including some license plate and vehicle information lookups.
Expected result: The Country / Region field shows your facility's country and stays saved for your whole team.

Expected result
Addresses display in the right order, and regional tools use the correct country when available.
Set the customer portal language
If your customers speak Spanish, you can show menus and messages in Spanish in the customer app and portal.
- Find Language
On Settings > General, scroll to the Language section (below country and regional settings).
- Choose English or Spanish
Open the language dropdown and pick:
- English — menus and messages appear in English.
- Español (Spanish) — menus and messages appear in Spanish.
The page saves automatically when you change the setting.
- Test in a private browser window
Copy your customer login link and open it in a private or incognito window.
Expected result: Buttons, menus, and common messages match the language you selected.
Set up multiple locations (optional)
Some facilities have more than one building, warehouse, site, or branch. When multi-location is enabled for your team, you will see Multi-Location Facility Management on the General page.
- Find Multi-Location Facility Management
On Settings > General, scroll to Multi-Location Facility Management.
If you do not see this section, your team may be on a single-location setup. Ask your account owner if you need multiple sites.
- Add each location
Click Add location (or New location).
Enter a name staff will recognize, such as Main Storage Building, Detail Shop, or South Warehouse.
Add the street address and time zone when your team uses them on invoices or schedules.
- Save and assign staff later
Click Save.
Expected result: The location appears in the list. Assign teammates to locations in Manage team permissions when you are ready.
Good setup habits
- Use the time zone where the facility is physically located.
- Choose date and time formats your staff already use in daily conversation.
- Keep location names short and clear so they fit in dropdown menus.
- Review these settings before importing a large customer or vehicle list.
Troubleshooting
What to do next
After General settings are correct, continue with Set up facility branding, then Connect payment processing if your team will send invoices, quotes, recurring charges, or checkout links.