Facility Web Pages
Choose the right public link to share
Pick the correct customer-facing link for prospects, customers, vendors, marketplace shoppers, and website visitors.
What you will accomplish
You will know which link to send to each person, copy it without typos, test it once in a private browser window, and add one clear sentence so they know what to do next.
When to use this guide
Use this guide when someone asks, “What link should I send?”
You might hear that question when:
- A customer cannot find the portal sign-in page
- A prospect wants to request storage online
- A vendor asks where to email or upload an invoice
- Your website helper needs the correct button or embed code
- You are not sure whether to share the facility page, registration form, marketplace, or login link
Before you start
- You can open Settings > Website & customer app.
- Your Public website is turned on if you plan to share facility, registration, marketplace, or vendor invoice links.
- You know who will open the link: a new prospect, an existing customer, a vendor, a shopper, or your website helper.
- You have a few minutes to test the link in a private browser window before you send it.
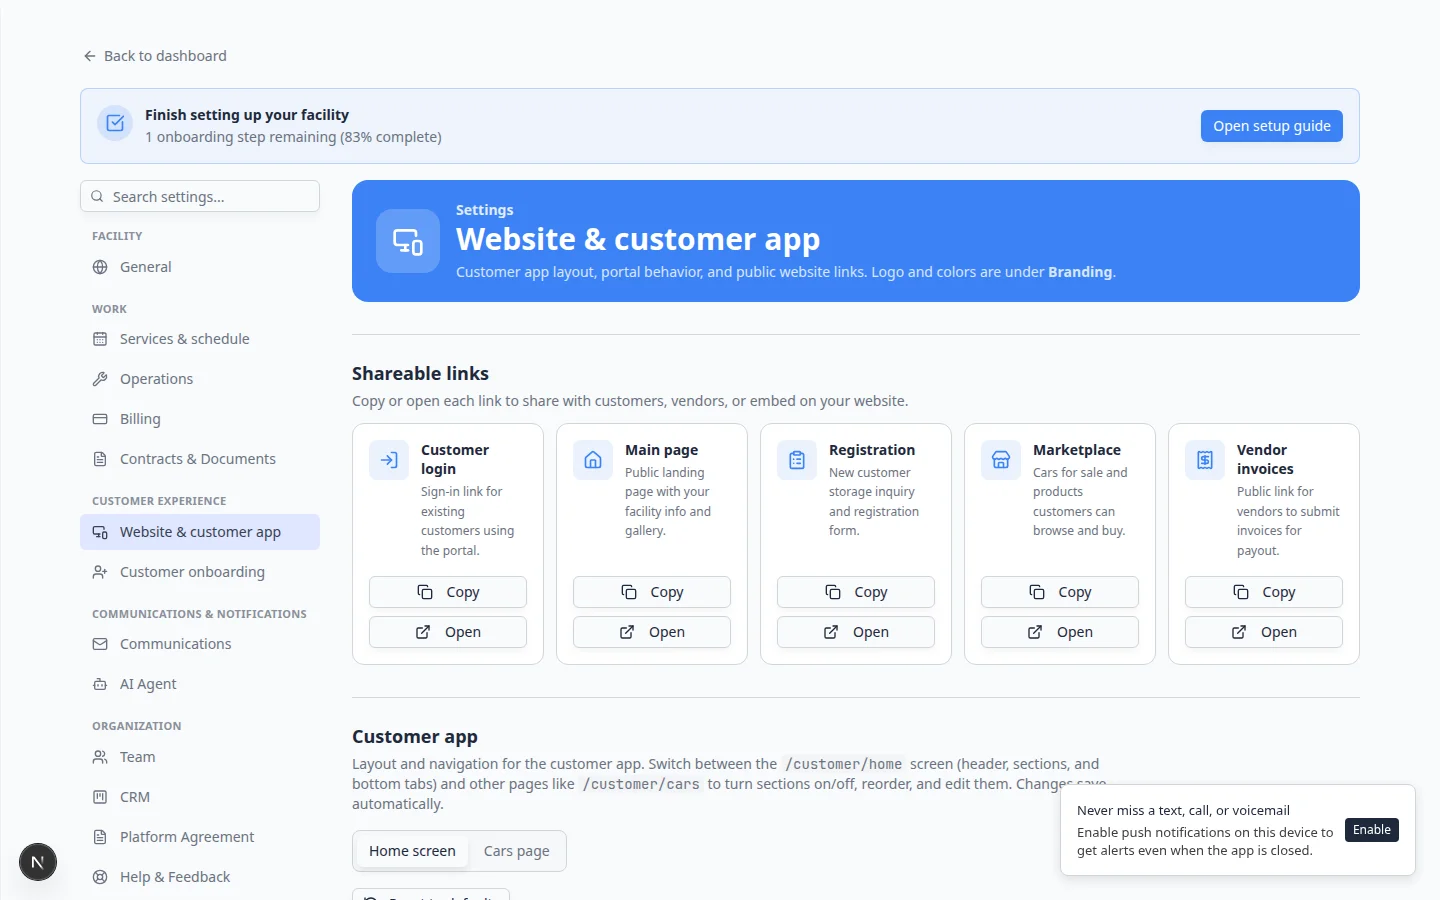
Step 1: Open Website & customer app
- Go to Website & customer app
In the dashboard sidebar, open Settings, then choose Website & customer app.
You can also go directly to Settings > Website & customer app.
Expected result: The page title is Website & customer app. You see Shareable links near the top—not the staff dashboard address from your browser.
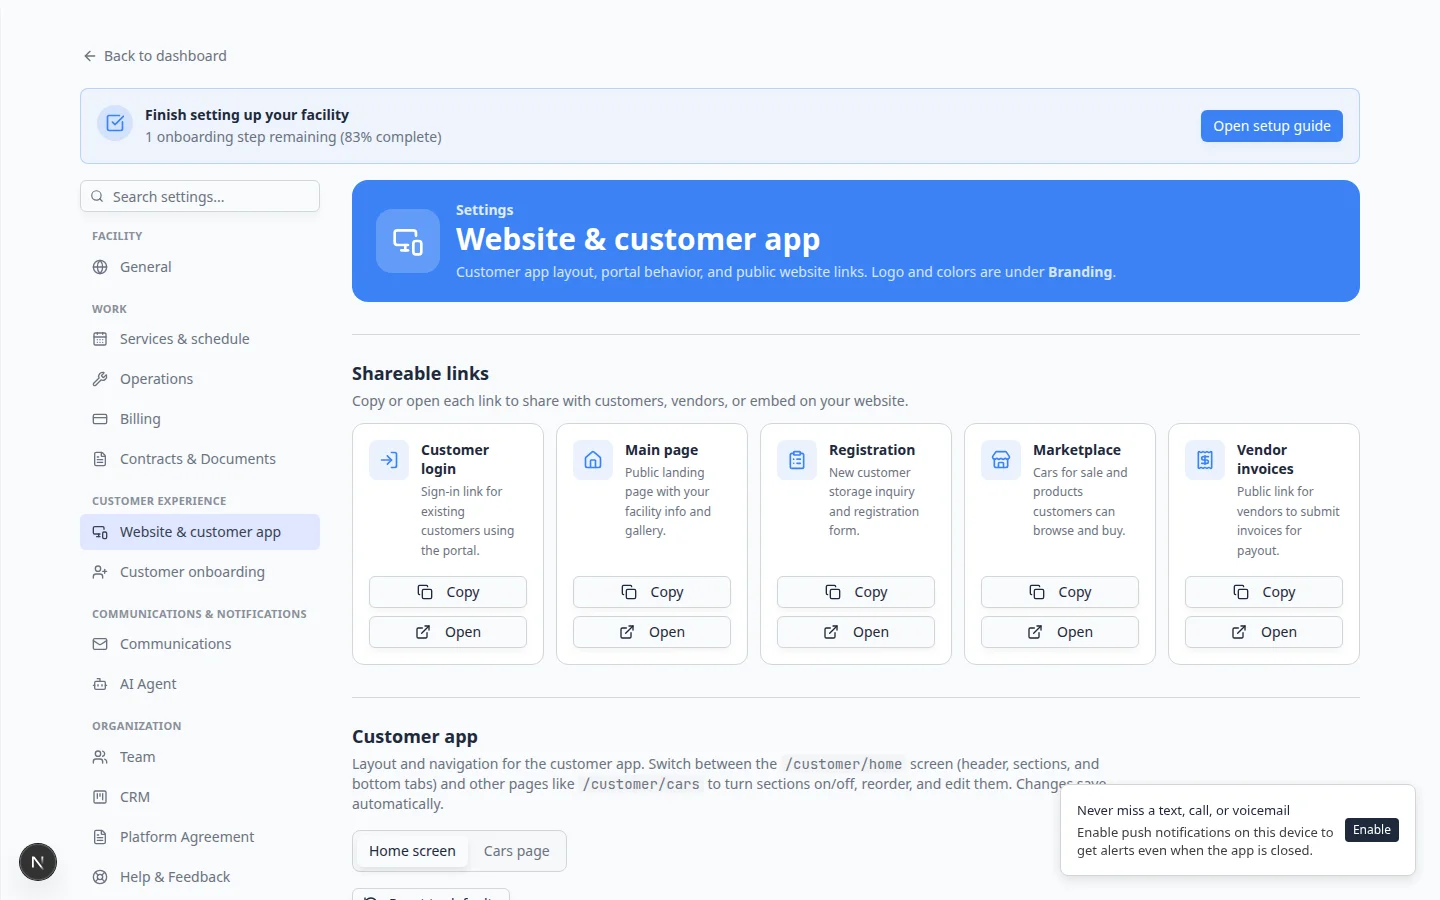
- Find Shareable links
Near the top, find the Shareable links section.
You will see cards such as:
- Customer login — for existing customers who already have a portal account
- Main page — your public facility landing page
- Registration — for new prospects requesting storage
- Vendor invoices — for outside providers submitting invoices
Scroll down for Public website (page content and toggles) and Website schedule widget (embed code for your existing website).
Expected result: You know where to copy each type of link before you paste it into an email or website.
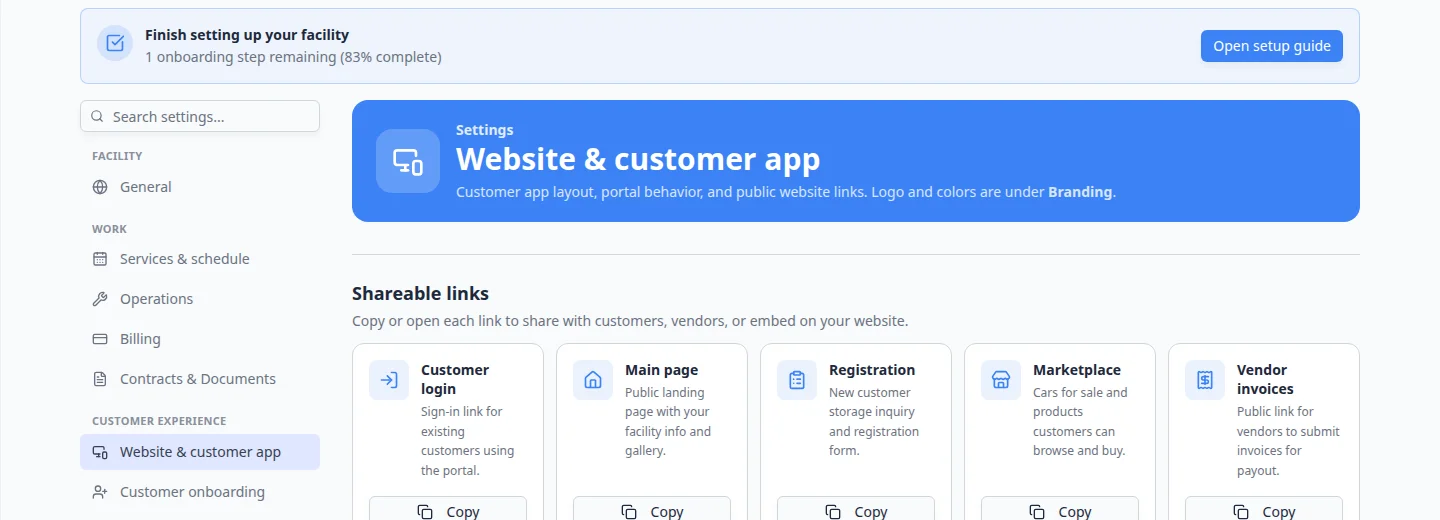
Step 2: Match the person to the right link
Answer this question first: What should this person do when they click?
| If this person needs to… | Share this link | Where to copy it |
|---|---|---|
| Learn about your facility first (with a Storage inquiry button) | Public facility page (/facility/your-facility-name) | Main page in Shareable links |
| Request storage or send vehicle details as a new prospect | Registration page (/facility/your-facility-name/registration) | Registration in Shareable links (appears only when registration is enabled) |
| Sign in to their private portal | Customer login link (ends with /signin) | Customer login in Shareable links |
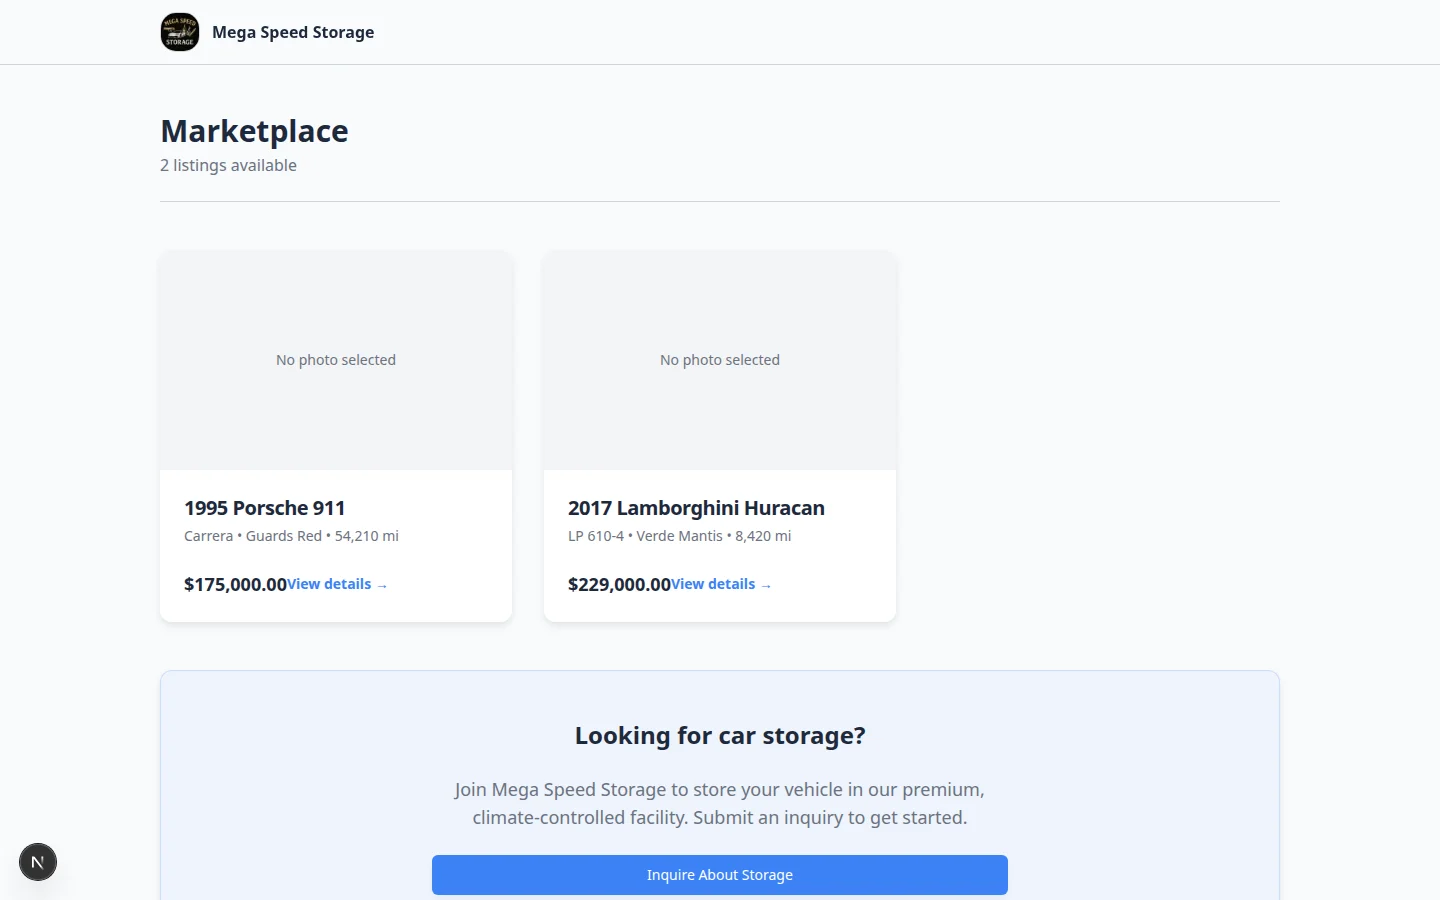
| Browse cars for sale | Vehicle marketplace (/facility/your-facility-name/marketplace) | Open Main page, then add /marketplace to the end—or use the marketplace link from your public page menu |
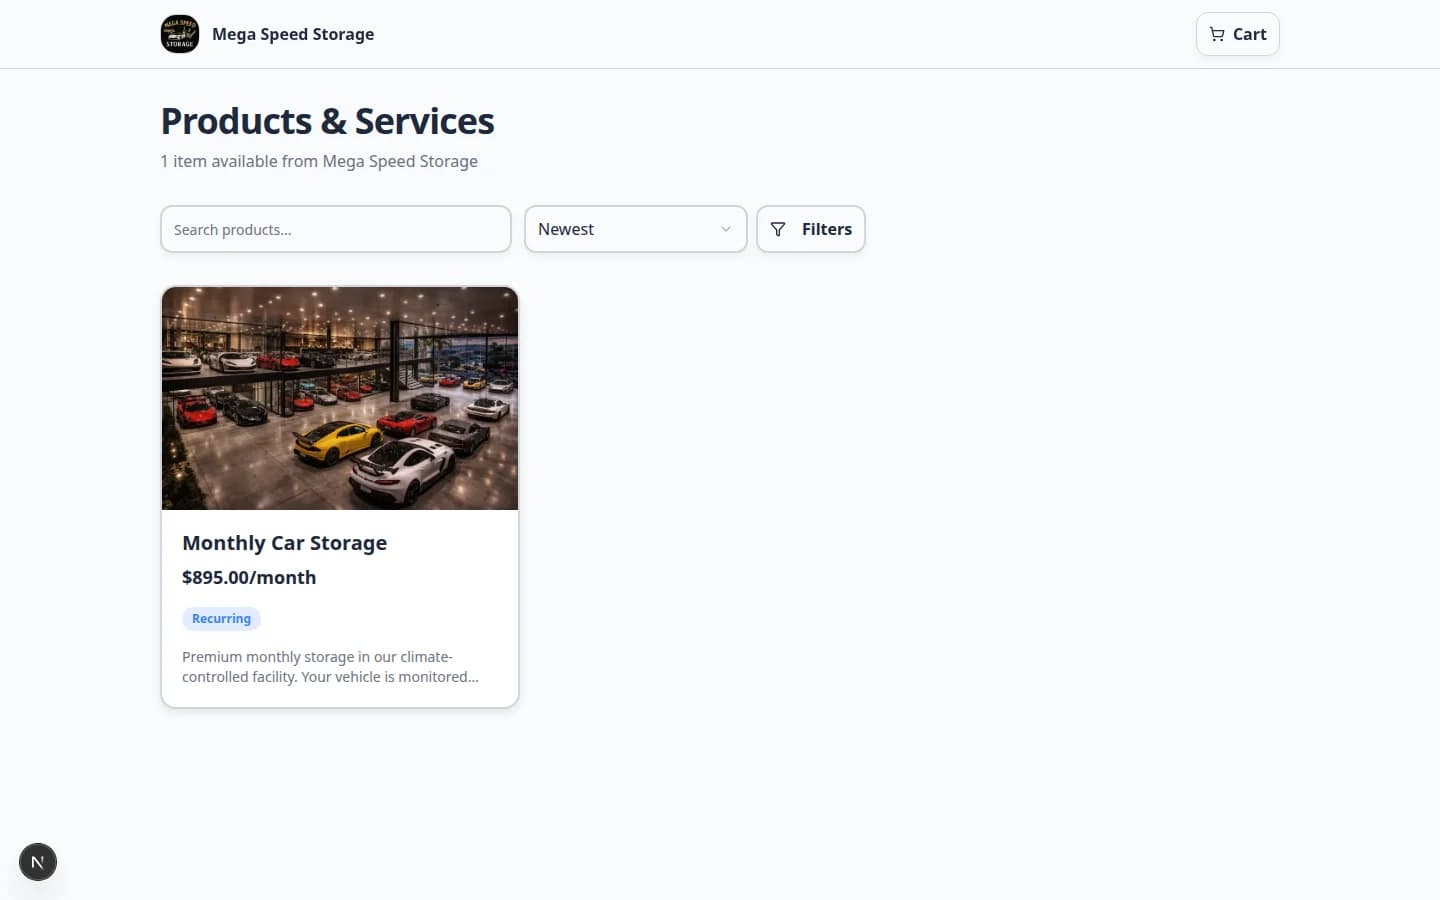
| Browse products, services, or plans | Product marketplace (/facility/your-facility-name/marketplace/products) | Open Main page, then add /marketplace/products to the end—or open Marketplace and click View marketplace, then Products |
| Send your facility an invoice | Vendor invoice portal (/facility/your-facility-name/invoices) | Vendor invoices in Shareable links (appears only when vendor portal is enabled) |
| Signed-in customer needs mobile home, events, or billing tabs | Customer app on Website settings | Customize the customer mobile app |
| Add a branded badge on your existing website | Embed code | Website schedule widget (scroll down on the same settings page) |
Prospect means someone who is not a customer yet. Customer means someone who already has a record and portal access at your facility.
What each public page looks like
These screenshots help you confirm you picked the right link before you send it.
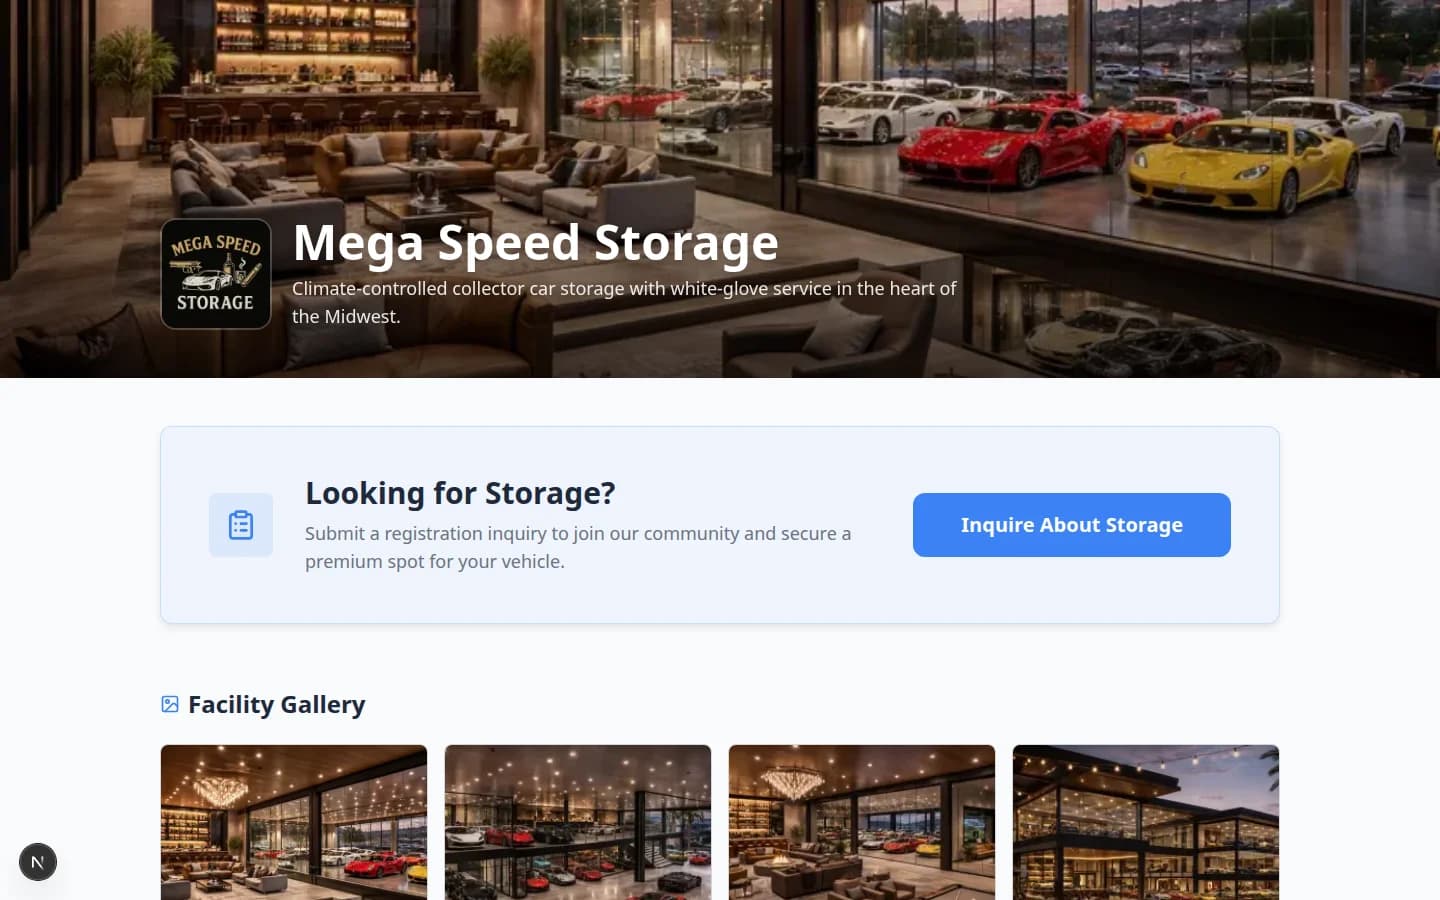
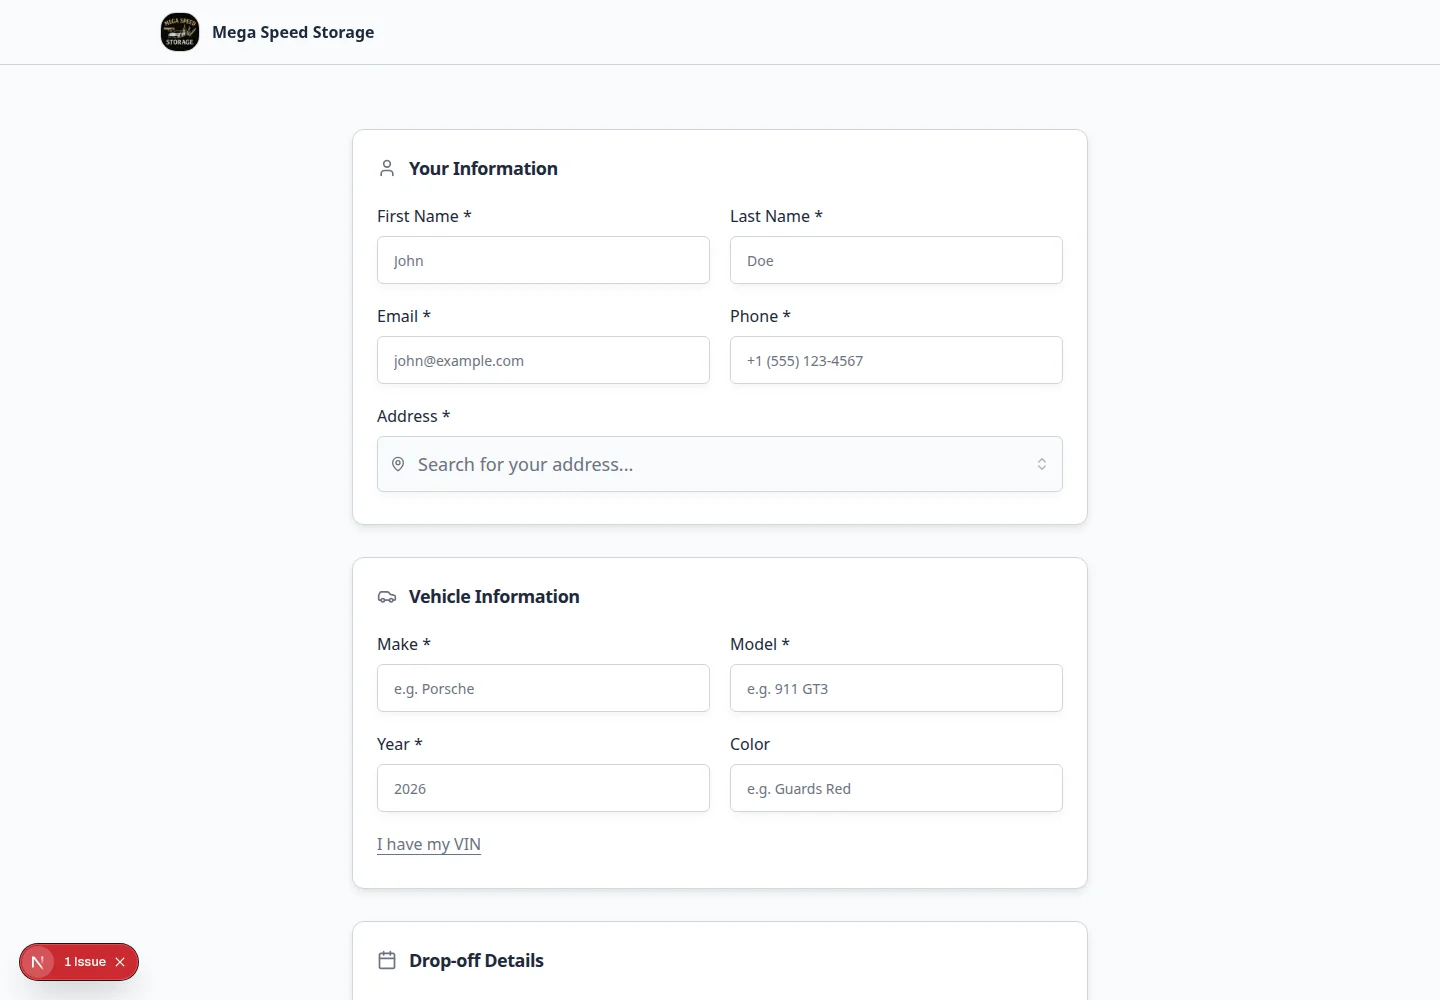
Step 3: Turn on Public Facility Pages when needed
If a link shows “not found,” the public page may be off—or a Shareable links card may be hidden because that feature is not enabled yet.
- Open Public website settings
On Settings > Website & customer app, scroll to Public website.
- Turn on Public Facility Pages
Turn on Public Facility Pages when prospects, shoppers, or vendors should use your public links.
- Enable the matching section in Page editor
In the Page editor, turn on Marketplace, Registration form (or Storage inquiry), or Vendor invoice portal only when your team is ready to support each action.
Why this matters: Registration and Vendor invoices cards in Shareable links appear only after those sections are enabled.
- Copy the link again
After settings save automatically, copy the link from Shareable links at the top of the page. Do not retype it.
Expected result: The link opens your facility name and the correct public page—not a staff sign-in screen.
Step 4: Copy the full link and add instructions
- Use the Copy button
Click Copy on the Shareable links card you need. Paste the full address into your email, text, or website ticket.
Why this matters: One wrong character can send someone to an error page. Copying prevents typos.
- Optional: click Open first
Click Open on the same card if you want to confirm the page before you send it.
Expected result: A new browser tab shows the public page—not the staff dashboard.
- Write one sentence for the reader
Do not send a bare link. Tell the person what to do.
Examples:
- “Use this link to request storage and tell us about your vehicle.”
- “Use this link to open your customer portal. Sign in with the email we have on file for you.”
- “Use this link to submit your invoice and upload your PDF.”
Expected result: The reader knows the goal before they click.
Step 5: Test the link like a customer
- Open a private browser window
Use a private or incognito window—or a browser where you are not signed in to the staff dashboard.
- Paste the link and open it
Confirm:
- The page opens without asking for a staff login
- Your facility name looks correct
- The page matches what you told the person to do (register, sign in, shop, or submit an invoice)
- The page is readable on a phone-sized screen
Expected result: You would feel comfortable sending this link to a real customer, prospect, or vendor.
What success looks like
- The link matches the person’s goal (prospect, customer, vendor, or shopper).
- The link opens a public or customer-facing page, not
/dashboard. - You tested the link in a private window before sharing it.
- Your message includes one clear sentence about what to do next.
Troubleshooting
What to do next
- Share customer login links for existing customers
- Set up customer registration for new prospects
- Set up the vendor invoice portal for outside providers
- Test marketplace checkout before sharing product marketplace links
- Go live checklist for public pages before a wide launch