Facility Web Pages
Customize the customer mobile app
Set up what signed-in customers see on their phone—header, home sections, and bottom tabs—before you invite them to the portal.
What you will accomplish
You will shape the customer mobile app—the screen customers see after they sign in at Customer login. You will choose what appears at the top, which sections show on the home screen, and which tabs appear at the bottom.
When you finish, customers will see a portal that looks like your facility, not a generic app.
When to use this guide
Use this guide when:
- You are preparing to invite customers to the portal for the first time
- Customers say they cannot find Events, Cars, or Billing on their phone
- You want the mobile home screen to highlight photos, upcoming work, or a call button
- You finished Configure the facility landing page and are ready to polish the signed-in experience
Before you start
- Your logo and colors look correct in Settings > Branding.
- You can open Settings > Website & customer app.
- You know what customers should do most often (view cars, see upcoming events, pay an invoice, call your office).
- You have at least one customer record if you want to preview real data (optional but helpful).
Step 1: Open Customer app settings
- Go to Website & customer app
In the dashboard sidebar, open Settings, then Website & customer app.
You can also go directly to Settings > Website & customer app.
Expected result: You see Shareable links at the top. Scroll down to find Customer app.
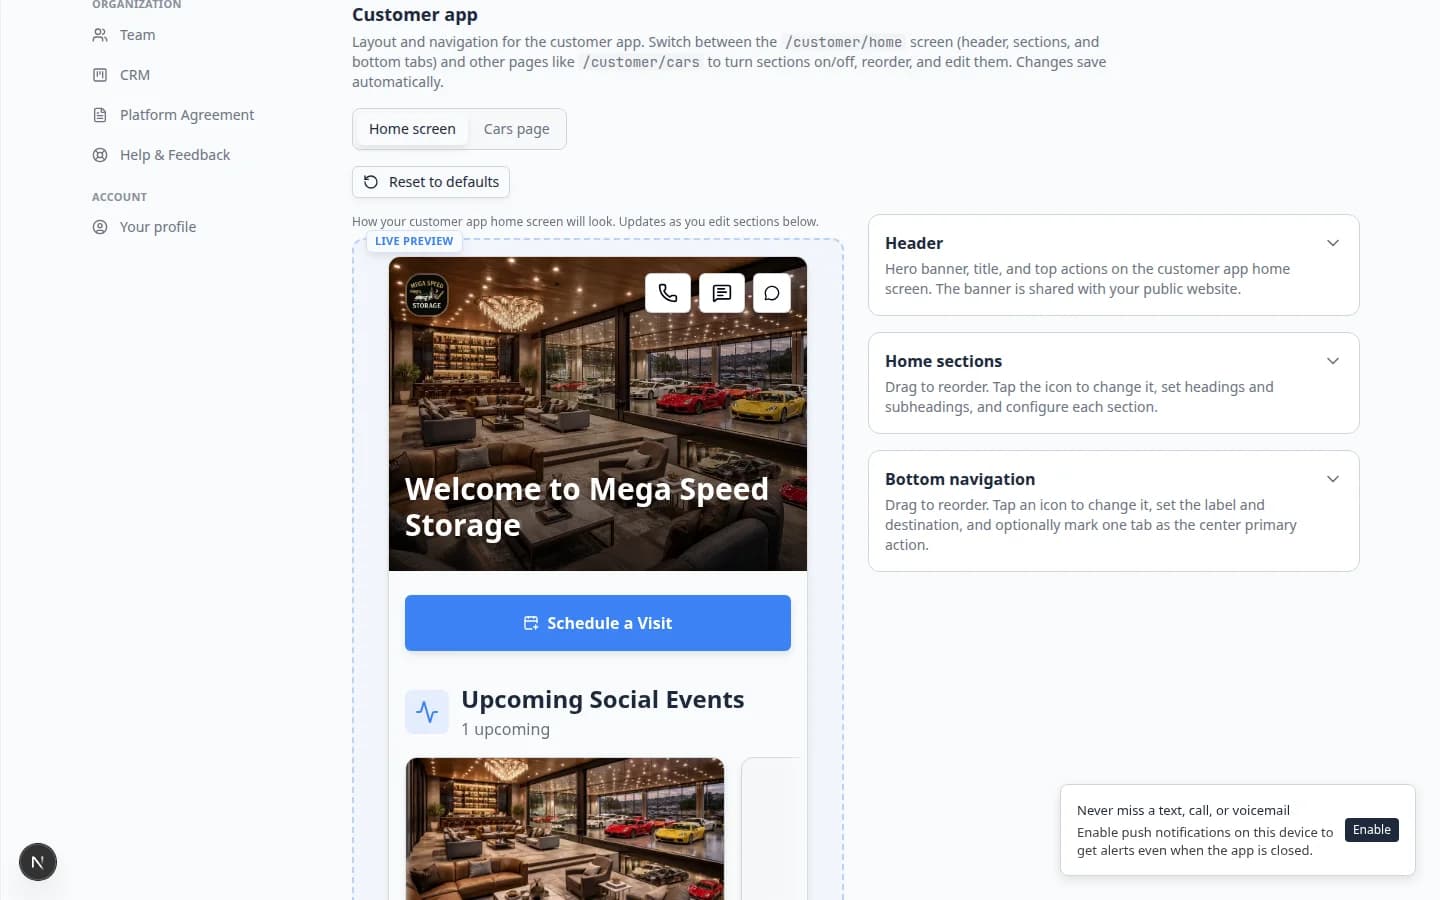
- Find the live preview
The Customer app section shows a phone-sized Live preview on one side and editing controls on the other.
Why this matters: Every change saves automatically. The preview shows what signed-in customers will see—not the public website.
Step 2: Set up the header
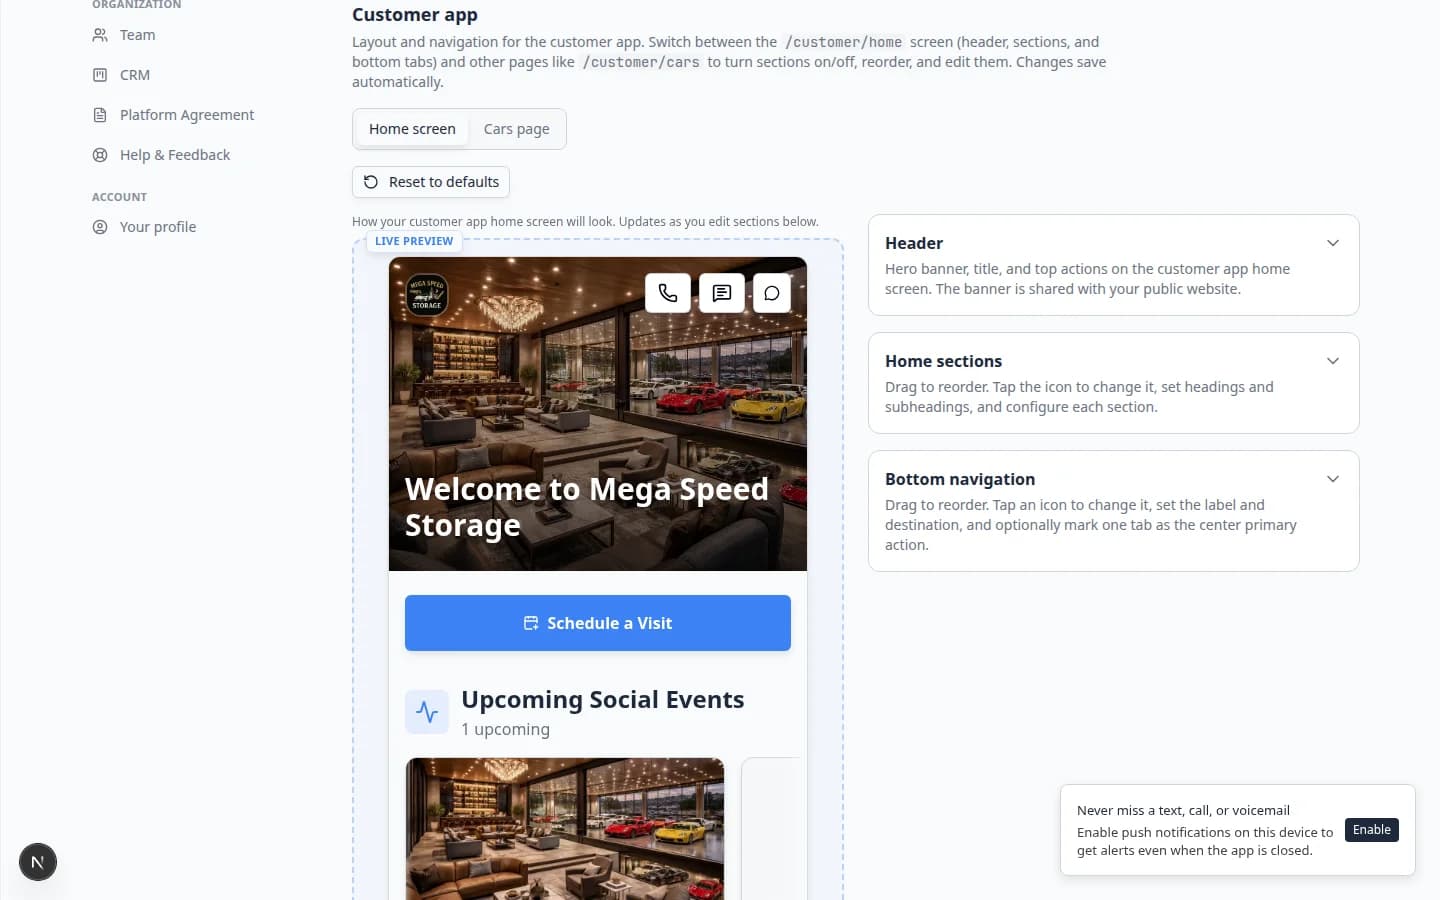
The header is the top of the customer home screen—usually your facility name, a short greeting, and quick action buttons.
- Open Header settings
In the Customer app section, expand Header (or click the header area in the preview).
Expected result: You see fields for title, subtitle, logo toggle, and header action buttons.
- Write a friendly title and subtitle
Use plain language customers understand.
Good title example: Welcome back,
Good subtitle example: Your vehicles and upcoming events
Why
{firstName}helps: The app fills in the customer's first name when they sign in. It feels personal without extra work for your team. - Turn Show logo on or off
Leave Show logo on if you want your facility mark next to the greeting. Turn it off if the banner image below already shows your brand clearly.
- Add header action buttons (optional)
Header actions are shortcuts—common choices include Call us, View events, or Contact.
Keep one or two actions. Too many buttons confuse customers on a small screen.
Expected result
The live preview shows your facility name, greeting, and any header buttons you added.
Step 3: Choose home screen sections
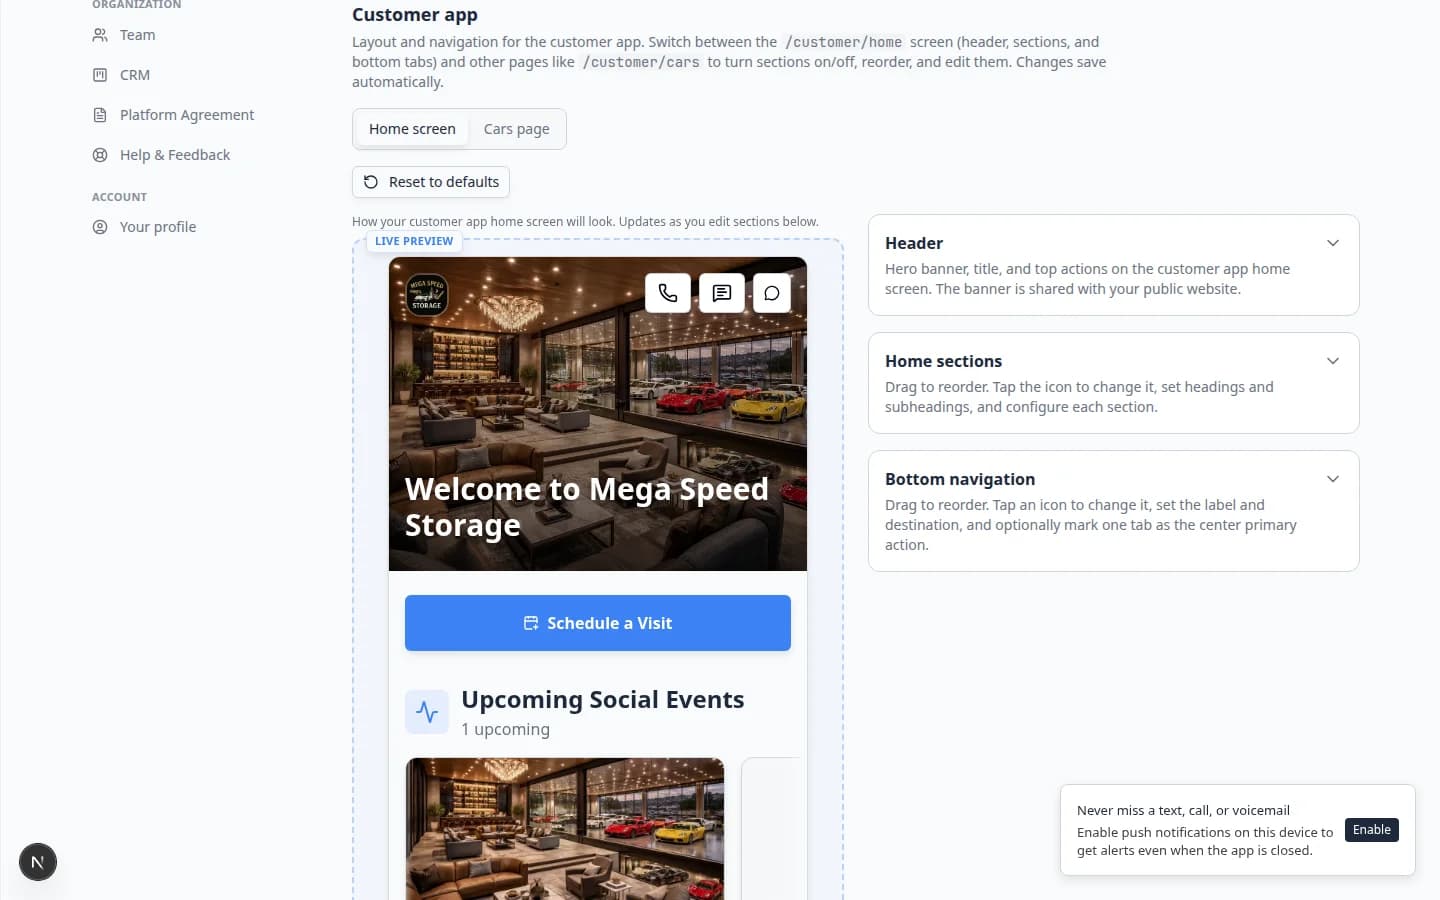
Home sections are the blocks below the header—photo gallery, upcoming events, cars, billing shortcuts, and similar items.
- Open Home sections
Expand Home sections (sometimes labeled Widgets in the preview).
Expected result: You see a list of sections with switches and drag handles.
- Turn on sections customers need
Common sections include:
- Photo gallery — facility or vehicle photos
- Upcoming events — drop-offs, pickups, service appointments
- My cars — vehicles linked to the customer
- Billing or payment shortcuts — when customers pay online
Turn off sections you are not ready to support. An empty section frustrates customers.
- Drag sections into a helpful order
Put the most important section first. Many facilities use: Upcoming events → My cars → Photo gallery.
Why order matters: Customers on phones rarely scroll far. Put what they need first.
- Edit section titles when needed
Click a section to change its Title or Subtitle. Use words your customers already use ("Your cars" instead of "Vehicle inventory").
Step 4: Set bottom navigation
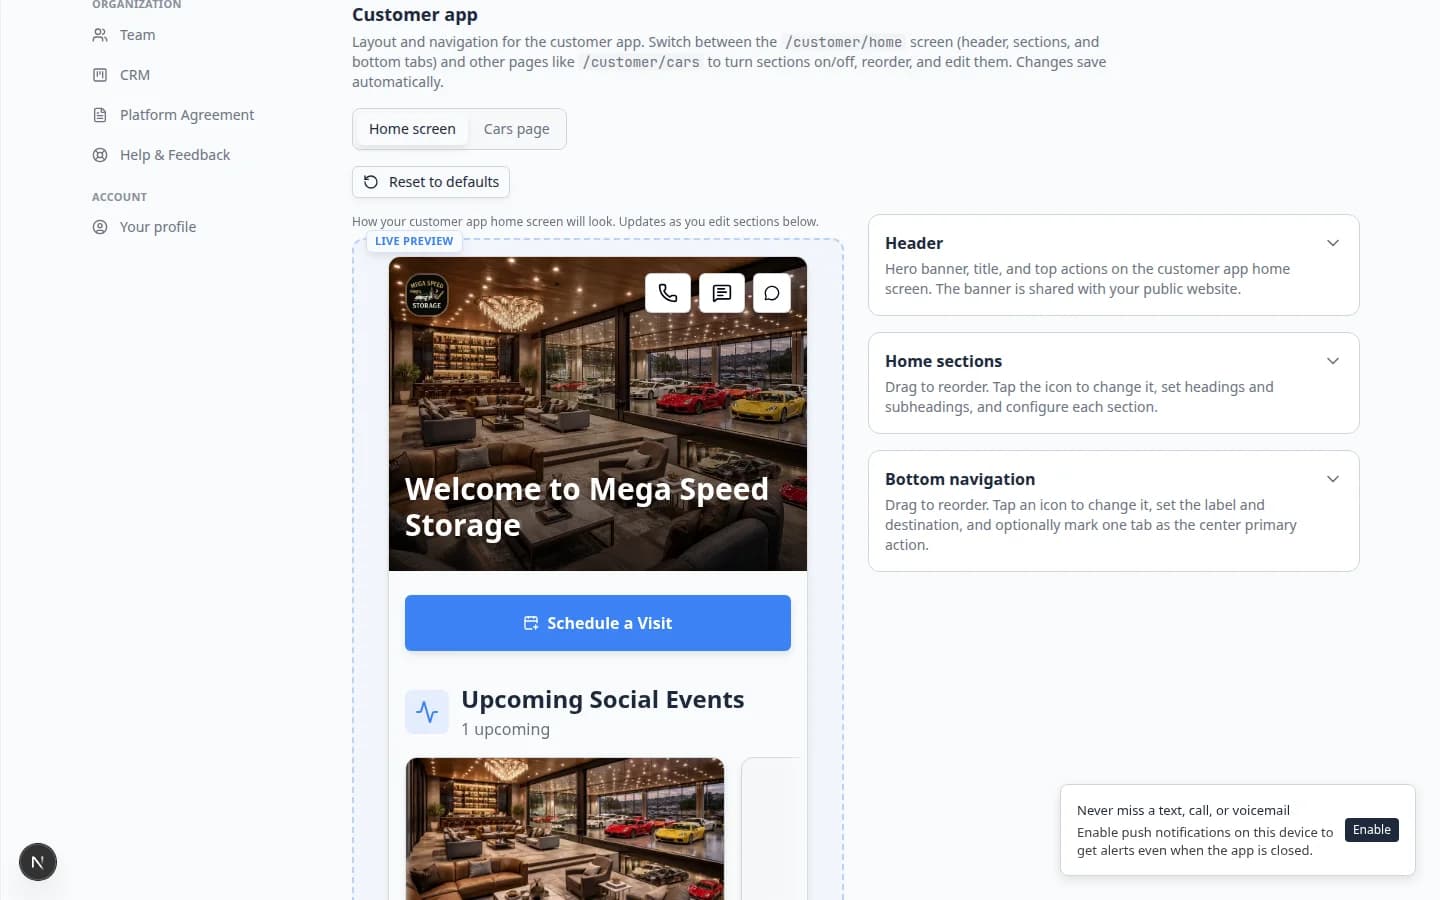
Bottom navigation is the row of icons along the bottom of the phone screen—like Home, Events, Cars, Billing, and More.
- Open Bottom navigation
Expand Bottom navigation in the Customer app section.
Expected result: You see each tab with a label, icon, and link target.
- Keep four or five tabs maximum
Most customers use thumbs on a phone. Four or five tabs is easier than seven.
A simple set: Home · Events · Cars · Billing
- Remove tabs you do not use
Click Remove on tabs that would open empty pages. You can add them back later when that feature is ready.
- Check each tab link
Each tab should open a useful page inside the customer portal. If a tab goes nowhere, customers will think the app is broken.
Step 5: Preview like a customer
- Copy Customer login
Scroll to the top of Settings > Website & customer app. In Shareable links, click Copy on Customer login.
See Share customer login links if you need help.
- Open a private browser window
Use private or incognito mode—or a phone where you are not signed in as staff.
- Sign in as a test customer
Paste the login link. Enter an email from a test customer in Contacts.
Expected result: After sign-in, the home screen matches the layout you configured—header, sections, and bottom tabs.
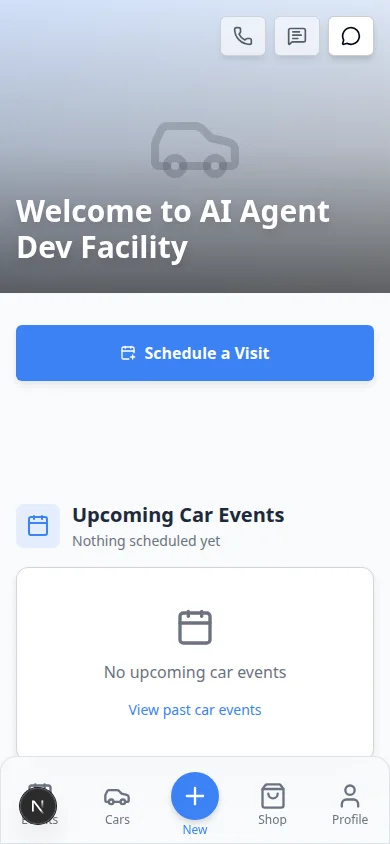
What success looks like
- The customer home screen shows your facility name and a clear greeting.
- Every visible home section has real content (or is turned off).
- Bottom tabs open the pages customers need most.
- You tested the layout on a phone or narrow browser window.
- Your team waited to send Customer login links until this layout looked ready.
Troubleshooting
What to do next
- Share customer login links when the layout is ready
- Guide a customer through the portal so your team knows how to help on the phone
- Go live checklist for public pages before a wide launch