Product update
Guided event type setup
A step-by-step event type wizard organizes identity, vehicle movement, walkthrough, scheduling, billing, notifications, and review in one flow.
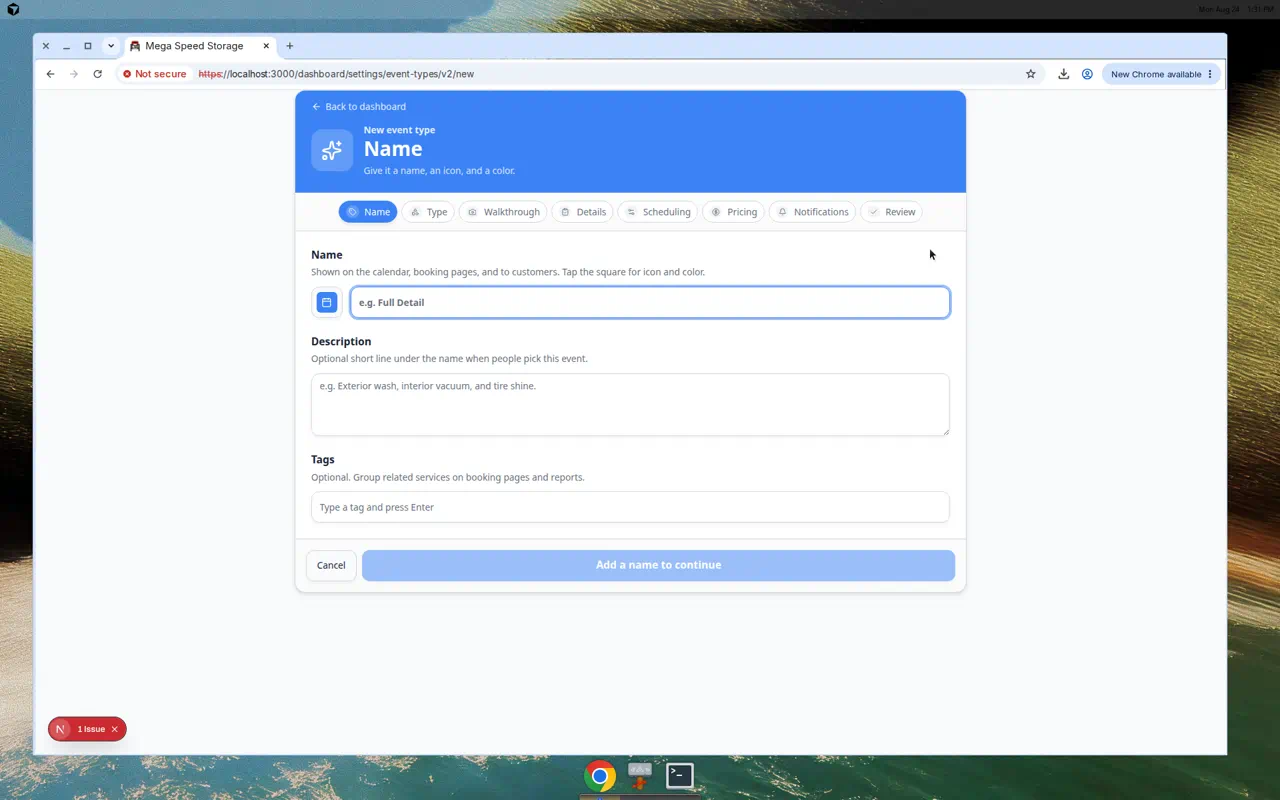
Every appointment type should behave the same way on the lot—not because staff memorized fifty toggles.
Why we built it
Event types drive how Schedule bookings look, what walkthrough steps run, and how billing and alerts fire. The old single-page editor made it easy to ship inconsistent experiences. Guided event type setup uses a wizard—Name → Type → Walkthrough → Details → Service plans → Scheduling → Pricing → Notifications → Review—so teams configure service identity, vehicle movement, photo and checklist requirements, booking rules, pricing and add-ons, and staff/customer notifications before the type goes live.
Who it is for
- Admins building or refactoring types under Settings → Events & schedule.
- Operations leads aligning new services with Schedule complete workflows and Guided event work pages.
- Facilities onboarding event types during implementation—see Configure event types for field-level reference.
What you can do
- Set Name, icon, and color so the type is recognizable on the calendar.
- Define Type—what the event attaches to and destination behavior when work completes.
- Configure Walkthrough—checklists, photos, transport locations, signatures, and related steps.
- Capture Details fields staff or customers must record.
- Link Service plans so recurring care counts correctly.
- Finish Scheduling, Pricing, and Notifications, then Review the full summary before save.
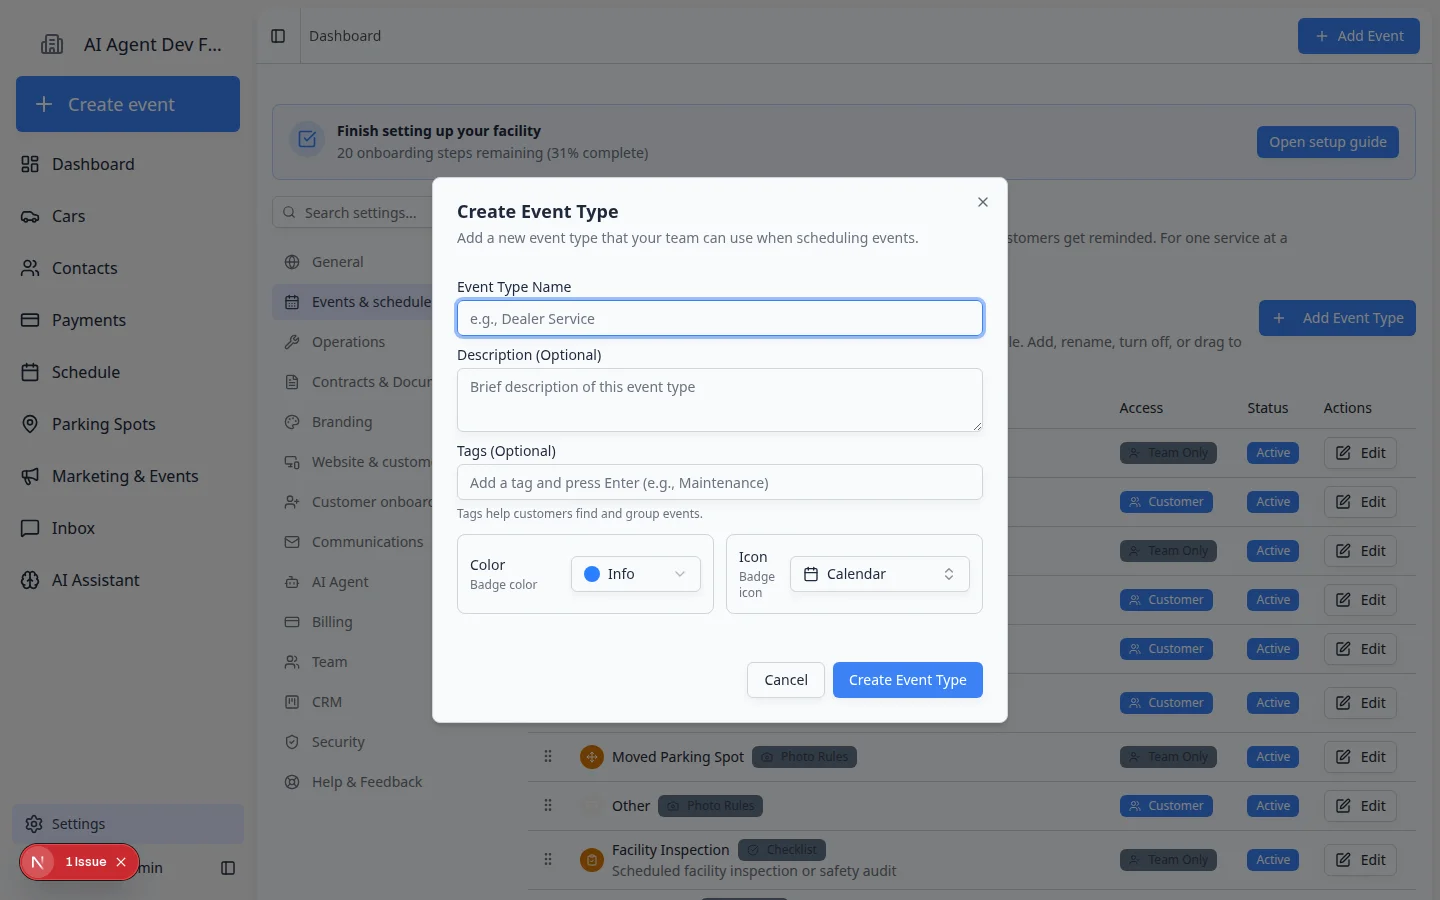
How it fits your day
Autosave while you move between steps reduces lost work on long configurations. After publish, test one booking on Schedule before rolling the type out to customer self-booking.
Get started
Duplicate your busiest event type as a draft, walk the wizard once with a teammate, and compare Review output to how the job actually runs on the floor.
Questions about this update?
Book time with our team or browse the rest of the changelog.